Giriş
This guide will take you through the process of replacing the front camera in an LG Optimus F60. This task should take about 7minutes to complete.
Neye ihtiyacın var
-
-
-
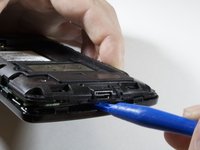
Hold the phone in your hand and position the small plastic opening tool or your finger under the lip of the phone by the USB port.
-
Pry or lift up on the indent with the opening tool.
-
Remove the back panel.
 FixBot'a Sor
-
-
-
Place the small plastic opening tool or your finger at the indentation at the base of the battery.
-
Pry upwards or lift with your finger and remove battery.
-
-
-
-
-
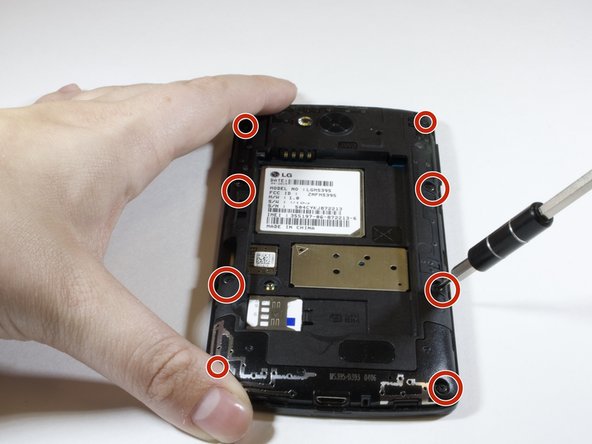
Use the phillips #000 Screwdriver to unscrew eight 4mm screws.
-
-
-
-
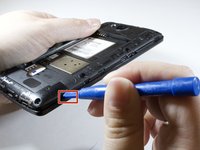
Insert the plastic opening tool in the indentation marked by the red square.
-
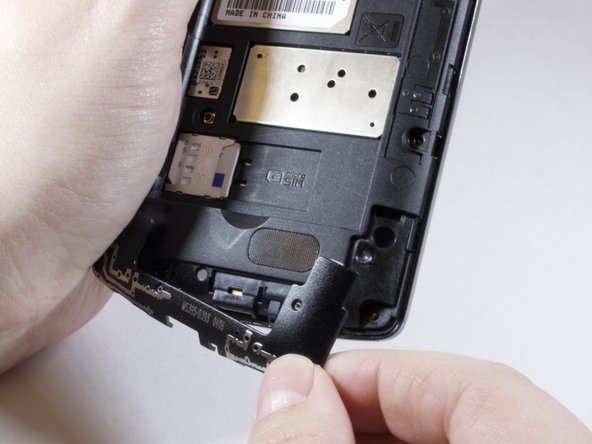
Pry the plastic opening tool upwards to release the lower back panel.
-
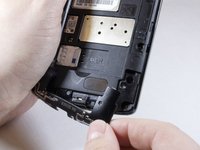
Remove the lower back panel from the device.
-
-
-
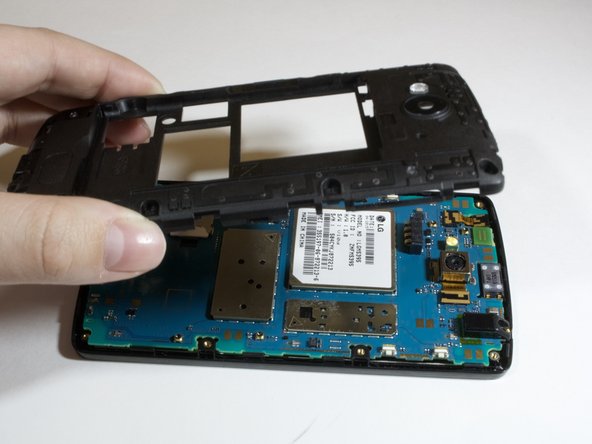
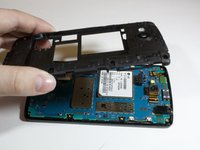
Continue moving plastic opening tool around device until back panel is loose enough to remove.
-
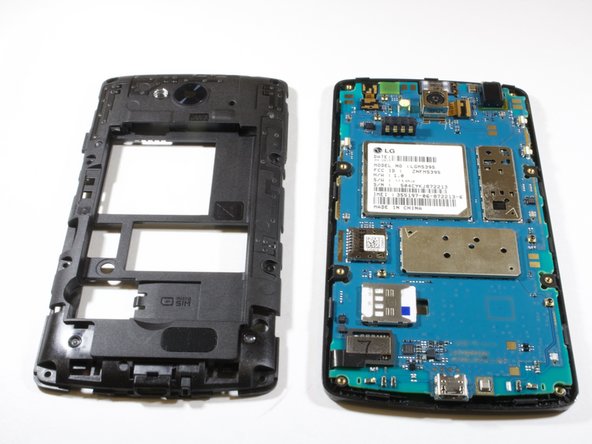
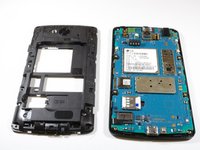
Remove the back panel
-
-
Bu adımda kullanılan alet:Tweezers$4.99
-
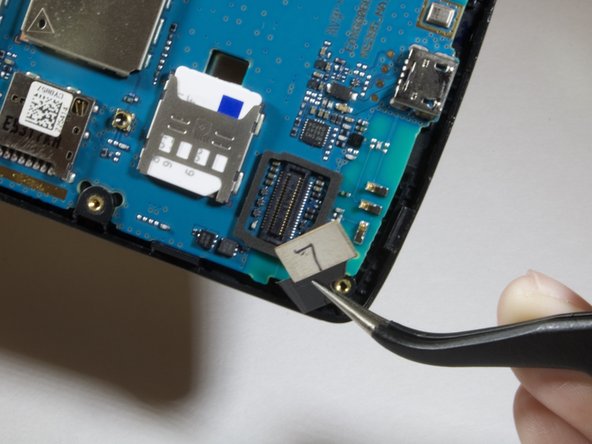
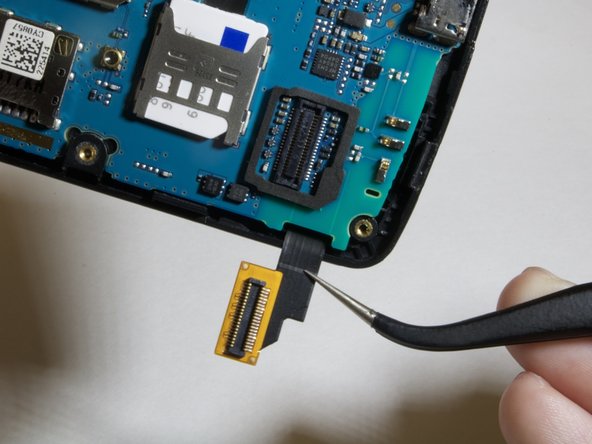
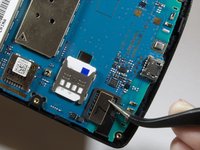
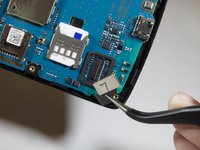
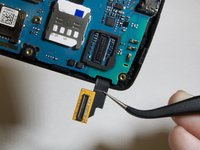
Locate the digitizer connection on the lower left hand side of the device.
-
Use the tweezers to lift up and gently remove the connector.
-
-
-
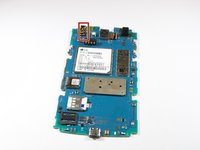
Locate the front camera on the upper left hand side of the device. The camera is marked in red.
-
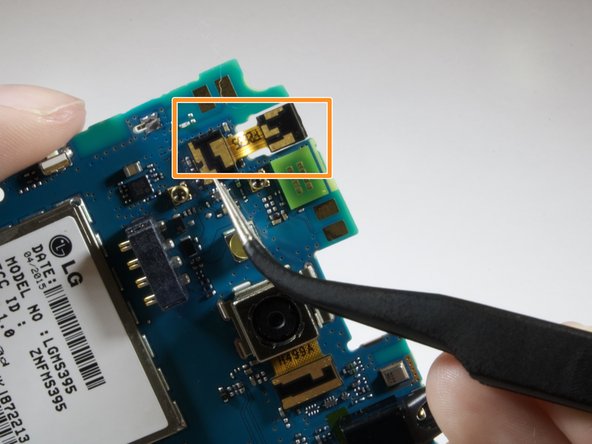
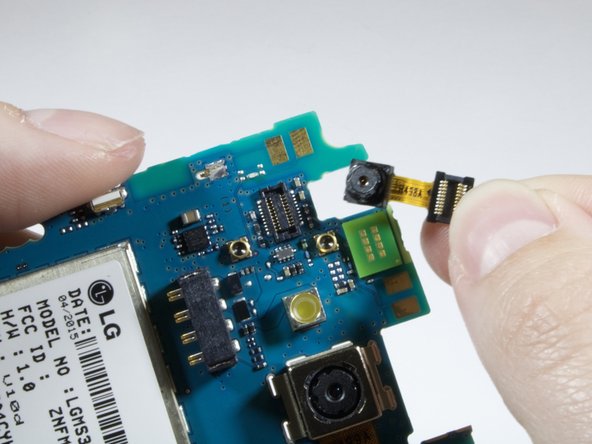
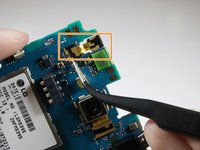
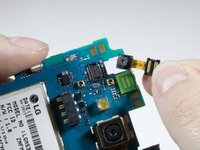
Use the tweezers to remove the front camera from the connector marked in orange.
-
Remove and replace front camera.
-
-







To reassemble your device, follow these instructions in reverse order.

Ekip

Eastern Washington University, Team S3-G3, Rowley Spring 2018 Eastern Washington University, Team S3-G3, Rowley Spring 2018 üyesi
EWU-ROWLEY-S18S3G3
6 Üyeler
34 adet Kılavuz yazıldı
