Giriş
If you need to install a new outside trim on your LG Phoenix 2, use this guide to disassemble and replace the damaged outer trim. For this guide you will need a plastic opening tool and a Phillips #000 screwdriver head. These steps will be straightforward and easy to follow, but the pieces should be handled with care, so as to not damage or misplace any needed components.
Neye ihtiyacın var
-
-
Insert a fingernail in the notch on the bottom right corner of the phone.
-
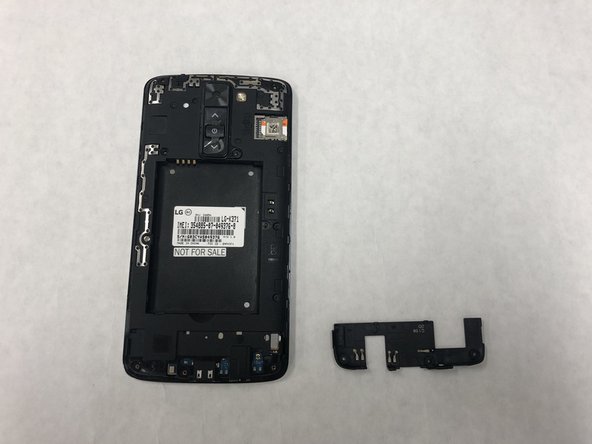
Pop off the back cover off of your device.
-
-


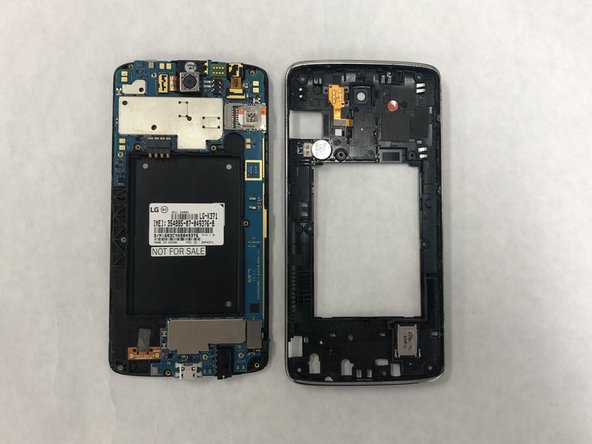
To reassemble your device, follow these instructions in reverse order.
To reassemble your device, follow these instructions in reverse order.
İptal et: Bu kılavuzu tamamlamadım.
2 farklı kişi bu kılavuzu tamamladı.
Ekip

IUPUI, Team S7-G7, Wilson Fall 2018 IUPUI, Team S7-G7, Wilson Fall 2018 üyesi
IUPUI-WILSON-F18S7G7
4 Üyeler
6 adet Kılavuz yazıldı