Giriş
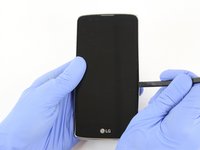
This guide will walk you through the process of replacing a screen in an LG Phoenix 2. This guide should be used if the screen is cracked. The guide should also be used if the screen does not respond to your touch.
Neye ihtiyacın var
-
-
-
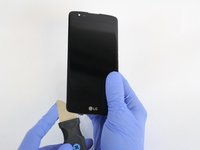
Place a fingernail in the notch at the bottom edge of the phone.
-
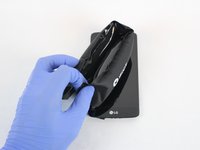
Pull on the back cover with one hand while keeping the rest of the phone steady, and run your fingernail along the edge.
 FixBot'a Sor
-
-
-
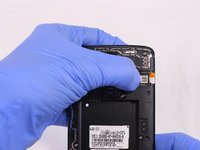
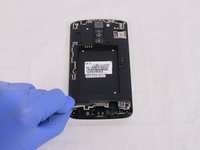
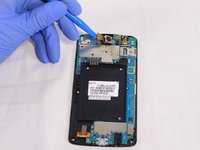
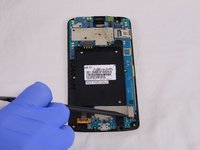
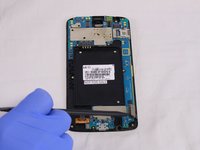
Place a fingernail in the notch at the bottom edge of the battery.
-
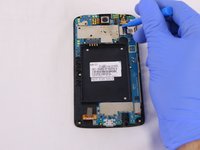
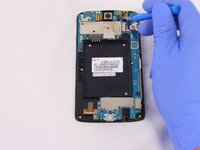
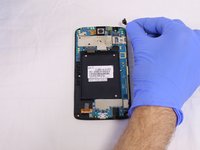
Pull the battery out.
-
-
-
-
-
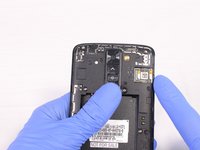
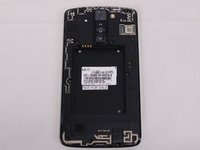
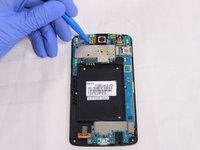
Locate the SIM card in the top right corner on the back of the phone.
-
Remove the SIM card by pushing it with your thumb from left to right.
-
-
-
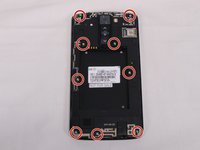
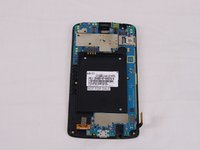
Remove all 9 screws on the back by using a Phillips head #00 screwdriver.
-
To remove the screws rotate them counterclockwise.
-
-
-
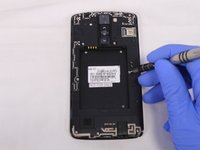
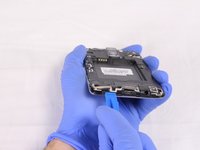
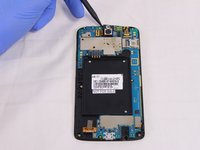
Insert a plastic opening tool in the split at the bottom of the phone (between the bottom shield and the rest of the phone).
-
Pry the bottom shield to separate it from the phone.
-
Once it is loose you should be able to remove it with your hand.
-
-
-
-
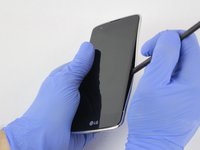
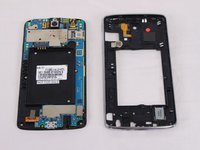
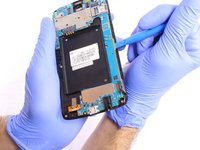
Insert the flat end of the Spudger between the screen and the chromed frame.
-
Once inserted, run the Spudger along the frame to separate the front part of the phone from the back shield.
-
-
-
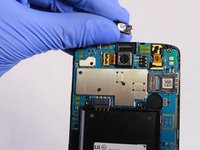
Insert the flat end of the Spudger or the plastic opening tool underneath the camera connector.
-
Gently lever the camera connector free.
-
Once disconnected, take the camera out.
-
-
-
The front camera can be removed in a similar way as the rear camera. See previous step.
-
-
-
-
-
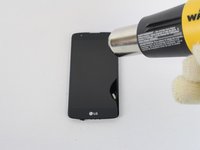
Heat the screen up using a heat gun (or the IOpener) to loosen up the screen. The heat gun needs to be moved around the edges of the phone in order to equally heat the edges.
-
-
-
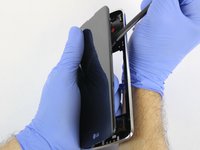
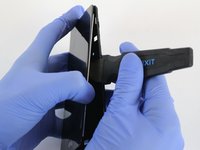
Pick the Jimmy and slide it's blade around the edge of the screen.
-
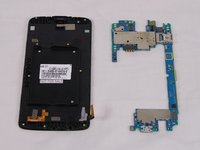
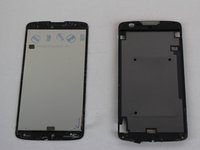
Separate the screen from the frame.
-


To reassemble your device, follow these instructions in reverse order.
İptal et: Bu kılavuzu tamamlamadım.
6 farklı kişi bu kılavuzu tamamladı.
Ekip

USF Tampa, Team S2-G2, Eyestone Spring 2018 USF Tampa, Team S2-G2, Eyestone Spring 2018 üyesi
USFT-EYESTONE-S18S2G2
4 Üyeler
20 adet Kılavuz yazıldı
2Kılavuz Yorumları
“Works for the Phoenix 3 as well but I wouldn’t try taking out the rear facing camera. You shouldn’t have to either way” -dtcarani
Thank you dtcarani it absolutely does work for the Phoenix 3.
And, I did not need to remove the rear facing camera.