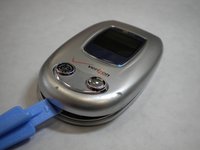
Ana içeriğe geç

LG VX6000 Screen Replacement

Neye ihtiyacın var

  1. LG VX6000 Screen Replacement, Battery: adım 1, 1 resimden 1.
    • Locate the dark gray tab on the back of the phone.

    • Push the tab towards the top of the phone to release the battery.

  2. LG VX6000 Screen Replacement: adım 2, 1 resimden 1.
    • Lift and rotate the battery away from the bottom edge.

    • Remove the battery.

  3. LG VX6000 Screen Replacement, Body: adım 3, 1 resimden 1.
    Bu adımda kullanılan alet:
    Tweezers
    $4.99
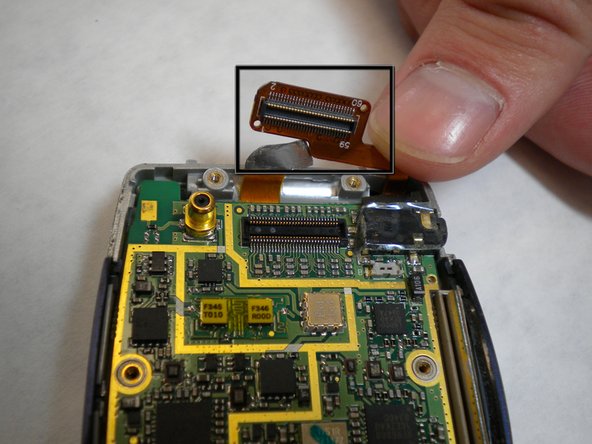
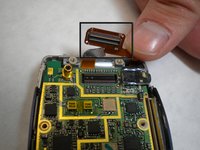
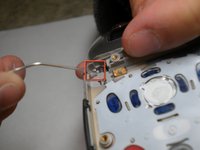
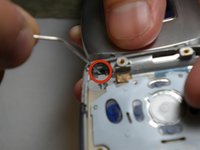
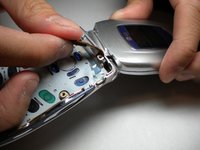
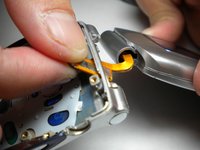
    • Carefully use tweezers to remove the two rubber cushions located at the top of the phone.

    • Only remove the two cushions that are circled!

  4. LG VX6000 Screen Replacement: adım 4, 1 resimden 1.
    • Use a Phillips #00 screwdriver to remove the six screws highlighted on the back of the phone.

    • Place the screws on an uncluttered surface or in a small container.

  5. LG VX6000 Screen Replacement: adım 5, 1 resimden 1.
    • Carefully remove the back of the phone with your fingernails or tweezers.

    • There are red and blue wires connected to the motherboard. Forcing the components apart could damage the wires.

    • The red and blue wires must be plugged in to reassemble.

  6. LG VX6000 Screen Replacement, Logic Board: adım 6, 1 resimden 1.
    • Carefully peel away the adhesive tab.

    • The tab should not be completely separated from the phone.

  7. LG VX6000 Screen Replacement: adım 7, 2 resimden 1. LG VX6000 Screen Replacement: adım 7, 2 resimden 2.
    • Locate the yellow connection towards the top of the phone. This is directly connected to the screen.

    • Carefully pry the connector away from the motherboard to remove it from the phone.

    • Do not pull forcefully

  8. LG VX6000 Screen Replacement: adım 8, 1 resimden 1.
    • Gently lift the corner of the motherboard away from the casing.

  9. LG VX6000 Screen Replacement, Screen: adım 9, 3 resimden 1. LG VX6000 Screen Replacement, Screen: adım 9, 3 resimden 2. LG VX6000 Screen Replacement, Screen: adım 9, 3 resimden 3.
    Bu adımda kullanılan alet:
    Tweezers
    $4.99
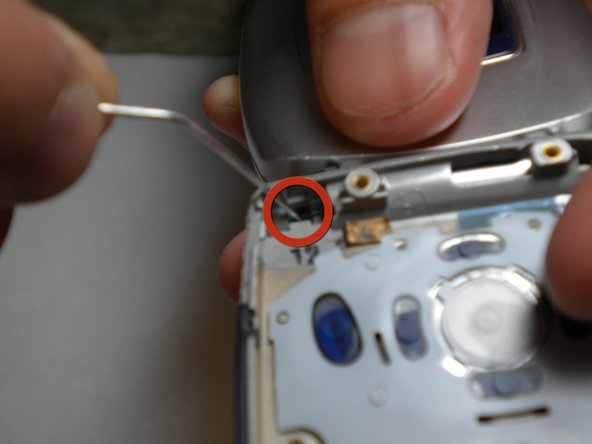
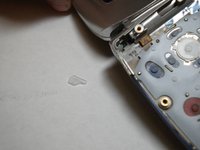
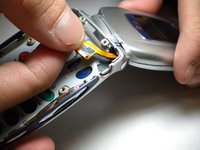
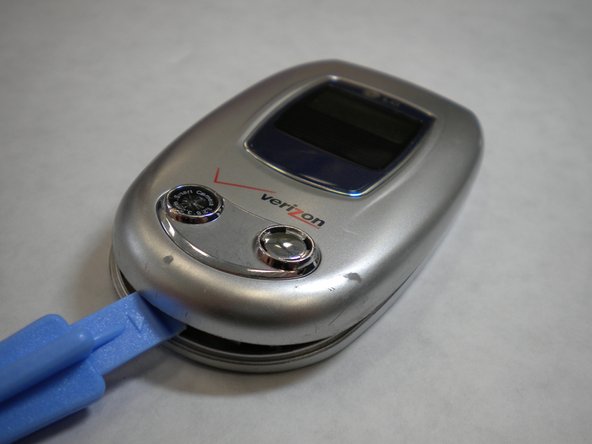
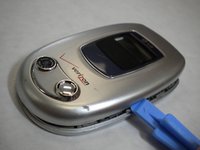
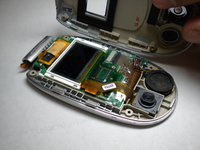
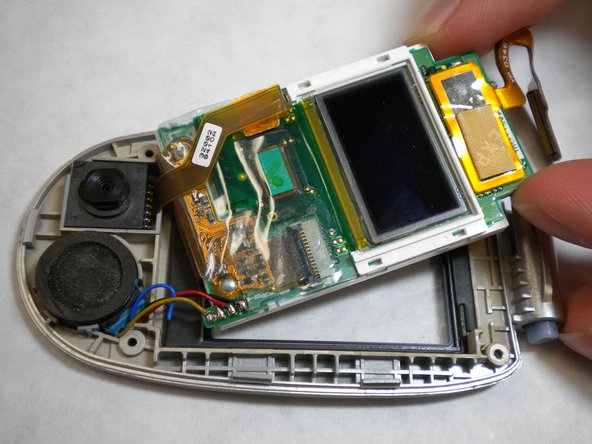
    • Using a paper clip or tweezers, pop out the screen by pressing the plastic tab in the top-left corner of the phone's bottom casing as indicated in the photo.

    • Be careful not to lose the tab that pops out. It is a small and clear piece of plastic.

    • The tab is fragile, handle with care.

  10. LG VX6000 Screen Replacement: adım 10, 3 resimden 1. LG VX6000 Screen Replacement: adım 10, 3 resimden 2. LG VX6000 Screen Replacement: adım 10, 3 resimden 3.
    • As shown in the photos, pull the orange strip through a thin opening at the top of the phone. Once this is done, the top and bottom halves can be separated.

  11. LG VX6000 Screen Replacement: adım 11, 1 resimden 1.
    • Set the bottom half of the phone aside.

    • Using tweezers, pull off the small rubber cushions located towards the four corners of the screen.

  12. LG VX6000 Screen Replacement: adım 12, 1 resimden 1.
    • With a Phillips tip screwdriver, unscrew the four newly exposed screws.

    • Keep screws from the different steps in different locations so as to not mix them up.

  13. LG VX6000 Screen Replacement: adım 13, 3 resimden 1. LG VX6000 Screen Replacement: adım 13, 3 resimden 2. LG VX6000 Screen Replacement: adım 13, 3 resimden 3.
    • Carefully open the casing using the iFixit plastic tool by prying each side a little bit at a time. Rotate and open until all the inside clips pop open and the casing opens up.

  14. LG VX6000 Screen Replacement: adım 14, 2 resimden 1. LG VX6000 Screen Replacement: adım 14, 2 resimden 2.
    • After you pry open the casing, you will be left with the screen and circuit board in the top face plate.

    • Gently pull the corner of screen and circuit board up and out of casing to remove screen from the top face plate.

    • Do not try to completely separate the circuit board from the casing. There are still wires connecting the two.

  15. LG VX6000 Screen Replacement: adım 15, 1 resimden 1.
    • Rotate the screen and the connected white frame away from the logic board.

    • Carefully peel the adhesive tape that connects the screen and logic board off. The screen can now be removed and replaced with a new screen unit.

Sonuç

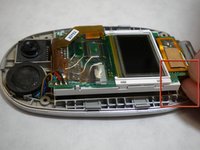
To reassemble your device, follow these instructions in reverse order.

Adam Altman

Üyelik tarihi: 01/14/10

1 İtibar

3 adet Kılavuz yazıldı

Ekip

Cal Poly, Team 4-11, Forte Winter 2010 Cal Poly, Team 4-11, Forte Winter 2010 üyesi

CPSU-FORTE-W10S4G11

5 Üyeler

11 adet Kılavuz yazıldı

0Kılavuz Yorumları

Yorum Ekle

İstatistikleri Görüntüle:

Son 24 Saat: 0

Son 7 gün: 0

Son 30 gün: 2

Her zaman: 2,785