Ana içeriğe geç

LG VX9800 Logic Board Replacement

Neye ihtiyacın var

  1. LG VX9800 Logic Board Replacement, Front Keypad: adım 1, 1 resimden 1.
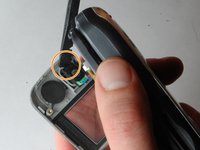
    • Remove the two triangular pads at the top of the two speakers.

    • These pads have adhesive to keep them situated, so you may want to use a fine-tipped object, such as a screwdriver or a pen, to remove them. It is easiest to place the fine-tipped object in the small indent in the corner of these pads.

  2. LG VX9800 Logic Board Replacement: adım 2, 1 resimden 1.
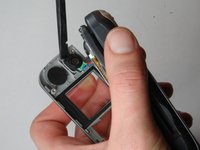
    • Remove the two rubber cylinders from their shafts. These cover more screws.

    • This requires a little more effort, so you may need to "dig" them out.

  3. LG VX9800 Logic Board Replacement: adım 3, 1 resimden 1.
    • Now remove the four screws.

    • The screws are small, so put them somewhere that you can easily keep track of them.

  4. LG VX9800 Logic Board Replacement: adım 4, 1 resimden 1.
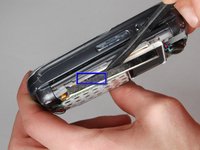
    • Starting on the side with blue square, pry the faceplate upwards with the flat end of a spudger.

    • Continue to slide the flat edge along the seam of the faceplate.

    • You should hear popping or snapping noises as the faceplate is being removed.

  5. LG VX9800 Logic Board Replacement: adım 5, 2 resimden 1. LG VX9800 Logic Board Replacement: adım 5, 2 resimden 2.
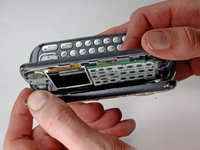
    • The faceplate is attached by wires, so do not pull the faceplate very far away from the phone.

  6. LG VX9800 Logic Board Replacement: adım 6, 3 resimden 1. LG VX9800 Logic Board Replacement: adım 6, 3 resimden 2. LG VX9800 Logic Board Replacement: adım 6, 3 resimden 3.
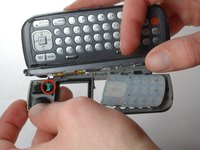
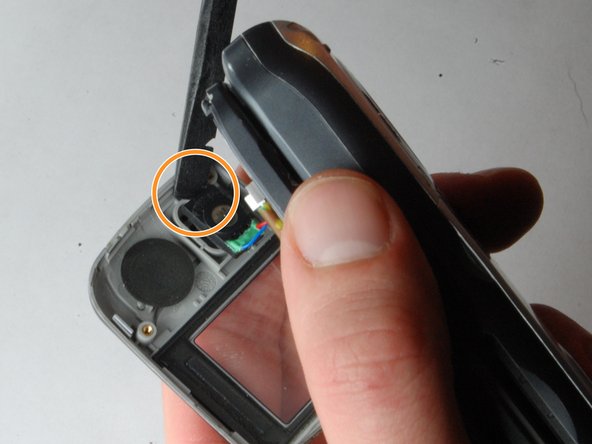
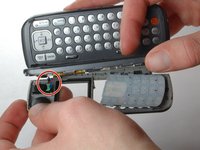
    • The faceplate is still attached through speakers that travel from the ear-piece to the motherboard.

    • Carefully wedge the flat or pointed end of the spudger beneath the ear-piece and the faceplate.

    • This may require a bit of force, as the ear-piece is stuck to the faceplate with adhesive.

  7. LG VX9800 Logic Board Replacement: adım 7, 1 resimden 1.
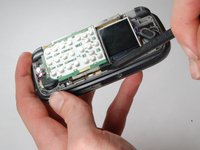
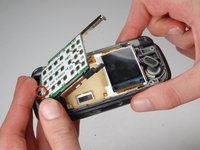
    • The faceplate and keypad can now be completely removed from the phone.

  8. LG VX9800 Logic Board Replacement, Logic Board: adım 8, 3 resimden 1. LG VX9800 Logic Board Replacement, Logic Board: adım 8, 3 resimden 2. LG VX9800 Logic Board Replacement, Logic Board: adım 8, 3 resimden 3.
    • Use Spudger to pry against the side side of the phone and the logic board to release it.

    • The logic board is connected to a thin silver piece of metal highlighted with a blue square in the photo. Pry against this piece and the phone to release the board.

    • The logic board is connected to the phone and speaker with the set of connections highlighted with a red circle. Do not yank on the board once its released

  9. LG VX9800 Logic Board Replacement: adım 9, 1 resimden 1.
    • Remove 4 wires from logic board. Replace board by soldering back the 4 wires and you're done!

    • This step requires soldering. Only do this step if you are OK with soldering small wires.

Bitiş Çizgisi

Steven Clark

Üyelik tarihi: 01/21/10

29 İtibar

2 adet Kılavuz yazıldı

Ekip

Cal Poly, Team 16-32, Maness Winter 2010 Cal Poly, Team 16-32, Maness Winter 2010 üyesi

CPSU-MANESS-W10S16G32

4 Üyeler

4 adet Kılavuz yazıldı

0 Yorum

Yorum Ekle

İstatistikleri Görüntüle:

Son 24 Saat: 0

Son 7 gün: 0

Son 30 gün: 0

Her zaman: 1,539