Giriş
Lacie 5big Network 2 probably has the same layout as the first generation, so this guide would also apply to the Network 1. The Thunderbolt 2 version appears to be identical, with a different logic board to connect to Thunderbolt instead of Ethernet.
I am writing this guide afterwards, so no pictures will be provided, but please feel free to add your pictures when disassembling this device yourself.
Neye ihtiyacın var
-
-
If necessary, open the locks on the drives first by rotating the slots to the vertical unlocked position.
-
Remove all the drives and their cages and put them somewhere safe.
-
-
-
-
The structure is held in place by 4 screws and some friction.
-
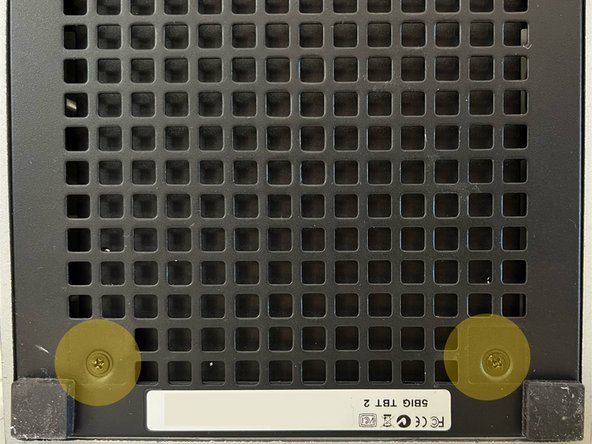
With the drives removed, peer inside to see the two screws at the bottom of the cage. Unscrew those. You might need an extender for these two.
-
Next, put the structure upside down and take off the 2 feet at the front of the cage (the side with the blue dot).
-
You'll find two screws under there, unscrew those too.
-
-
-
Now for some fiddling and prying: The internals can be moved away from the front. If you are still holding the structure upside down, with the dot facing towards you, you should be able to move the black parts away from the aluminum, pushing forward. I recommend prying something in between the two layers and carefully opening it up.
-
Keep in mind that there are two rails running on the inside (you can see them if you peer inside the cage). You will have to follow the same direction.
-
After a while, you should be able to slide it open.
-
-
-
Disconnect the power and SATA cables and everything else. Note the orientation of I/O cable headers.
-
To access the motherboard, gently pull it out of its rails, though not too much.
-
Unscrew the four screws on the motherboard.
-
-
-
The system cooling fan is a Noctua NF-P12 120mm pulse-width modulation fan. This fan is no longer available to purchase, but the replacement Noctua NF-P12 Redux-1300 PWM 120mm Fan should be a drop-in replacement.
-
To remove the fan, first remove the long top screw in the LED / Button combo board. This screw holds the fan in place.
-
Once you've removed the retaining screw, the fan and shroud assembly will slide backwards and out of the mounting slots.
-
To remove the shroud from the fan, gently release the longer two clips from the right-hand side of the shroud.
-


To reassemble your device, follow these instructions in reverse order.
To reassemble your device, follow these instructions in reverse order.
İptal et: Bu kılavuzu tamamlamadım.
2 farklı kişi bu kılavuzu tamamladı.
