Giriş
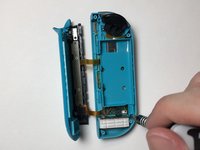
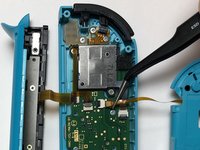
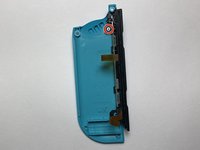
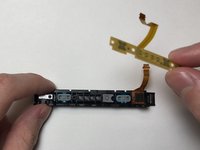
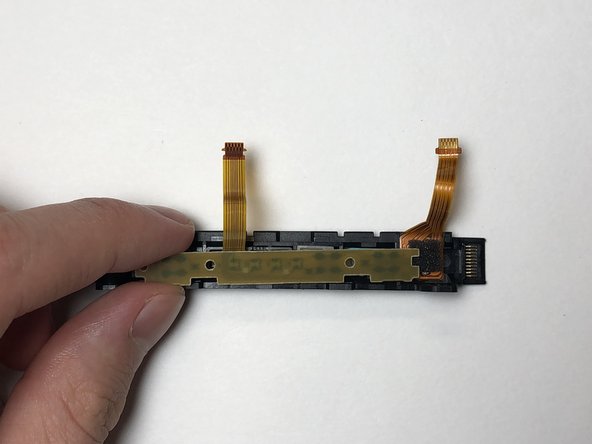
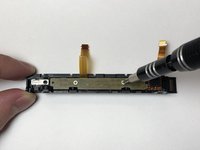
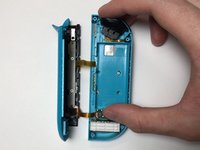
A broken charging rail will cause an inability to connect directly to the Nintendo Switch console or an inability to charge the Joy-Con. This guide will show you how to replace the charging rail on the Left Joy-Con controller.
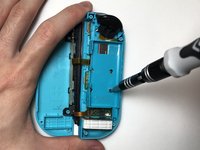
Before using this guide, check for potential bent pins on the charging rail that can be bent back. If possible, test if the Joy-Con can be charged from an external source or check if the problem is actually with the sensor rail on the Nintendo Switch console.
If the problem is the Nintendo Switch sensor rail, then follow this guide: Nintendo Switch Left Joy Con Sensor Rail Replacement
Neye ihtiyacın var
-
-
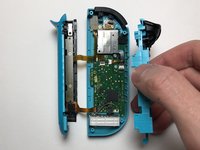
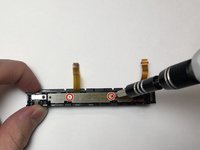
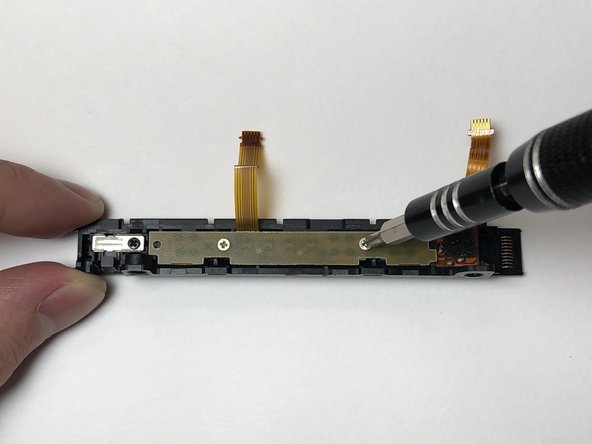
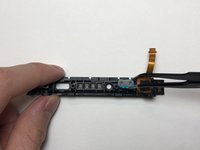
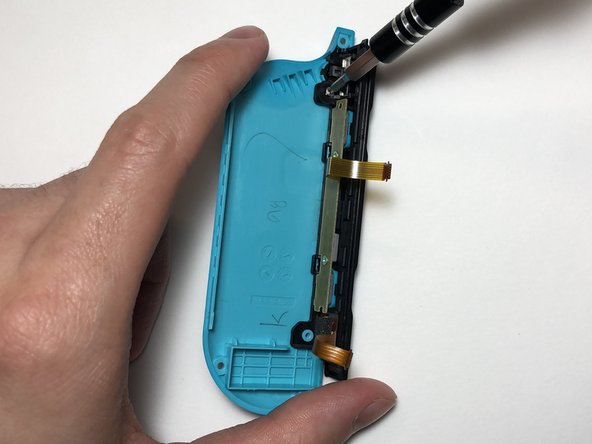
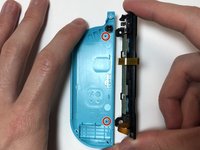
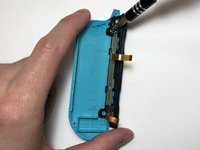
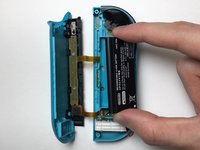
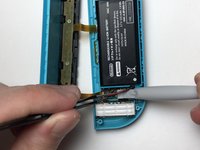
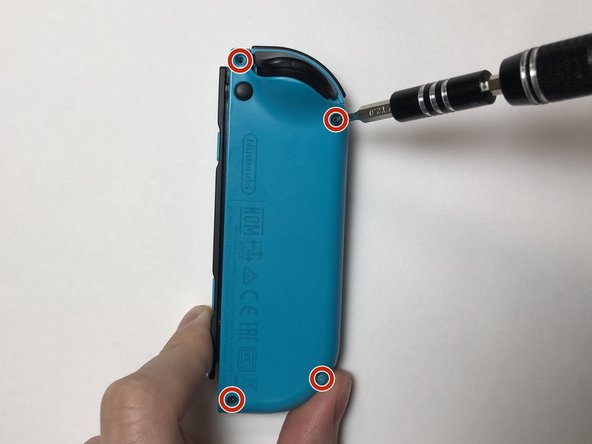
Use the Tri-point Y00 screwdriver to remove the four 6 mm screws from the back of the Joy-Con.
-
-


İptal et: Bu kılavuzu tamamlamadım.
35 farklı kişi bu kılavuzu tamamladı.
Ekip

York University, Team S1-G14, O'Regan Summer 2021 York University, Team S1-G14, O'Regan Summer 2021 üyesi
YORK-O'REGAN-SU21S1G14
1 Üye
8 adet Kılavuz yazıldı
16Kılavuz Yorumları
I did this and still doesn’t work. I also changed the rail on the console side too. Very carefully of course. Any ideas?
Hey Luis,
Can you give me more detail on the problem? Like is the Joy-Con not being detected when it’s plugged in or is it not charging. If possible, can you test the console rail with a working Joy-Con?
If the Joy-Con is not charging, it could also be a battery problem. If you are comfortable with it, I would suggest swapping out the battery with a working one from the other Joy-Con to see if it solves the problem. You should probably attempt this after double-checking the connections for potential tears or if the connectors are too loose in the sockets.
Hi, I need help. My left Joy-Con is not charging because of the ZIF connector for the charging rail ribbon has been detached and I have lost it. Is there a way to fix this problem?
Honestly, I would recommend replacing the entire Motherboard, unless you can find a trusted repair shop to solder it on.
I damaged the ZIF connector for the battery on my Switch. It works with some pressure and perfect alignment, but I've had issues ever since I damaged it during repairs :/
I'm going to swap it with a functional motherboard, I would advise you do the same.
Hello need a little help. the ribbon cable will not stay connected. and it will not charger. Any thing will help.