Giriş
Use this guide to replace a faulty motherboard in your two-in-one tablet.
This guide will show you how to remove the rear casing of your tablet and how to remove all of the internal components.
Neye ihtiyacın var
-
-
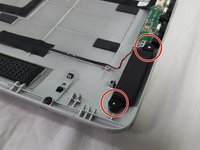
Flip the device so the rear case is facing upward.
-
With the plastic opening tool carefully pry the plastic piece shown in the picture, until it is completely removed from the case.
-
-
-
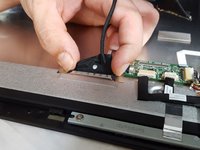
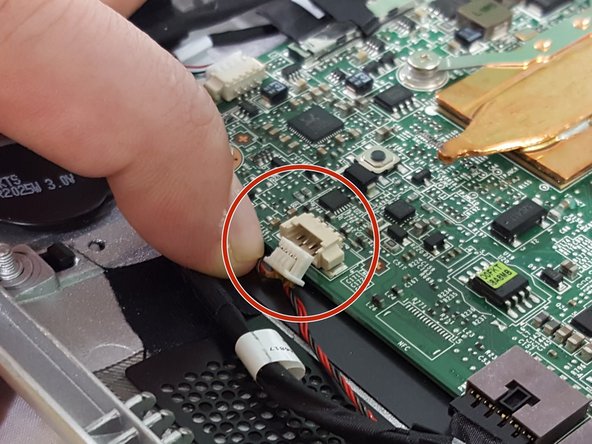
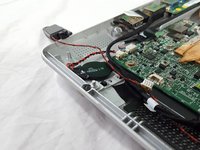
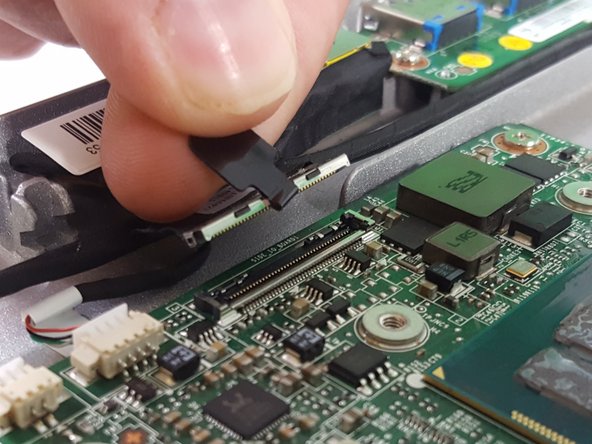
Using your fingers carefully and slowly disconnect the wire shown here from the motherboard.
-
-
-
-
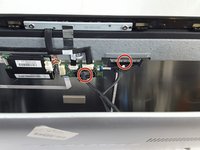
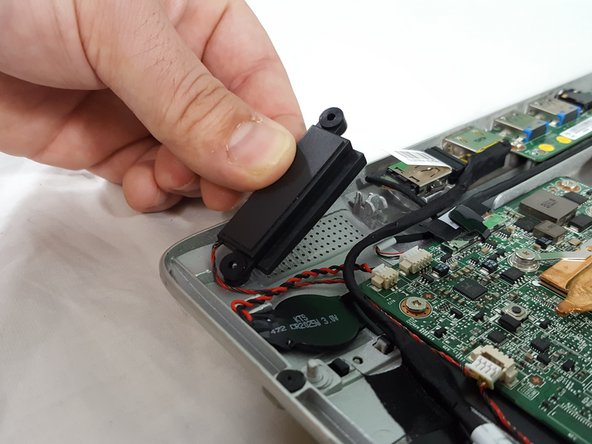
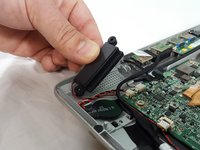
Locate the intertwined black and red wires that connect the two small, black speakers and the motherboard, as shown in the picture.
-
Disconnect this wire from the motherboard by carefully pulling it out.
-
-
-
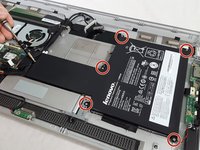
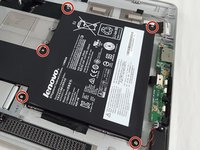
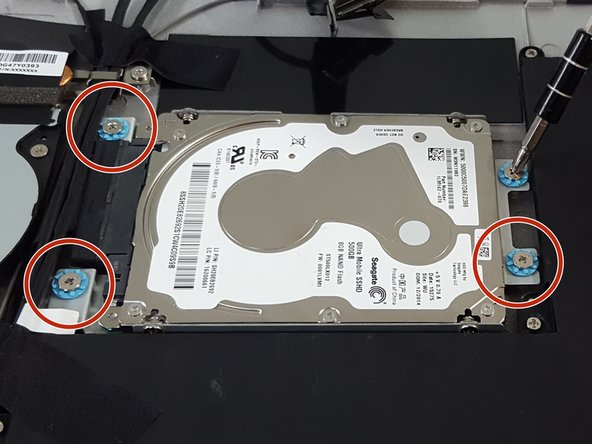
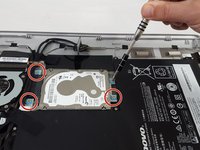
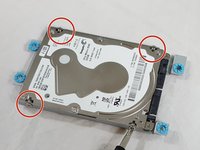
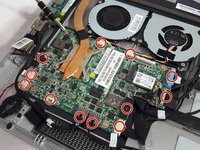
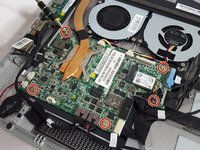
Using your Philips head screw driver with the number 1 head. Carefully unscrew the four M2-6mm screws that are circled in the picture.
-
-
-
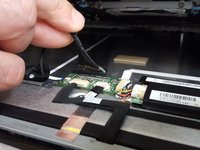
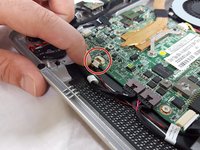
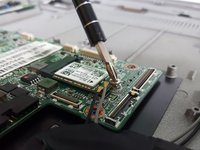
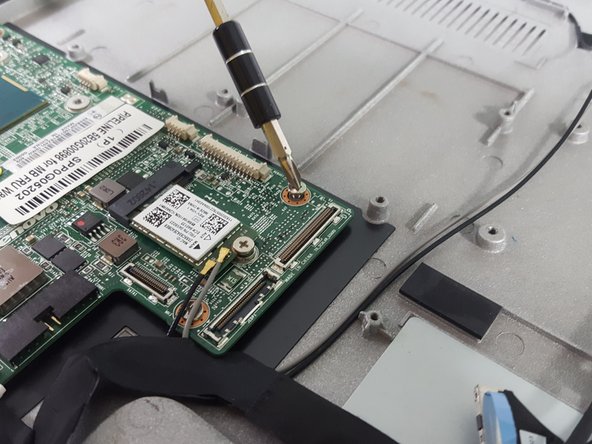
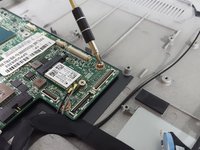
With the Phillips #1 head, remove the M2-6mm screw securing the network card.
-
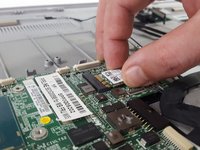
Carefully remove by sliding the network card out from the motherboard.
-
Carefully remove the wires connecting to the network card with light pressure.
-


To reassemble your device, follow these instructions in reverse order.
To reassemble your device, follow these instructions in reverse order.
Ekip

USF Tampa, Team S3-G6, Cannon Fall 2017 USF Tampa, Team S3-G6, Cannon Fall 2017 üyesi
USFT-CANNON-F17S3G6
3 Üyeler
12 adet Kılavuz yazıldı
3 Yorum
Thank you! This was very helpful and easy to follow
This is great and illustrated well. Did you by any chance see where the CMOS battery is located?
AHA! At first I was thinking, seriously, where is it!? Nobody mention it on any help/fix site. But my little brother found it mentioned, and lo & behold it's "underneath" the USB bank cable. Separate from mobo wrapped in black plastic. There on the bottom left of the 2nd-to-last picture. Wow.