Ana içeriğe geç

Lenovo Ideapad Yoga 2 11 Battery Replacement

Neye ihtiyacın var

  1. Lenovo Ideapad Yoga 2 11 Battery Replacement, Back Panel: adım 1, 1 resimden 1.
    • Begin by turning your closed laptop so that you are looking at the bottom panel.

  2. Lenovo Ideapad Yoga 2 11 Battery Replacement: adım 2, 2 resimden 1. Lenovo Ideapad Yoga 2 11 Battery Replacement: adım 2, 2 resimden 2.
    • Locate the 10 screws (6mm) around the border of the panel.

    • Using the Torx T5 Screwdriver, remove the screws.

  3. Lenovo Ideapad Yoga 2 11 Battery Replacement: adım 3, 1 resimden 1.
    • Now that the screws are removed, gently lift the back panel upwards to detach it from the rest of your laptop.

  4. Lenovo Ideapad Yoga 2 11 Battery Replacement, Battery: adım 4, 2 resimden 1. Lenovo Ideapad Yoga 2 11 Battery Replacement, Battery: adım 4, 2 resimden 2.
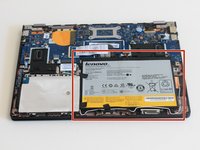
    • Locate the battery in the bottom right corner.

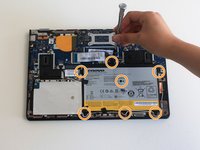
    • Using a Phillips #000, remove the 6 screws (3.5mm) on the border of the battery and the 7th screw (6.5mm) that is in the center of the battery.

  5. Lenovo Ideapad Yoga 2 11 Battery Replacement: adım 5, 3 resimden 1. Lenovo Ideapad Yoga 2 11 Battery Replacement: adım 5, 3 resimden 2. Lenovo Ideapad Yoga 2 11 Battery Replacement: adım 5, 3 resimden 3.
    Bu adımda kullanılan alet:
    Tweezers
    $4.99
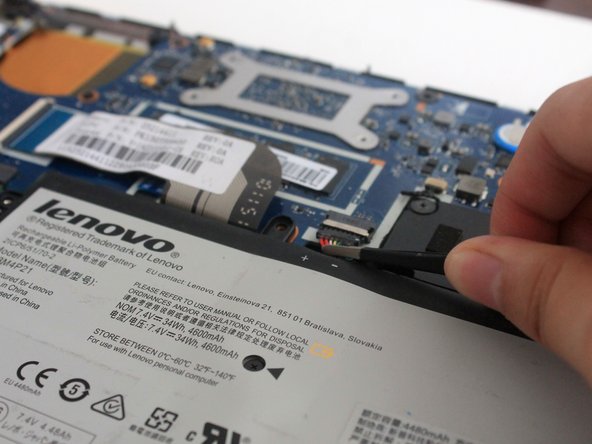
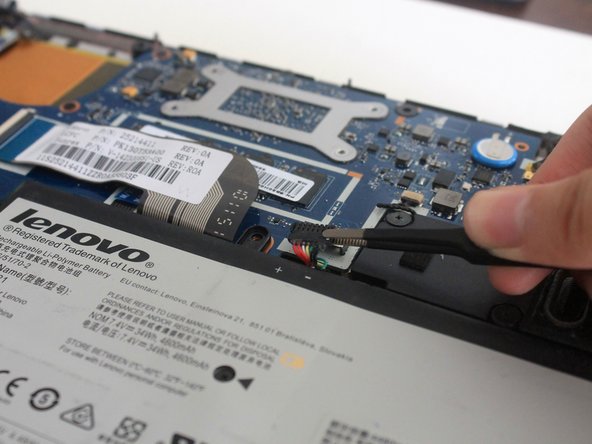
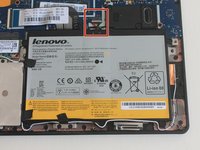
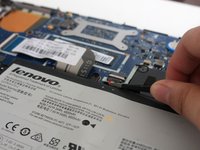
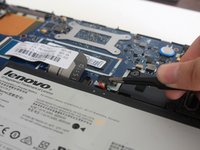
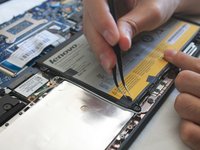
    • Locate the cable connecting to the battery. It is located at the top-center of the battery.

    • Use a pair of tweezers and place it so that the tweezer is around the cables. Gently pull the cables towards the battery to disconnect the cable.

  6. Lenovo Ideapad Yoga 2 11 Battery Replacement: adım 6, 2 resimden 1. Lenovo Ideapad Yoga 2 11 Battery Replacement: adım 6, 2 resimden 2.
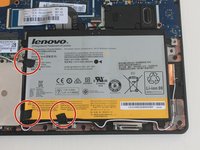
    • There may be tape around the edge of the battery to secure some wires. Use a pair of tweezers to remove the tape so that the wires are no longer attached to the battery.

  7. Lenovo Ideapad Yoga 2 11 Battery Replacement: adım 7, 2 resimden 1. Lenovo Ideapad Yoga 2 11 Battery Replacement: adım 7, 2 resimden 2.
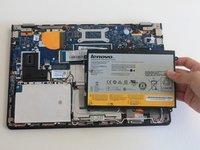
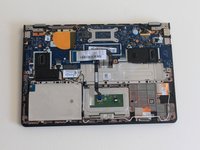
    • After you have unscrewed the screws, unplugged the cable, and removed the tape and wires, you can remove the battery from your laptop.

    There is a copper strip attached to battery- underneath that will not allow removal

    Danielle John - Yanıt

Sonuç

To reassemble your device, follow these instructions in reverse order.

2 farklı kişi bu kılavuzu tamamladı.

Andria Chen

Üyelik tarihi: 10/17/17

624 İtibar

5 adet Kılavuz yazıldı

Ekip

1Rehber Yorum

Excellent instructions makes it easy even for novice

bhimanagouda patil - Yanıt

Yorum Ekle

İstatistikleri Görüntüle:

Son 24 Saat: 2

Son 7 gün: 4

Son 30 gün: 34

Her zaman: 1,911