Giriş
Use this guide to replace a noisy or burned-out fan.
Neye ihtiyacın var
-
-
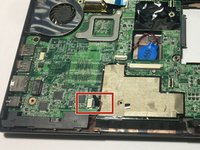
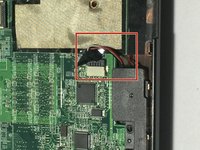
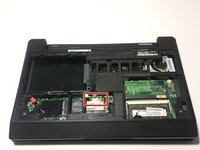
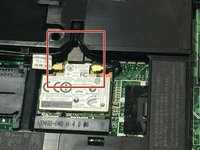
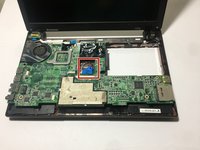
Please follow steps 3-6 from the Keyboard Replacement Guide, then return to this guide.
-
-


Neredeyse bitti!
Then you are good to go.
Sonuç
Then you are good to go.
İptal et: Bu kılavuzu tamamlamadım.
3 farklı kişi bu kılavuzu tamamladı.
Ekip

University of North Texas, Team S2-G2, Thomas Spring 2018 University of North Texas, Team S2-G2, Thomas Spring 2018 üyesi
UNT-THOMAS-S18S2G2
3 Üyeler
3 adet Kılavuz yazıldı