Giriş
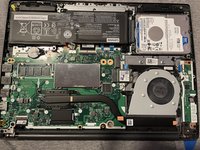
This guide will show you how to install memory in a Lenovo V14-ARE
Neye ihtiyacın var
-
-
Hold down the power button for 5-10 seconds to shut it down.
-
It's not a good idea to have the computer on while messing with internal components.
-
Make sure not to lift up the screen or the computer will turn on again.
-
-
-
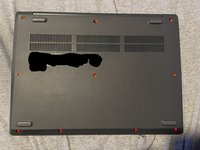
Take out the 10 Phillips screws
-
The 4 screws in red are much smaller than the 6 screws in orange. The orange screws are the same size
-
It probably will not shut right if you mix them up, I am yet to have mixed up the screws.
-
small screw
-
larger screw
-
-
-
-
Pry up from the edges using some sort of plastic pick, I used the one included in my ifixit toolkit
-
It was tough to remove the bottom case the first time, but be reasonable with your force so that you don't damage it
-
-
-
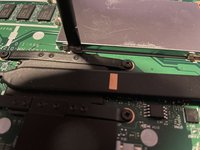
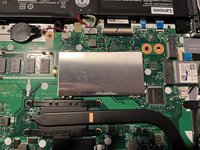
The memory slot is hidden under the access panel (Picture 1)
-
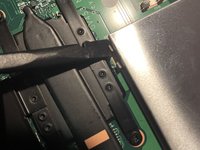
There are little tabs that go along side the panel, just push down with something plastic like I did in the picture. (Picture 2)
-
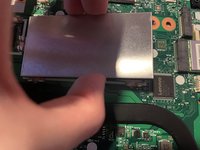
When they're all released from the side of the panel you should be able to pull it up, revealing the memory slot. (Picture 3)
-
-
-
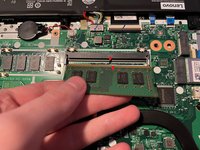
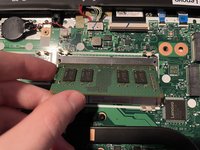
Line up the notches on the memory with the memory slot on the motherboard.
-
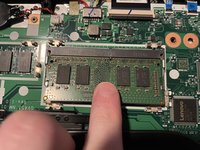
Then push the memory stick in, it should go up at an angle (Picture 2)
-
Then push down the memory stick, from the center. Push the memory till it clicks and the 2 tabs on the side are securing the memory. (Picture 3)
-
-
-
I put the panel back on for my computer. I'd imagine its optional but I did it just to be safe
-
The panel is put on by putting the panel in the ridge between the outside tabs(the ones used to release it) and the inside tabs (closest to the memory slot)
-
The panel is secured by pushing the outside tabs onto the panel (Picture 2)
-
To put on the bottom case, line it up using the hinge and the cutout for the hinge, then make sure the screws line up
-
Screw down the Phillips till they're tight be careful not to strip them.
-


To reassemble your device, follow these instructions in reverse order.
To reassemble your device, follow these instructions in reverse order.
İptal et: Bu kılavuzu tamamlamadım.
Bir başkası bu kılavuzu tamamladı.