Giriş
Before beginning, acquire a replacement battery from a retailer of your choice and begin with the device off and a clear, static-free workspace.
Neye ihtiyacın var
-
-
Remove two 3mm screws on the back of the device with a Phillips #00 bit.
-
Remove the single 2mm screw with a Phillips #00 bit.
-
Using the blue opening tool or spudger, gently remove the back cover to expose the interior of the tablet.
-
-
-
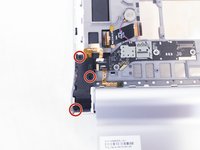
Remove the six 3mm screws on the back of the motherboard with the Phillips Screwdriver #00 bit.
-
Remove the three 3mm screws on the back of the secondary board with the Phillips Screwdriver #00 bit.
-
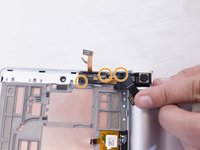
Remove the ribbon cables connecting the boards to the other electrical components
-
Remove the ZIF connectors connecting the boards to the other electrical components
-
-
-
Bu adımda kullanılan alet:Tweezers$4.99
-
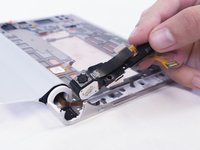
Remove this metallic sticker with your fingernail to expose the screw underneath.
-
Remove the 3mm screw under the sticker with the Phillips Screwdriver #00 bit.
-
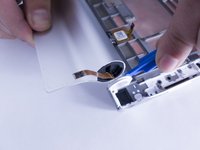
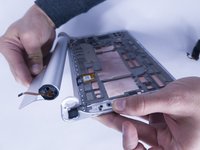
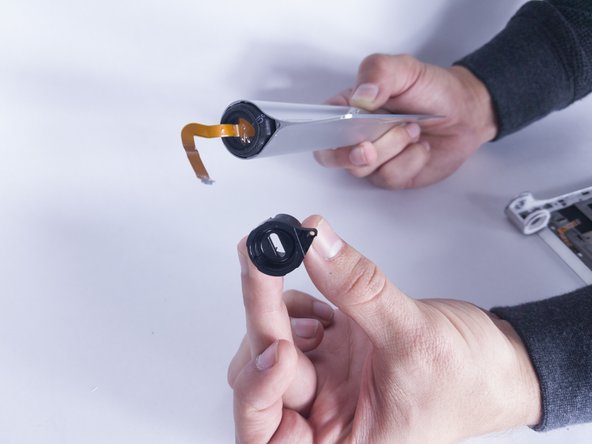
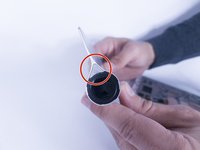
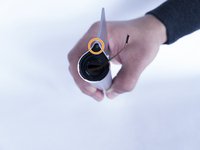
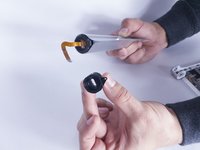
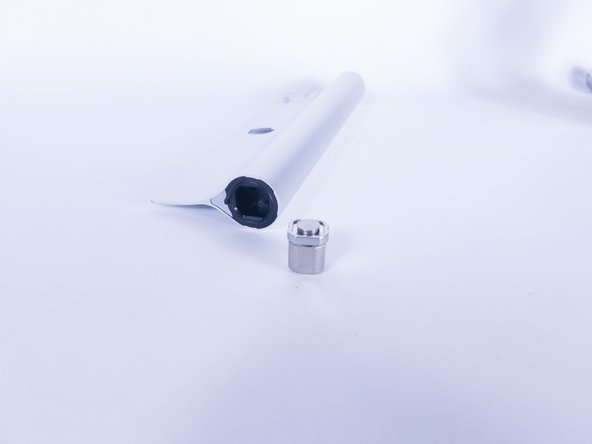
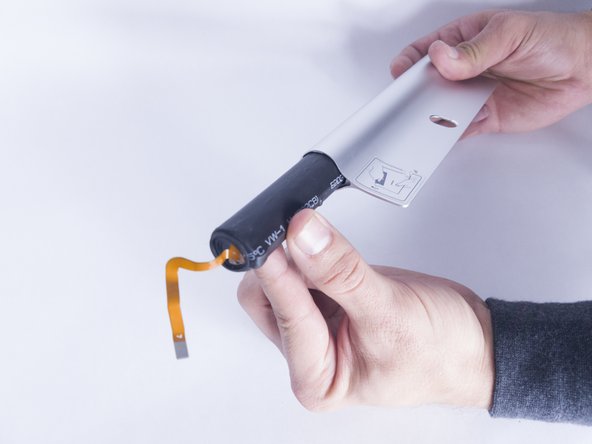
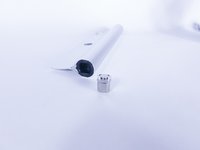
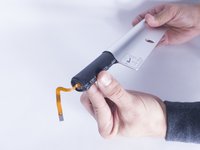
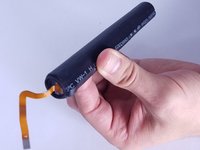
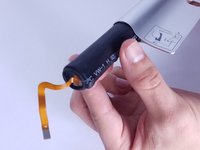
Using the tweezers, pull off the black clip that secures the battery compartment. This may require some force.
-
To reassemble your device, follow these instructions in reverse order.
To reassemble your device, follow these instructions in reverse order.
İptal et: Bu kılavuzu tamamlamadım.
12 farklı kişi bu kılavuzu tamamladı.
6Kılavuz Yorumları
hi
where i can find batter, of battery cable
Bought one off eBay: Replace Lenovo L14C3K31 L14D3K31 Battery For Yoga Tablet 2 1050F 1051F YT2-830
Sorry to tell you :
prying the battery compartment off with a spudger is the wrong disassembly move and you will very likely damage the fragile construction.
The correct way to go is to remove the speaker modules as shown and then pry / pull out the metal hinge clip on the headphone side. Once it´s out, the battery compartment can be swivelled out on that side with great ease. Assembly later works a treat. No damage done.


