Bu sürüm, hatalı düzenlemeler içerebilir. En son doğrulanmış bellek kopyası dönün.
Neye ihtiyacın var
-
Bu adım çevrilmemiş. Çevrilmesine yardım edin
-
Remove these three Phillips #1 screws:
-
Two 10mm screws.
-
One 7mm screw.
-
-
Bu adım çevrilmemiş. Çevrilmesine yardım edin
-
Using your fingers, lower the rubber boot to reveal two screws underneath the joystick.
-
Remove the two 10mm Phillips #1 screws.
-
-
-
Bu adım çevrilmemiş. Çevrilmesine yardım edin
-
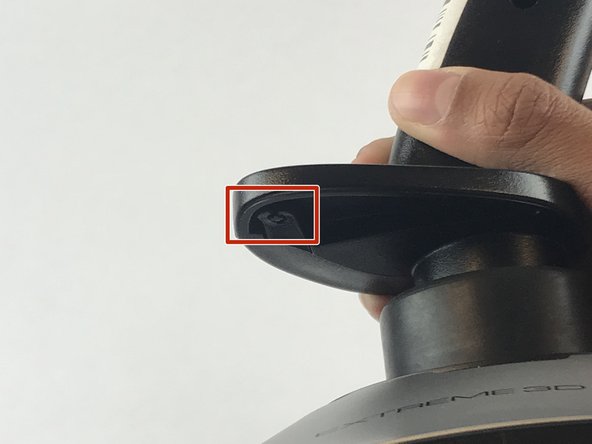
Pull apart the joystick chassis by hand.
-
Release this clip located underneath the hand rest
-
-
Bu adım çevrilmemiş. Çevrilmesine yardım edin
-
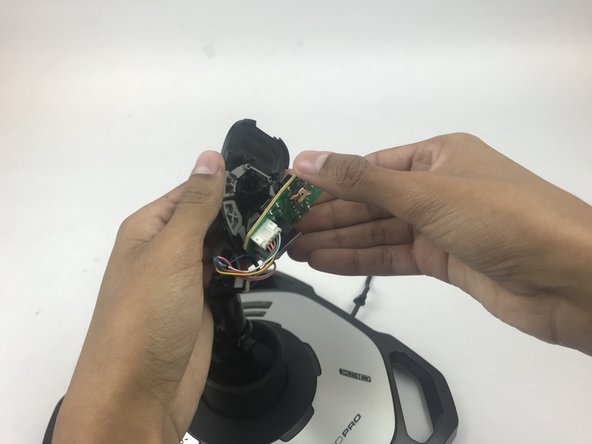
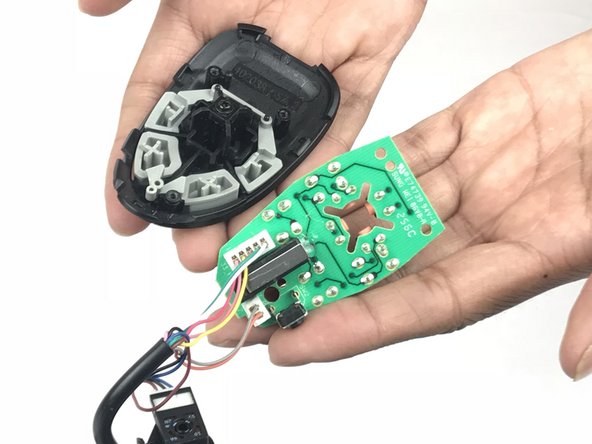
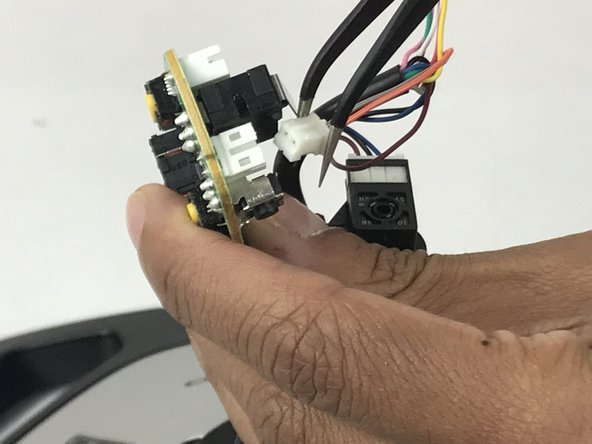
Remove the three 7mm Phillips #1 screws from the button board.
-
Remove the button board from the plastic top.
-


İptal et: Bu kılavuzu tamamlamadım.
4 farklı kişi bu kılavuzu tamamladı.
Ekip

USF Tampa, Team S7-G1, Passmore Spring 2018 USF Tampa, Team S7-G1, Passmore Spring 2018 üyesi
USFT-PASSMORE-S18S7G1
4 Üyeler
7 adet Kılavuz yazıldı