Ana içeriğe geç

Logitech G915 TKL Feet Replacement

Neye ihtiyacın var

  1. Logitech G915 TKL Feet Replacement, Prepare your keyboard for disassembly: adım 1, 3 resimden 1. Logitech G915 TKL Feet Replacement, Prepare your keyboard for disassembly: adım 1, 3 resimden 2. Logitech G915 TKL Feet Replacement, Prepare your keyboard for disassembly: adım 1, 3 resimden 3.
    • Slide the power switch on the top edge of your keyboard into the OFF position.

    • A red indicator should be visible beneath the switch.

    • Unplug all cables from your keyboard.

    • Lay your keyboard down with the feet facing up on a clean work surface.

    • If your work surface may scratch the keyboard, place a soft towel under it.

  2. Logitech G915 TKL Feet Replacement, Remove the feet: adım 2, 2 resimden 1. Logitech G915 TKL Feet Replacement, Remove the feet: adım 2, 2 resimden 2.
    • Heat an iOpener and lay it on one of the feet for one minute.

    • Alternatively, you can use a hair dryer on the Low heat setting to soften the adhesive.

    • If you're using a hair dryer, only heat the feet a few seconds at a time or you may warp the plastic body.

  3. Logitech G915 TKL Feet Replacement: adım 3, 3 resimden 1. Logitech G915 TKL Feet Replacement: adım 3, 3 resimden 2. Logitech G915 TKL Feet Replacement: adım 3, 3 resimden 3.
    • Insert the point of a spudger under an end of the foot.

    • Push the spudger underneath the foot and lift until you can grip it with your fingers.

    • The foot should come up without much force. If it feels stuck, apply more heat and try again.

    • Peel the foot up and remove it.

    • Repeat the previous two steps to remove the remaining feet.

  4. Logitech G915 TKL Feet Replacement, Reassembly information: adım 4, 2 resimden 1. Logitech G915 TKL Feet Replacement, Reassembly information: adım 4, 2 resimden 2.
    • To install a new foot:

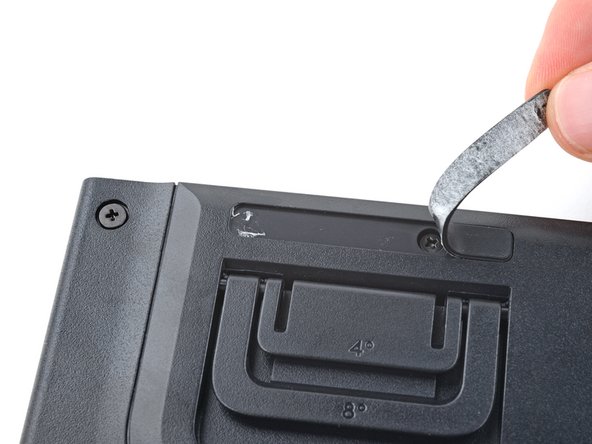
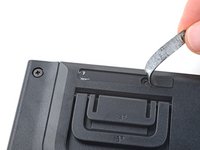
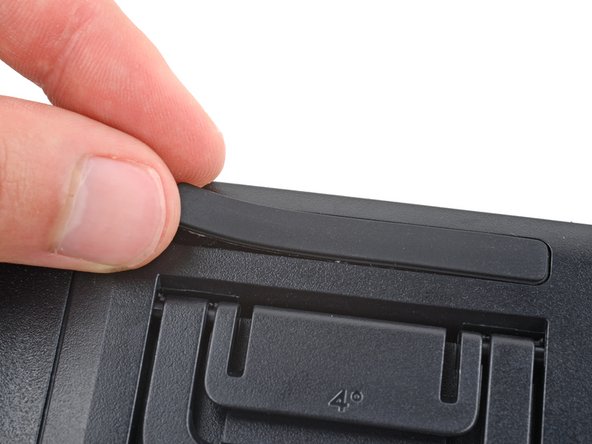
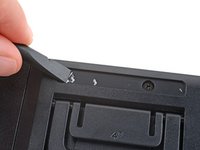
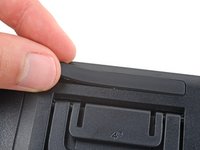
    • Use the flat end of a spudger to scrape up and remove any chunks of adhesive from the foot recesses.

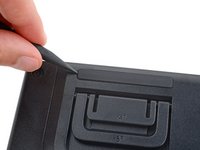
    • Remove the new feet from their backing and firmly press them into place.

Sonuç

Repair didn’t go as planned? Try some basic troubleshooting, or ask our Answers community for help.

Spencer Day

Üyelik tarihi: 09/14/22

96.225 İtibar

662 adet Kılavuz yazıldı

Ekip

iFixit iFixit üyesi

Staff

121 Üyeler

19.674 adet Kılavuz yazıldı

0Kılavuz Yorumları

Yorum Ekle

İstatistikleri Görüntüle:

Son 24 Saat: 0

Son 7 gün: 7

Son 30 gün: 45

Her zaman: 191