Giriş
Use this guide to replace a damaged or malfunctioning D-Pad on a Logitech Gamepad F310. The D-Pad is a directional, plus sign shaped pad on the left side of the controller. It is used for precise movement and controls in most games.
Make sure to check to see if it is the D-Pad that is not working, and not a different control. Also try and restart your game, and unplug and plug back in your controller. This often times fixes the problem easily.
If your D-Pad is not working or is damaged, follow this guide to replace your D-Pad so you do not miss out on any important features of your games. Make sure the device is unplugged before beginning this guide.
No special tools or skills are required to complete this replacement.
Neye ihtiyacın var
-
-
Use a Phillips #1 screwdriver to remove all seven 3 mm screws that secure the rear case.
 FixBot'a Sor
-
-
-
Press along the seams of the controller and gently pull the front and rear case apart.
-
-
-
-
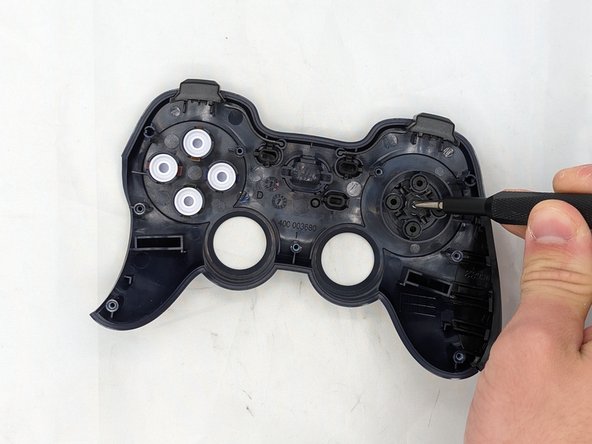
Remove the silver 3 mm screw in the middle of the D-pad with a Phillips #1 screwdriver.
-
Remove the D-pad
-


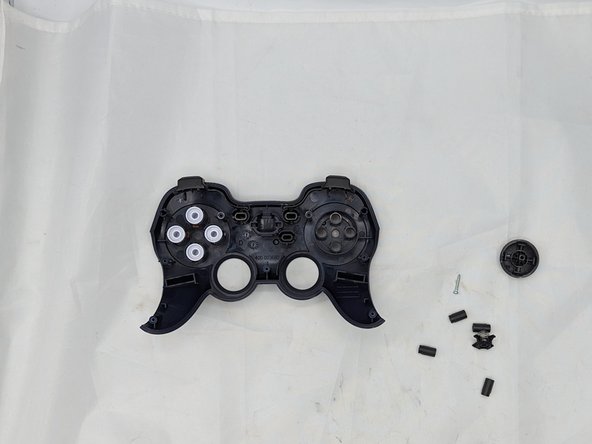
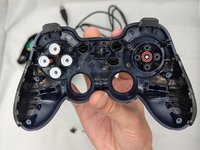
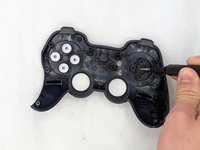
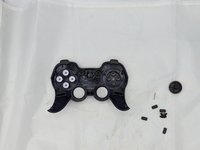
This is how to replace a D-Pad on a Logitech Gamepad F310. To reassemble your device, follow these instructions in reverse order.
İptal et: Bu kılavuzu tamamlamadım.
2 farklı kişi bu kılavuzu tamamladı.

Ekip

University of North Texas, Team 2-6, Kilpatrick Spring 2024 University of North Texas, Team 2-6, Kilpatrick Spring 2024 üyesi
UNT-KILPATRICK-S24S2G6
4 Üyeler
6 adet Kılavuz yazıldı
