Ana içeriğe geç

Logitech UE Boom Bluetooth Adapter Replacement

Neye ihtiyacın var

  1. Logitech UE Boom Bluetooth Adapter Replacement, D-ring: adım 1, 1 resimden 1.
    • Turn the device over. The D-ring will be on the left face of the speaker when viewing the device from this orientation.

  2. Logitech UE Boom Bluetooth Adapter Replacement: adım 2, 2 resimden 1. Logitech UE Boom Bluetooth Adapter Replacement: adım 2, 2 resimden 2.
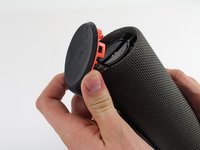
    • Lift the handle on the D-ring and unscrew it.

    • Remove the D-ring.

  3. Logitech UE Boom Bluetooth Adapter Replacement, Bluetooth Adapter: adım 3, 1 resimden 1.
    • Any repairs made from this point forward will void your device's warranty.

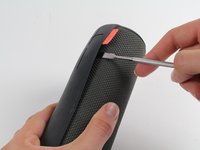
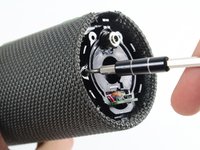
    • Holding the speaker upright, wedge the metal spudger in between the casing and the speaker. Gently pry open the tabs as they are easily broken.

  4. Logitech UE Boom Bluetooth Adapter Replacement: adım 4, 3 resimden 1. Logitech UE Boom Bluetooth Adapter Replacement: adım 4, 3 resimden 2. Logitech UE Boom Bluetooth Adapter Replacement: adım 4, 3 resimden 3.
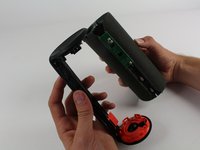
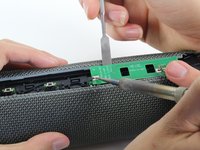
    • Find the part of the casing that covers the volume controls. Wedge the metal spudger under this and pry open all of the tabs as in the previous step.

    • Repeat for the bottom of the speaker and pry the casing open with your fingers.

  5. Logitech UE Boom Bluetooth Adapter Replacement: adım 5, 2 resimden 1. Logitech UE Boom Bluetooth Adapter Replacement: adım 5, 2 resimden 2.
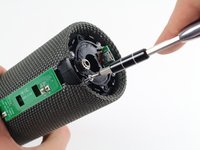
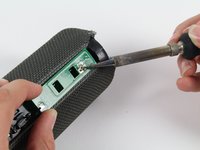
    • Using the Phillips J0 head screwdriver, unscrew the four silver 9 mm screws.

    • Do the same for the two black 7 mm screws.

  6. Logitech UE Boom Bluetooth Adapter Replacement: adım 6, 3 resimden 1. Logitech UE Boom Bluetooth Adapter Replacement: adım 6, 3 resimden 2. Logitech UE Boom Bluetooth Adapter Replacement: adım 6, 3 resimden 3.
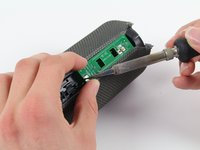
    • This next step involves the use of a hot soldering iron. Remember to be careful during this step since it can be easy to burn yourself.

    • Using a soldering iron, de-solder the two ends of the switch plate.

  7. Logitech UE Boom Bluetooth Adapter Replacement: adım 7, 1 resimden 1.
    • With the switch plate disconnected, remove it and your device should now look like this.

Sonuç

To reassemble your device, follow these instructions in reverse order.

6 farklı kişi bu kılavuzu tamamladı.

Jose Cruz Arinaga

Üyelik tarihi: 10/01/15

1.003 İtibar

3 adet Kılavuz yazıldı

Ekip

Cal Poly, Team 4-1, Maness Fall 2015 Cal Poly, Team 4-1, Maness Fall 2015 üyesi

CPSU-MANESS-F15S4G1

4 Üyeler

20 adet Kılavuz yazıldı

0 Yorum

Yorum Ekle

İstatistikleri Görüntüle:

Son 24 Saat: 0

Son 7 gün: 1

Son 30 gün: 19

Her zaman: 11,153