Giriş
The M3D's fan is a crucial component of the M3D, and if it is faulty or broken, your printer won't operate ideally. A faulty fan might make your printer very noisy, or it might not properly cool down your prints, causing warping and inaccuracy. Luckily, the M3D Store sells affordable replacement fans, and the repair is very quick and easy. Aside from a tool to pry out the fan, such as a metal spudger, you don't need any special equipment, so this is a simple fix.
Neye ihtiyacın var
-
-
-
To release the x-rods, pull the x-rods away from the plastic sliders on the y-rods, and flip the slider upwards to release the tracks.
 FixBot'a Sor
-
-
-
Slide the tracks off the second slider and remove the printer head and x-tracks from the center of the printer. To remove the front cover of the print head, firmly grip the cover and gently pull it off.
-
-
-
-
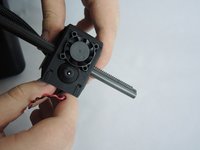
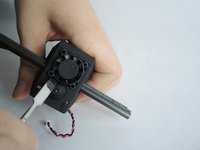
Disconnect the red and black wires at the white connector. They should easily separate.
-
-
-
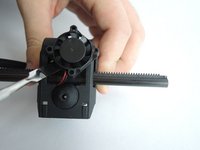
The fan is held loosely in place at the base of the printer head. Use a metal spudger to gently pry it out of the printer head.
-
-


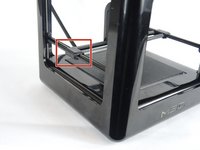


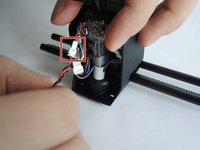
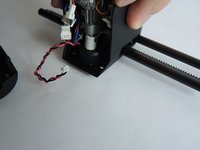

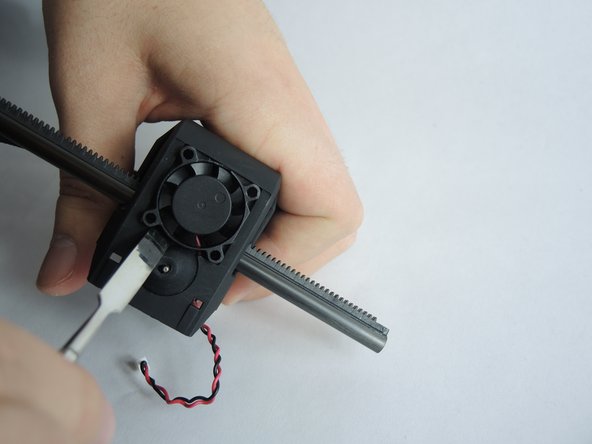


To reassemble your device, follow these instructions in reverse order.

Ekip

USF Tampa, Team S3-G2, Nance Fall 2017 USF Tampa, Team S3-G2, Nance Fall 2017 üyesi
USFT-NANCE-F17S3G2
4 Üyeler
10 adet Kılavuz yazıldı
