Ana içeriğe geç

Bu kılavuzda güncel değişiklikler var. En son onaylanmamış sürüme geçin.

MSI GE62 Apache Pro 004 Web Camera Replacement

Neye ihtiyacın var

  1. MSI GE62 Apache Pro 004 Web Camera Replacement, Battery: adım 1, 1 resimden 1.
    • Start with the bottom of the laptop facing up.

  2. MSI GE62 Apache Pro 004 Web Camera Replacement: adım 2, 2 resimden 1. MSI GE62 Apache Pro 004 Web Camera Replacement: adım 2, 2 resimden 2.
    • Remove the 15 screws from the bottom of the laptop with a PH1 screwdriver.

    • Remove the bottom plate

    • Keep track of all the screws and which slot they came from, as they slightly differ. We recommend this system: lay out on a piece of paper and pretending the paper is the device. Place the screws on the paper approximately where they would go

  3. MSI GE62 Apache Pro 004 Web Camera Replacement: adım 3, 3 resimden 1. MSI GE62 Apache Pro 004 Web Camera Replacement: adım 3, 3 resimden 2. MSI GE62 Apache Pro 004 Web Camera Replacement: adım 3, 3 resimden 3.
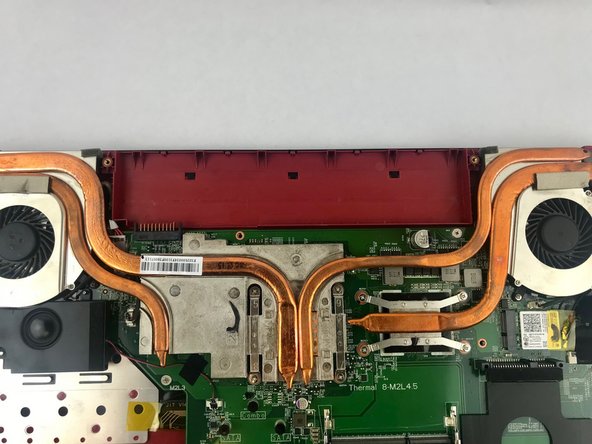
    • Remove the screw holding down the battery with a PH1 screwdriver.

    • Pull out the battery.

  4. MSI GE62 Apache Pro 004 Web Camera Replacement, Web Camera: adım 4, 1 resimden 1.
    • Flip over the laptop and open it.

  5. MSI GE62 Apache Pro 004 Web Camera Replacement: adım 5, 3 resimden 1. MSI GE62 Apache Pro 004 Web Camera Replacement: adım 5, 3 resimden 2. MSI GE62 Apache Pro 004 Web Camera Replacement: adım 5, 3 resimden 3.
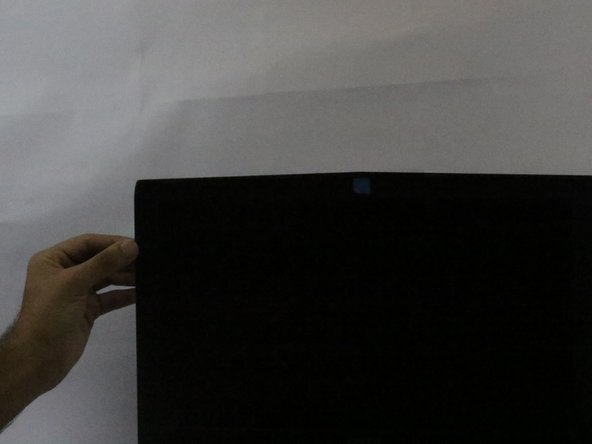
    • Slide a metal opener tool along the outside edges of the front screen panel to start to separate it from the back screen panel.

    • You may need to apply some firm pressure to get it started.

  6. MSI GE62 Apache Pro 004 Web Camera Replacement: adım 6, 2 resimden 1. MSI GE62 Apache Pro 004 Web Camera Replacement: adım 6, 2 resimden 2.
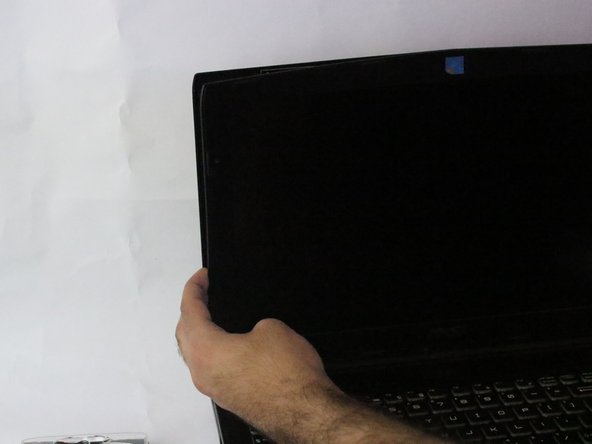
    • Once it has started to separate, gently pull off the screen panel by working along the edge, and set it aside.

  7. MSI GE62 Apache Pro 004 Web Camera Replacement: adım 7, 2 resimden 1. MSI GE62 Apache Pro 004 Web Camera Replacement: adım 7, 2 resimden 2.
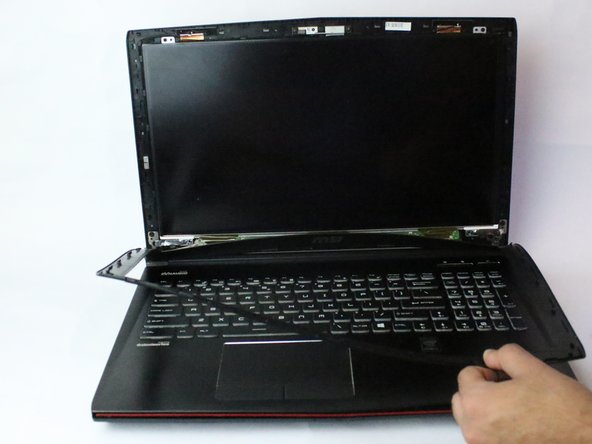
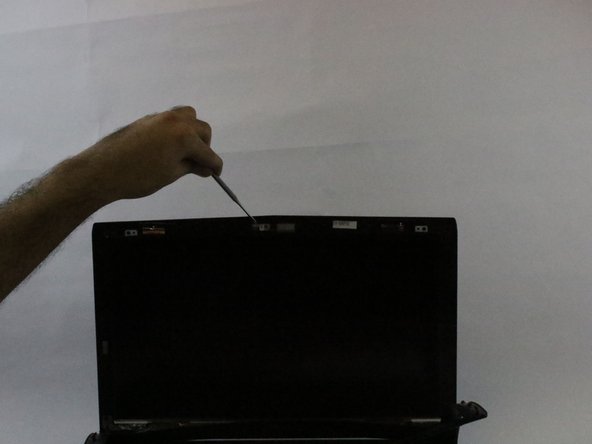
    • Locate the WebCam on the middle of the device.

    • Slide a metal opener tool to remove the Webcam

Sonuç

To reassemble your device, follow these instructions in reverse order.

Majid Al Hashmi

Üyelik tarihi: 02/13/18

283 İtibar

2 adet Kılavuz yazıldı

Ekip

USF Tampa, Team S15-G5, Boczar Spring 2018 USF Tampa, Team S15-G5, Boczar Spring 2018 üyesi

USFT-BOCZAR-S18S15G5

4 Üyeler

5 adet Kılavuz yazıldı

0 Yorum

Yorum Ekle

İstatistikleri Görüntüle:

Son 24 Saat: 0

Son 7 gün: 0

Son 30 gün: 4

Her zaman: 821