Giriş
With how the keyboard for this laptop is fastened, replacing it is easier than in some cases. with just screws fastening it in place there is no need to solder when replacing the keyboard.
Neye ihtiyacın var
-
-
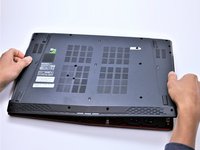
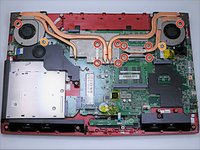
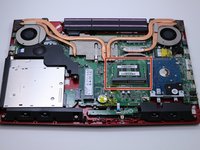
With the laptop closed and upside down, unscrew the nineteen 5.5mm Phillips #1 screws that keep the back cover in place.
-
-
-
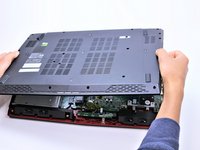
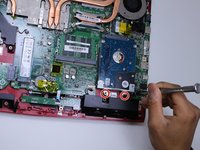
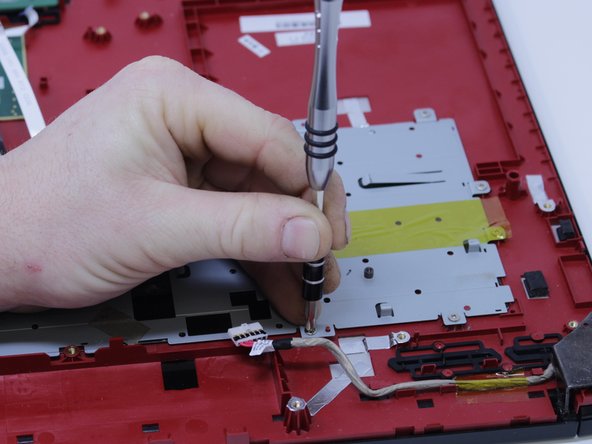
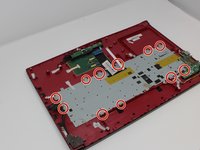
Use a Phillips #1 screwdriver to remove the ten 5.5mm screws.
-
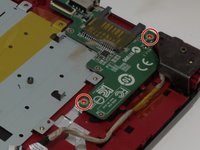
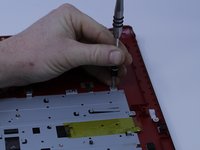
Remove the last two 5.5mm Phillips #1 screws, and remove the washers around them.
-
-
-
-
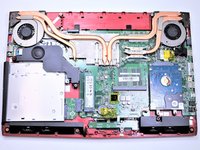
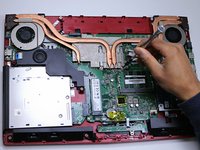
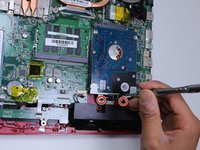
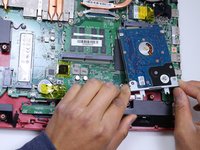
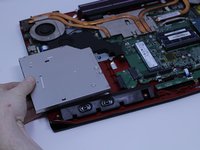
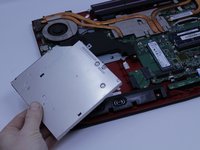
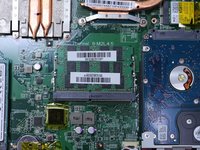
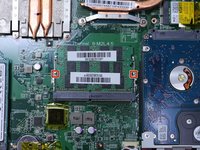
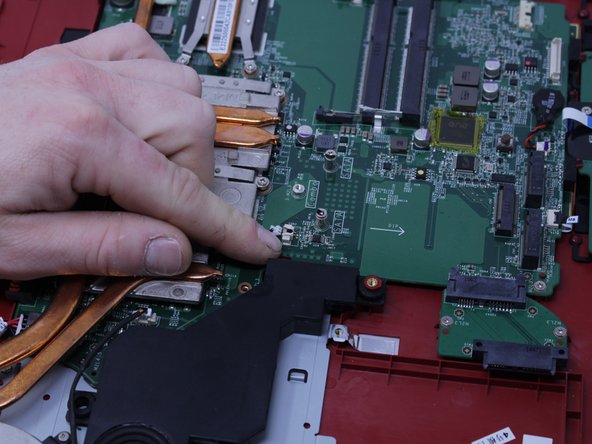
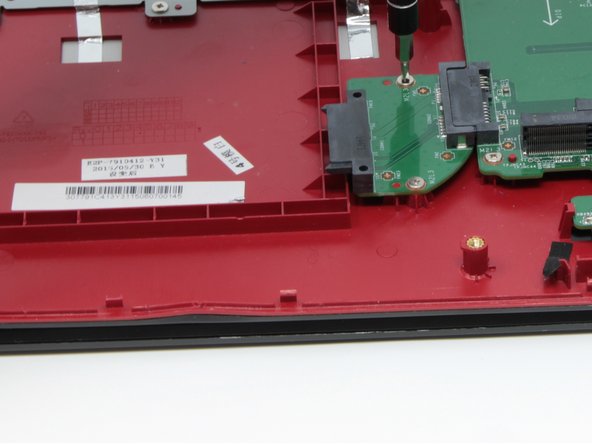
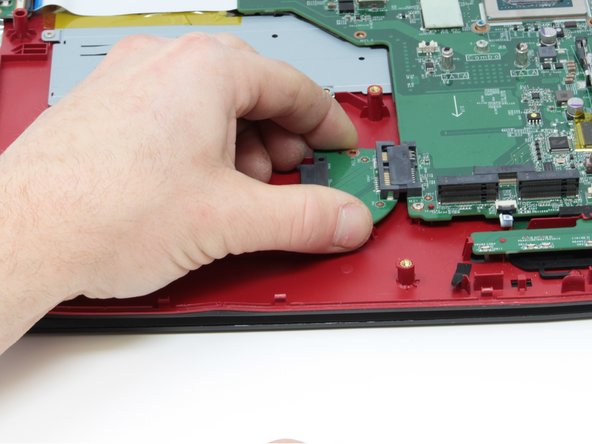
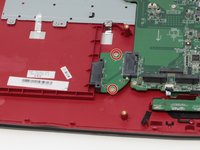
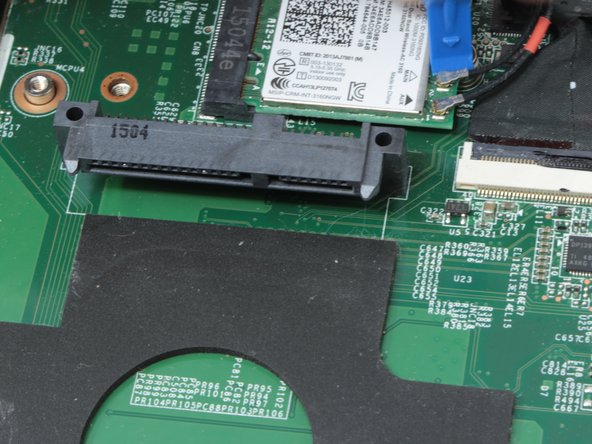
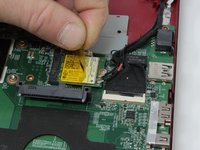
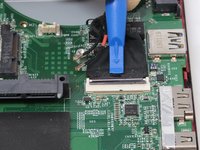
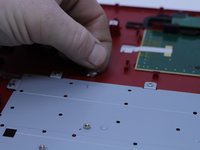
Carefully slide the Optical Drive off of the SATA connector.
-
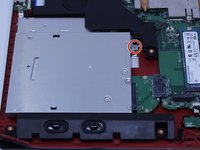
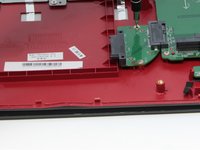
The red marker shows the location for where the retaining screw comes through the back panel to hold the Optical Drive.
-
-
-
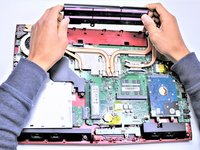
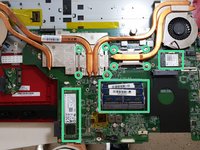
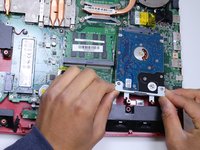
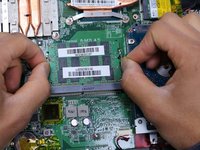
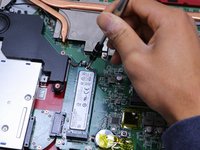
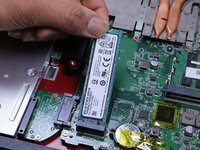
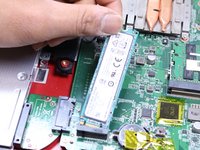
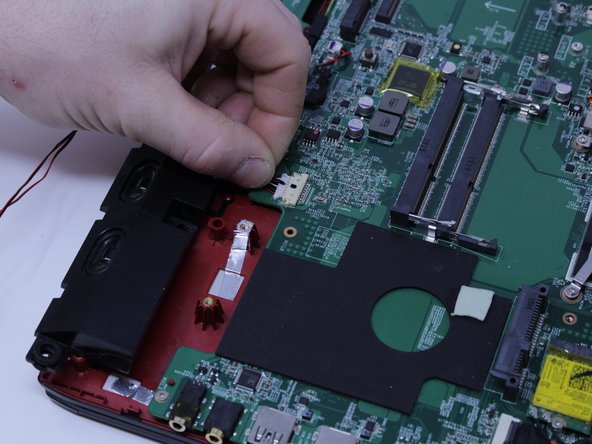
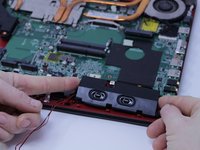
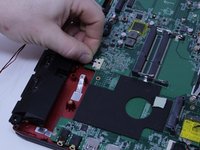
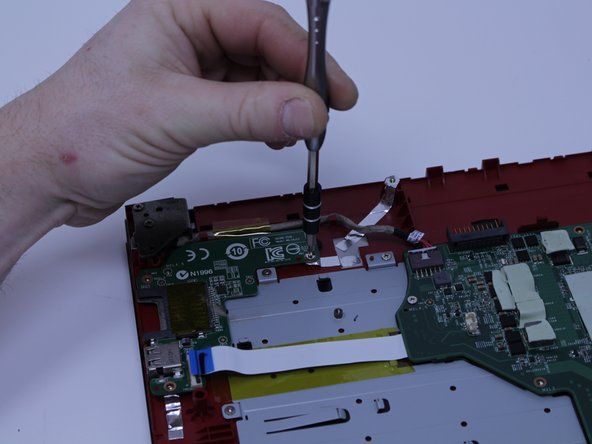
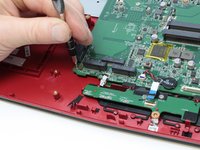
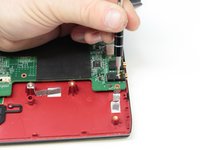
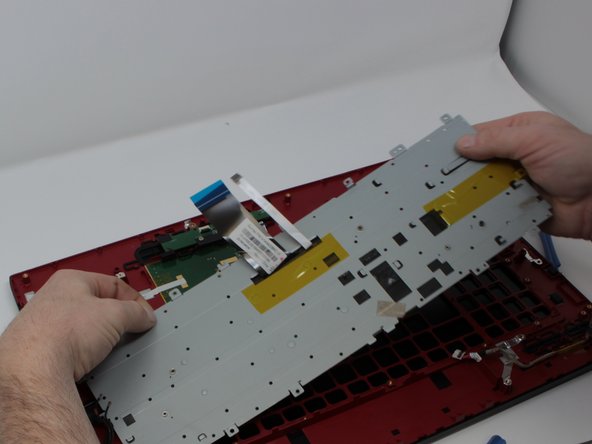
Pull upward to lift the front speakers and sub-woofer out of place.
-
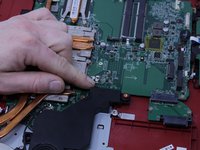
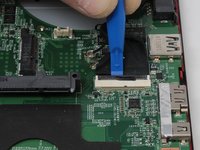
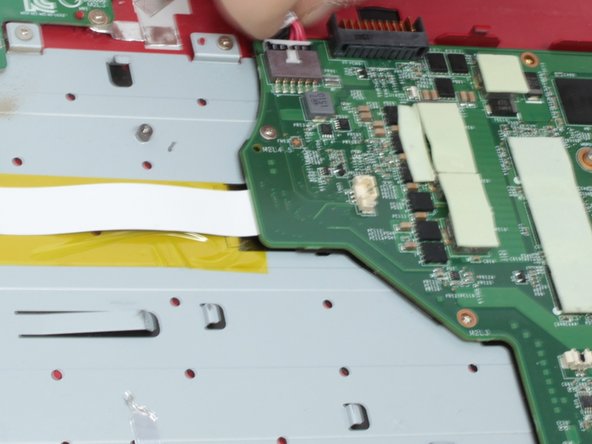
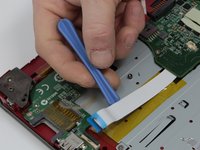
Carefully slide out the connectors for both of the speaker systems.
-


To reassemble your device, follow these instructions in reverse order.
İptal et: Bu kılavuzu tamamlamadım.
9 farklı kişi bu kılavuzu tamamladı.
Ekip

Central Washington University, Team S1-G2, Pengilly Fall 2017 Central Washington University, Team S1-G2, Pengilly Fall 2017 üyesi
CWU-PENGILLY-F17S1G2
4 Üyeler
4 adet Kılavuz yazıldı
4Kılavuz Yorumları
1) Remove a single CD/DVD tray screw when the bottom cover is still on.
2) Remove the CD/DVD tray.
3) Remove the rear trim.
4) Remove the bottom cover from the CD/DVD side to the USB side, as the bottom cover has a frame that goes around the USB ports.
Otherwise, TY for your effort.
Someone please correct the time on this guide. There’s no way this is a 10 minute job!!
Plus the replacement keyboard (not bought yet) doesn’t seem to have the screw mount holes around the frame? Are there some steps missing to transplate the backing plate from the old keyboard to the new? Or should the new come with a backing plate with the required screw holes?
Took around 3 hours in total to change out keyboard, SSD and RAM. The only difference was that in my case there were no screws in step 30 holding in the original keyboard and it was held in place by the tape only. Also the keyboard was stuck to the metal plate by 30+ black plastic pieces so it was almost impossible to take out the original keyboard without forcefully bending the plate and keyboard out of the frame. Had to add in replacement screws to hold in the new keyboard as I could not reapply the original tape to hold it in properly. Apart from that the only problem was dealing with the small connectors that were extremely fidgety with large hands.