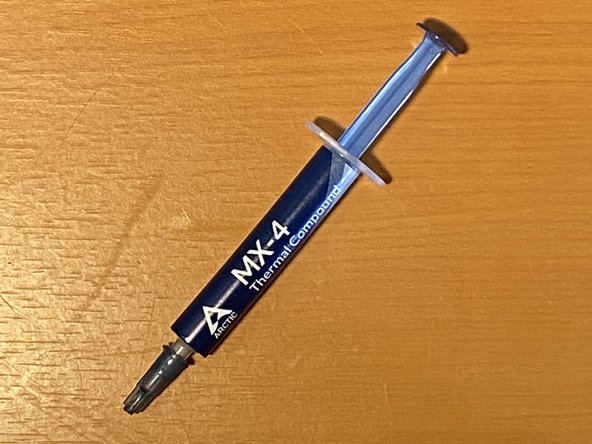
Neye ihtiyacın var
-
-
Find the 2 pull tabs and use them to pull out the CPU tray and place them on the table.
-
Pull Straight up as there is a vital connection built into the heatsink.
-
On the bottom of the heatsink will be a copper pad that comes in contact with the CPU. Use a paper towel to wipe off all the remaining thermal paste, isopropyl Alcohol is handy for this.
-
-
-
-
Clean all of the thermal paste on the CPU and lift the metal bar up and pull the bracket back.
-
Gently pull out the old CPU with thumb and pointer finger and then place it towards the side.
-
-
-
Inspect the cpu socket and other connectors for dust and debris and blow away if necessary.
-
Place the new cpu in with a touch of thermal paste at the top.
-
To reassemble your device, follow these instructions in reverse order.
To reassemble your device, follow these instructions in reverse order.
İptal et: Bu kılavuzu tamamlamadım.
2 farklı kişi bu kılavuzu tamamladı.
3Kılavuz Yorumları
This process shows a single CPU MacPro, which gets a Xeon processor WITH the LID covering it and heatsink on it. As of MacPro4,1 with Nehalem it's bi-xeon CPU and heatsink on a bare processor chip, no lid covers. That difference cannot be seen from a built MacPro board (because of the big heatsinks-) But it's a good performance improvement (CPU temp the lower the faster) when heatsink's directly in contact with the chip.
https://superuser.com/questions/923678/d...
If you can buy a Xeon upgrade just be sure to choose the processor without the lid (most Apple Mac setups) or with the lid cover (as PC setups)
Your guide has been very useful. Best compliments. I'll follow you 4ever!
Glad to here!
Thanks for the positive feedback! @goodyb Good job!


