Ana içeriğe geç

Bu kılavuzda güncel değişiklikler var. En son onaylanmamış sürüme geçin.

MacBook Air 13" Mid 2013 Display Assembly Replacement

Salt Önkoşul
Bu kılavuz yalnızca diğer kılavuzlar için bir ön koşul olarak kullanılmak üzere tasarlanmıştır. Tek başına eksiktir.

Neye ihtiyacın var

  1. MacBook Air 13" Mid 2013 Display Assembly Replacement, Display Assembly: adım 1, 1 resimden 1.
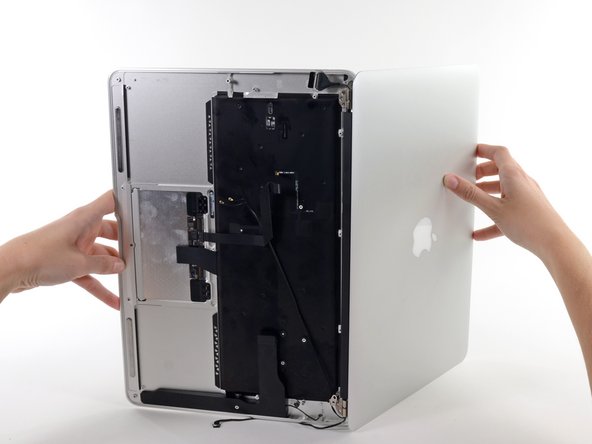
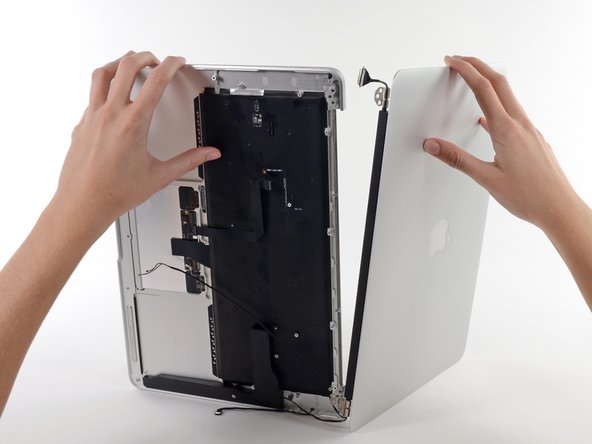
    • Remove the inner two 4.9 mm T8 Torx screws securing the right display hinge to the upper case.

    • Leaving the third screw in place for now will aid in rest of the procedure.

  2. MacBook Air 13" Mid 2013 Display Assembly Replacement: adım 2, 1 resimden 1.
    • Open the display so that it is perpendicular to the upper case and place it on a table as shown.

  3. MacBook Air 13" Mid 2013 Display Assembly Replacement: adım 3, 1 resimden 1.
    • While holding the Air steady, remove the remaining 4.9 mm T8 Torx screw from the display bracket.

  4. MacBook Air 13" Mid 2013 Display Assembly Replacement: adım 4, 1 resimden 1.
    • Flip the computer over so the last display screw is more easily accesible.

    • Before removing the final display screw, be sure to hold the display and upper case steady with your other hand. Failure to do so may allow the components to fall onto the table, causing potentially expensive damage.

    • Remove the last 4.9 mm T8 Torx screw securing the display to the upper case.

  5. MacBook Air 13" Mid 2013 Display Assembly Replacement: adım 5, 3 resimden 1. MacBook Air 13" Mid 2013 Display Assembly Replacement: adım 5, 3 resimden 2. MacBook Air 13" Mid 2013 Display Assembly Replacement: adım 5, 3 resimden 3.
    • Open the Air slowly until the hinges slide out of their notches.

    • Once the two display hinges have cleared the upper case, remove the display and set it aside.

Sonuç

To reassemble your device, follow these instructions in reverse order.

0 Yorum

Yorum Ekle

İstatistikleri Görüntüle:

Son 24 Saat: 0

Son 7 gün: 0

Son 30 gün: 0

Her zaman: 149