Bu çeviri bir makine tarafından oluşturulmuştur ve henüz bir kişi tarafından incelenmemiştir. Bu dili konuşuyor musunuz? İnceleme için.
Giriş
Arızalı bir MagSafe DC-In Board parçasını değiştirmek için bu kılavuzu kullanın.
Neye ihtiyacın var
-
-
-
Aşağıdaki on vidayı sökün:
-
Üç adet 14,4 mm Phillips #00 yıldız vida
-
Üç adet 3,5 mm Phillips #00 yıldız vida
-
Dört adet 3,5 mm omuzlu Phillips #00 yıldız vida
 FixBot'a Sor
-
-
-
Alt kasayı havalandırma deliğinin yakınından parmaklarınızla kaldırarak MacBook gövdesinden ayırın.
-
Alt kasayı çıkarın.
-
-
-
-
-
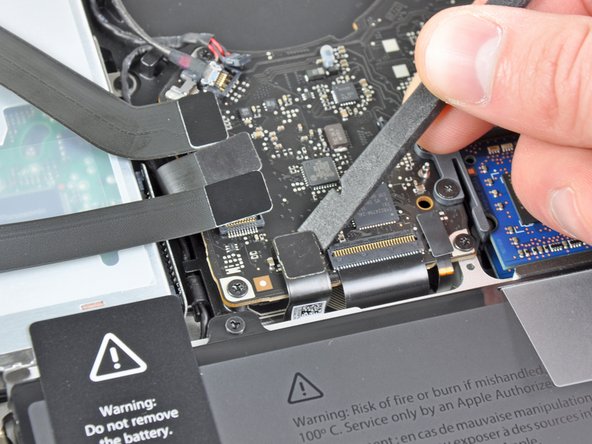
Plastik kanırtma aparatının ucunu kullanarak batarya konnektörünü anakart üzerindeki soketinden yukarı doğru kaldırarak ayırın.
-
-
-
Çalışırken yanlışlıkla tekrar temas etmemesi için batarya kablosunu anakart üzerindeki soketinden hafifçe uzağa doğru bükün.
-
-
-
-
-
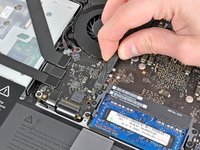
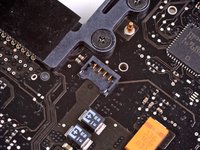
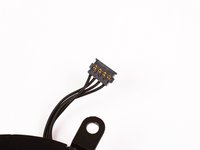
Fan konnektörünü anakart üzerindeki soketinden yavaşça yukarı doğru kaldırmak için bir plastik kanırtma aparatının ucunu kullanın.
-
-
-
Fanı anakarta sabitleyen aşağıdaki üç vidayı çıkarın:
-
Bir adet 7,2 mm T6 Torx vida
-
İki adet 5,3 mm T6 Torx vida
-
-
-
Fanı, kablosunun takılabileceğine dikkat ederek anakart üzerindeki yuvasından kaldırın.
-
-
-
-
-
-
Sağ hoparlör/subwoofer kablosunu kasanın üst kısmına kalıplanmış tutucu tırnağın altından çekip çıkarmak için plastik kanırtma aparatının ucunu kullanın.
-
Bağlantıyı anakart üzerindeki soketinden çıkarmak için sağ hoparlör/subwoofer kablosunu yukarı doğru çekin.
-
-
-
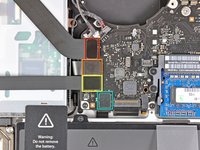
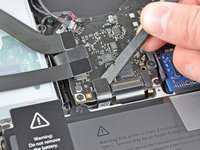
Aşağıdaki dört kabloyu ayırın:
-
AirPort/Bluetooth kablosu
-
Optik sürücü kablosu
-
Sabit sürücü kablosu
-
Dokunmatik yüzey kablosu
-
-
-
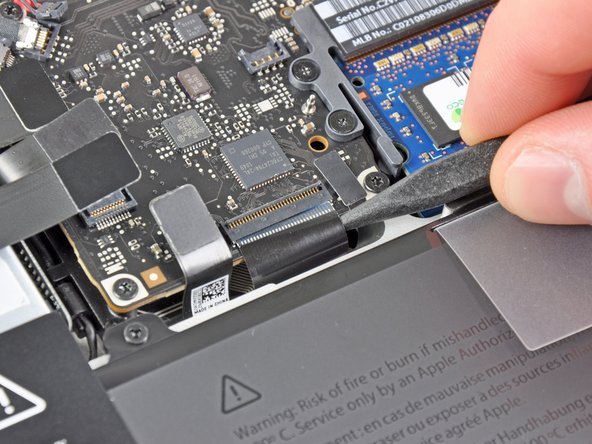
Klavye ribbon kablosunun ZIF soketi üzerindeki tutucu çentiği parmağınızla yukarı kaldırın.
-
Klavye ribbon kablosunu soketinden çekip çıkarmak için bir plastik kanırtma aparatının ucunu kullanın.
-
-
-
Varsa, klavye arka ışık kablosu soketini kapatan küçük siyah bant şeridini çıkarın.
-
-
-
Klavyenin arka aydınlatma ribbon kablosunun ZIF soketindeki tutucu çentiği kaldırmak için bir plastik kanırtma aparatının ucunu veya tırnağınızı kullanın.
-
Klavyenin arka aydınlatma ribbon kablosunu soketinden dışarı çekin.
-
-
-
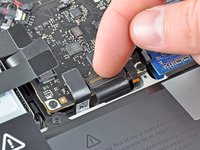
Uyku sensörü/batarya göstergesi konnektörünü anakart üzerindeki soketinden ayırmak için plastik kanırtma aparatının yassı ucunu kullanın.
-
-
-
Ekran veri kablosu kilidinde sabitlenmiş plastik çekme tırnağını tutun ve bilgisayarın DC-In tarafına doğru döndürün.
-
Ekran veri kablosunu anakart üzerindeki soketinden düz bir şekilde çekerek çıkarın.
-
-
-
Aşağıdaki dokuz vidayı çıkarın:
-
Beş adet 3,6 mm T6 Torx vida
-
İki adet 4,3 mm T6 Torx vida
-
İki adet 7,2 mm T6 Torx vida
-
Beş adet 3,0 mm T6 vida
-
İki adet 3,6 mm T6 vida
-
İki adet 6,7 mm T6 vida
-
-
-
Aşağıdaki iki vidayı çıkarın:
-
Bir adet 8,6 mm Yıldız vida
-
Bir adet 5,5 mm Yıldız vida
-
Ekran veri kablosu sabitleyicisini üst kasadan çıkarın.
-
-
-
Mikrofonu üst kasaya sabitleyen yapışkandan nazikçe ayırmak için plastik kanırtma aparatının ucunu kullanın.
-
-
-
Kenarlarındaki çok sayıdaki konnektöre dikkat ederek anakartı, optik sürücüye en yakın uçtan kaldırın.
-
Anakarta esneme yaptırmadan, üst kasadaki DC-In kartına giden ve üst kasaya takılabilecek esnek bağlantıya dikkat ederek kasadan dışarı doğru manevra yaptırın.
-
Anakartı çıkarın.
-
-
-
-
-
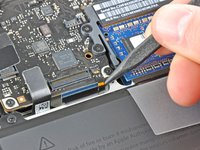
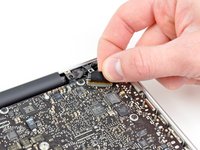
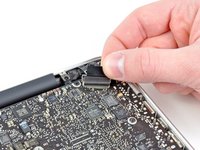
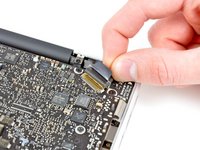
MagSafe DC-In Board kablosunu, anakarttan ayırmak için ısı dağıtıcıya doğru çekin.
-
MagSafe DC-In Board'u çıkarın.
-
-






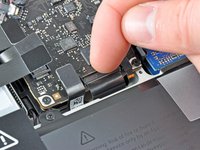
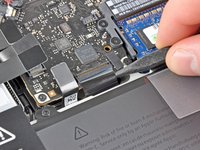


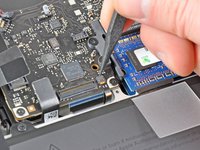
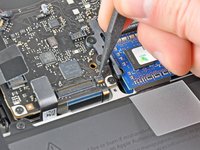




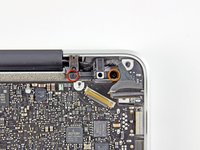
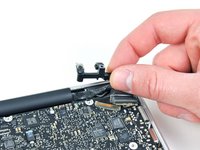


Cihazınızı yeniden toplamak için bu talimatları ters sırayla uygulayın.
İptal et: Bu kılavuzu tamamlamadım.
129 farklı kişi bu kılavuzu tamamladı.

19Kılavuz Yorumları
It's worth noting that the two ribbon cables held in place by ZIF connectors are a real pain to put back in - it's very hard to get any force pushing them back into the ZIF connector. It took two small tweezers and a bit of luck on the keyboard cable.
To get back the keyboard ribbon I put the piece of Anti-Static Kapton Tape to enter it.
As stated the keyboard connector is a nightmare to get back in, how I finally did it is, I presented the cable to the socket and using a sticky label pressing down pulled the label towards the centre of the mainboard
The magsafe connector is not under the mainboard and it would be easy for apple to have designed it so that the socket was on the top not the underside of the mainboard
I was using my Laptop (literally in my lap), with the charger connected when it felt very warm on my pant leg. Felt the bottom of the case by the Mag Safe connector and it was very hot, almost burnt my hand. Surprisingly hot. Wouldn't charge right after that, kept getting hot, intermittent charging. Looked at the contacts with a jewelers loupe; the gold contacts were burnt and blistered, plastic melted so it wouldn't make full contact with the AC charger. Charger contacts OK. Replaced DC in board, works like new, saved a bundle of cash. Laid all the screws out in related groups on table top. e.g. All 10 cover screws in a square. MoBo Screws in MoBo pattern, or, you could use a small metric/millimeter ruler to tell which screw goes where.
This is a terrific guide. My project, a mid-2009 13" MacBook Pro 5,5, was a little different, and the biggest challenges I experienced were places where my computer's connections were different than the model illustrated. So I'll share how that computer differed for those who might come up against the same challenges. I'll add those notes and illustrations in the sections that apply.
I lucked out with the two keyboard ribbon cables. I simply nudged them into place with two different spudgers—one to pry gently upward from underneath, the other to redirect that force to press the cable directly into its slot. I was anticipating a struggle, but it was a nothing.
Thanks for the great work, Andrew Bookholt, and everyone else!
