Giriş
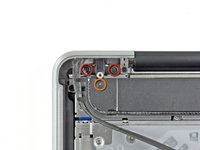
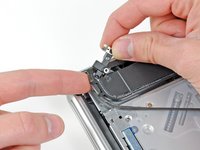
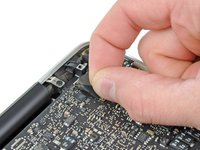
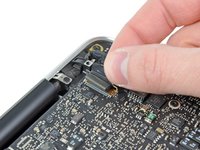
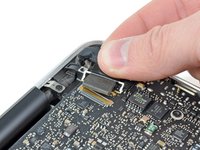
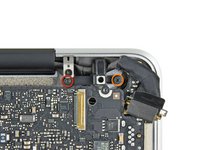
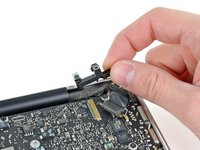
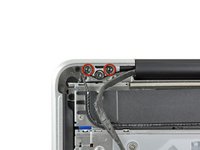
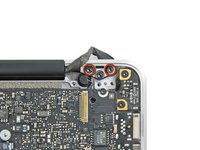
Use this guide to replace the entire display assembly.
Neye ihtiyacın var
-
-
Remove the following 10 screws securing the lower case to the MacBook Pro 13" Unibody:
-
Seven 3 mm Phillips screws.
-
Three 13.5 mm Phillips screws.
-
-
-
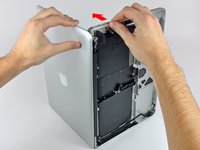
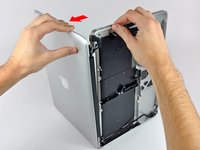
Slightly lift the lower case and push it toward the rear of the computer to free the mounting tabs.
-
-
-
Use the flat end of a spudger to lift the battery connector up out of its socket on the logic board.
-
-
-
Use the flat end of a spudger to pry up the subwoofer/right speaker cable connector out of its socket on the logic board.
-
-
To reassemble your device, follow these instructions in reverse order.
To reassemble your device, follow these instructions in reverse order.
İptal et: Bu kılavuzu tamamlamadım.
78 farklı kişi bu kılavuzu tamamladı.
5Kılavuz Yorumları
Thanks for the guide, it was spot on. I dropped my beloved MacBook Pro and it cracked the display. Following the guide was a snap even for my old eyes, the ability to make the pictures full screen is great.
Had the standard problem with a loose screen on a MacBook Pro 13in 2010. Followed the guide which is very clear and got to the screws which I could then tighten. Reassembled and on booting could hear the fan but no display aside from a few flashes. Rechecked the screen data cable connection which was slightly mis-aligned. corrected it and it worked fine. That connection is very sensitive!
Saved me $900 quoted by the Macstore - 90 mins work on my own and a few grey hairs. A glass of red wine helps.
Just followed the steps and I successfully reinstalled a new screen/lid assembly. The only problem being was step 4. When gently (underline gently) removed the audio cable, all of the pins fractured and remained in the board so now my onboard audio is highly limited. I have to ask why was that step necessary as the removal/reinstall would have been completely possible without step 4. Greg


