Bu çeviri bir makine tarafından oluşturulmuştur ve henüz bir kişi tarafından incelenmemiştir. Bu dili konuşuyor musunuz? İnceleme için.

MacBook Pro 17" Unibody Ekran Düzeneği Değişimi

Andrew Bookholt ve 10 diğer katkıda bulunanlar
En son 16 Ağu 2026 tarihinde güncellendi
Görüntüleme: 78 B
İstatistikleri görüntüle:
- Son 24 Saat:
- 6
- Son 7 Gün:
- 54
- Son 30 Gün:
- 171
- Her zaman:
- 77.516
Yorumlar: 45
36 comments on steps, 9 guide comments.
Go to guide commentsTamamlandı: 43 44
43 kişi bu kılavuzu "tamamlandı" olarak işaretledi. Sıradaki sen olacak mısın?
44 kişi bu kılavuzu "tamamlandı" olarak işaretledi. Siz de dahil - harika iş!
Sık Kullanılanlar: 24 25
24 kişi bu kılavuzu favorilerine ekledi (ve abone oldu). Sıradaki sen olacak mısın?
Siz de dahil olmak üzere 25 kişi bu kılavuzu favorilerine ekledi (ve abone oldu)!
Öne Çıkan Kılavuzlar
Bu kılavuz, iFixit kadrosu tarafından acayip havalı bulundu.
Giriş
1. adıma git ↓MacBook Pro'nuzun ekran düzeneğini değiştirmek için bu kılavuzu kullanın.
Neye ihtiyacın var


-
-
-
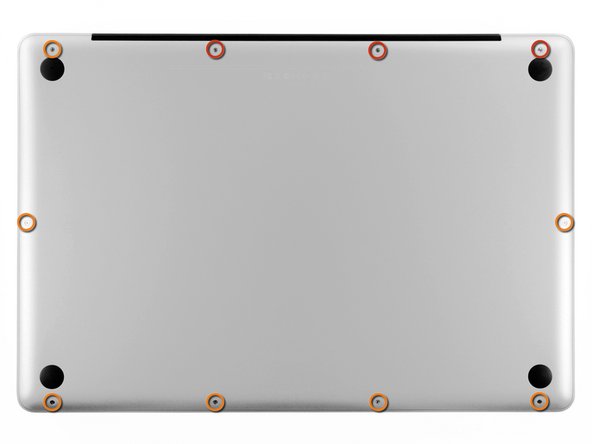
Alt kasayı üst kasaya sabitleyen aşağıdaki on vidayı çıkarın:
-
Üç adet 13,5 mm yıldız vida.
-
Yedi adet 3 mm yıldız vida.
 FixBot'a Sor
-
-
-
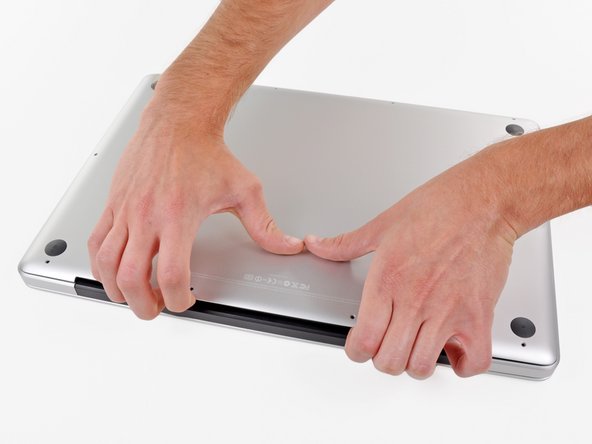
Parmaklarınızı alt kasa ile havalandırma arasına yerleştirin ve alt kasayı üst kasaya sabitleyen iki klipsi serbest bırakmak için yukarı doğru kaldırın.
-
Alt kasayı çıkarın.
-
-
-
-
-
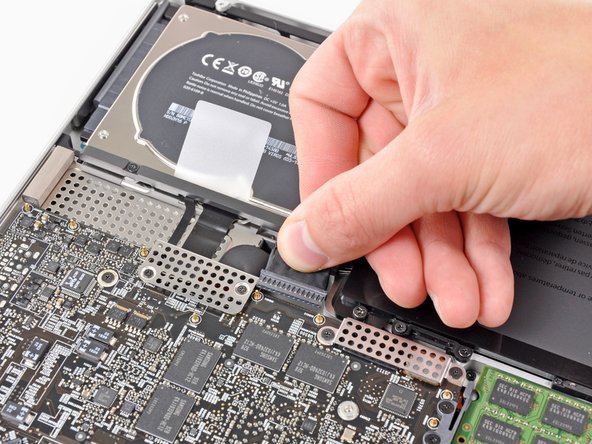
Varsa, batarya konnektörüne takılı plastik tırnağı tutun ve cihazın ön kenarına doğru çekin. 2011 sonu modellerinde batarya konnektöründe tırnak bulunmaz; doğrudan anakarta takılan bir fiş şeklindedir; çıkarmak için fişi düz bir şekilde yukarı doğru kaldırarak ayırın.
-
-
-
-
-
Kamera kablosunu çıkarmanız için yeterli açıklığı sağlamak amacıyla, plastik kanırtma aparatının ucunu kullanarak küçük plastik kablo tutucuyu kamera kablosu soketinden uzaklaştırın.
-
-
-
Kamera kablosunu, anakarttan ayırmak için optik sürücü boşluğuna doğru çekin.
-
-
-
Bluetooth kablosunu, Bluetooth kartından ayırmak için fanlara doğru dikkatlice çekin.
-
-
-
Bluetooth kartı muhafazasının üst ve yan kısımlarındaki ince plastik kapağı soymak için plastik kanırtma aparatının düz ucunu kullanın. 2011 sonu modellerinde konnektör konumu tamamen farklı bir yerde olduğundan diğer resme göz atın.
-
-
-
Bluetooth anten konnektörünü, Bluetooth bağlantı tahtasındaki soketinden yukarı doğru kaldırıp ayırmak için plastik kanırtma aparatının düz ucunu kullanın.
-
-
-
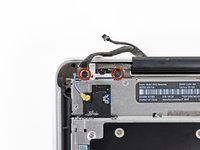
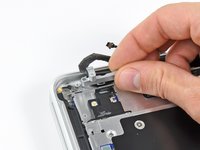
Kamera kablosu tutucusunu üst kasaya sabitleyen iki adet 7,1 mm yıldız vidayı çıkarın.
-
Kamera kablosu tutucusunu üst kasadan çıkarın.
-
-
-
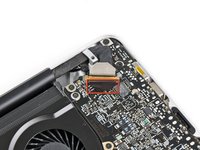
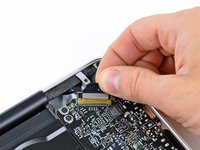
Görüntü verisi kablosu tutucusuna takılı olan siyah plastik kapağı kaldırın ve MacBook'un DC giriş tarafına doğru çevirin.
-
Görüntü verisi kablosunu soketinden dışarı çekin.
-
-
-
-
Ekran veri kablosu sabitleyicisini üst kasaya bağlayan iki adet 7,1 mm yıldız vidayı çıkarın.
-
Ekran veri kablosu sabitleyicisini çıkarın.
-
-
-
Her bir ekran desteğindeki ikişer dış 6,8 mm T6 Torx vidayı çıkarın (toplam dört vida).
-
-
-
Ekranı ve üst kasayı sol elinizle bir arada tutarken, alt ekran braketindeki kalan T6 Torx vidayı çıkarın.
-
-
-
Ekranı üst kasaya sabitleyen son T6 Torx vidayı çıkarın.
-
-
-
Üst kasayı sağ elinizle tutun ve üst ekran braketinin üst kasanın kenarından kurtulması için ekranın üst kısmına doğru hafifçe döndürün.
-
Ekranı üst kasadan hafifçe uzağa doğru döndürün.
-
Takılabilecek braketlere veya kablolara dikkat ederek ekranı yukarı kaldırın ve üst kasadan ayırın.
-
-




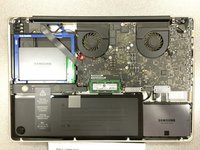


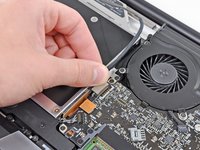
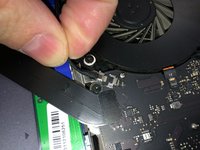


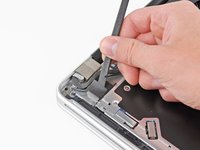
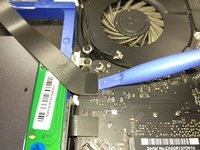


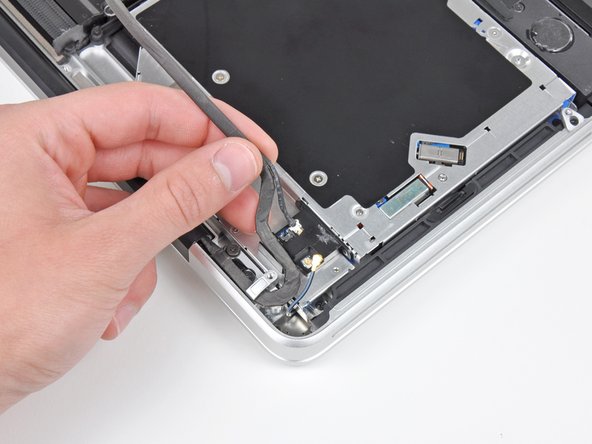




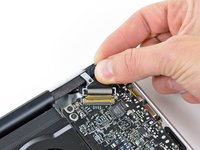


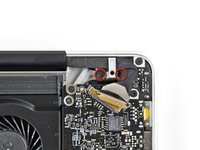
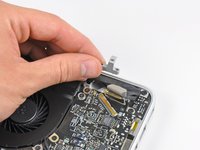


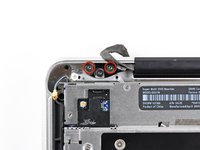
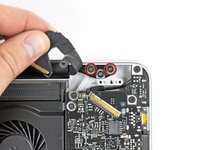


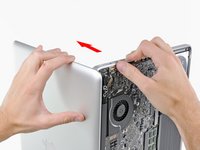
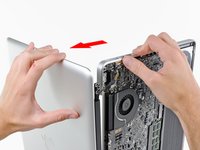
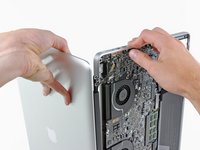
Cihazınızı tekrar toplamak için bu talimatları ters sırayla uygulayın.
İptal et: Bu kılavuzu tamamlamadım.
43 farklı kişi bu kılavuzu tamamladı.

9Kılavuz Yorumları
This guide was a bit difficult to follow because the photos didn't represent 'exactly' what I was seeing. I was able to find the corresponding connections.
The trouble I'm having is the guide seems to end a few steps too soon. I still have a display inside the upper shell, the piece with the Apple logo. I'm very concerned for the well-being of the 'old' pieces in question. I have to save the upper case piece while extracting the display.
Any ideas please?
The title is misleading, and only covers the upper shell removal. I believe your issue is that you want to replace the display panel only, and not the enclosure or camera device. In most cases, however, technicians will simply counsel replacement of the entire upper shell, as replacing inner display components will rack up service hours and end up costing the equivalent of a new shell.
From an iFixit perspective, however, this is moot. You could find a display panel component on ebay, and do the work. I hope you found a more in-depth guide.
According to comments from iFixit on the teardown (MacBook Pro 17" Unibody Teardown), they don’t consider the upper case assembly to be repairable. See comments on step 23 of the teardown.
If anyone has been able to open and close the upper case without damaging it, please share the procedure with the rest of us!
17” 2011 Macbook Pro 2.5 (BTO) has a different section at the left hand side, the part where the cables for the wireless hook up. Pay attention to the layout and think before untying any screws. The board that hooks up the wireless is “in” a separate bridge, installed next to the DVD writer with independent screws for suspension.
