Bu sürüm, hatalı düzenlemeler içerebilir. En son doğrulanmış bellek kopyası dönün.
Neye ihtiyacın var
-
Bu adım çevrilmemiş. Çevrilmesine yardım edin
-
Remove the following ten screws securing the lower case to the upper case:
-
Three 13.5 mm Phillips screws.
-
Seven 3 mm Phillips screws.
-
-
Bu adım çevrilmemiş. Çevrilmesine yardım edin
-
Wedge your fingers between the lower case and the vent, and lift upward to release the two clips holding the lower case to the upper case.
-
Remove the lower case.
-
-
Bu adım çevrilmemiş. Çevrilmesine yardım edin
-
If present, grab the plastic tab attached to the battery connector and pull it toward the front edge of the device. For Late-2011 models the battery connector will not have a tab and is simply a plug that inserts straight down into the motherboard--to remove pry the plug straight up.
-
-
-
Bu adım çevrilmemiş. Çevrilmesine yardım edin
-
Remove the two Phillips screws securing the hard drive bracket to the upper case.
-
-
Bu adım çevrilmemiş. Çevrilmesine yardım edin
-
Use the hard drive's pull tab to lift it out of the upper case.
-
-
Bu adım çevrilmemiş. Çevrilmesine yardım edin
-
Pull the hard drive connector away from the body of the hard drive.
-
Remove the hard drive from your MacBook Pro.
-
-
Bu adım çevrilmemiş. Çevrilmesine yardım edin
-
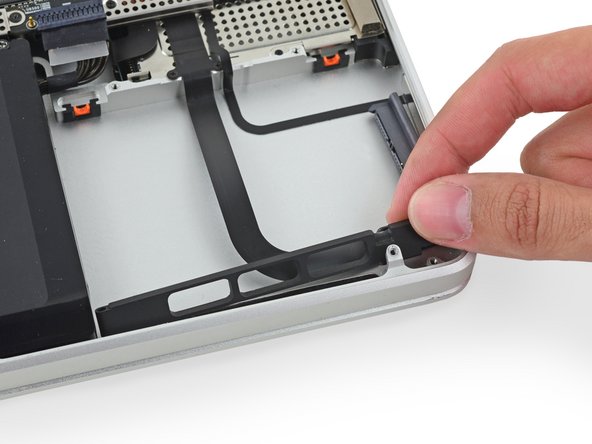
Remove the two 5 mm Phillips #00 screws securing the hard drive bracket to the upper case.
-
-
Bu adım çevrilmemiş. Çevrilmesine yardım edin
-
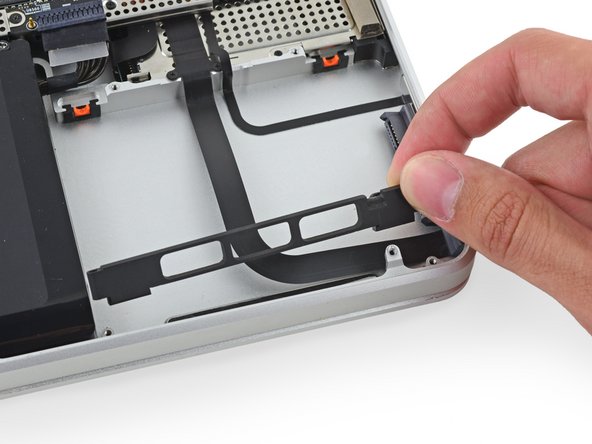
Tilt the outer hard drive bracket up toward the logic board and remove it from the rear case.
-


İptal et: Bu kılavuzu tamamlamadım.
10 farklı kişi bu kılavuzu tamamladı.

