Giriş
Use this guide to replace a non-functional microphone.
Neye ihtiyacın var
-
-
Remove the following ten screws securing the lower case to the upper case:
-
Three 13.5 mm Phillips screws.
-
Seven 3 mm Phillips screws.
-
-
-
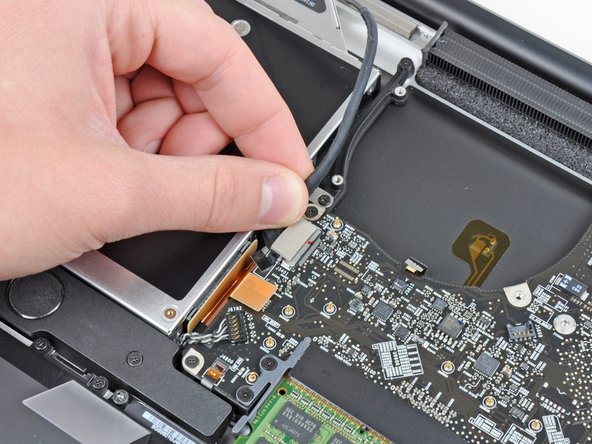
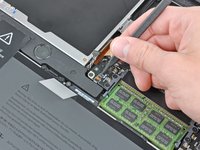
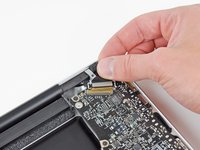
If present, grab the plastic tab attached to the battery connector and pull it toward the front edge of the device. For Late-2011 models the battery connector will not have a tab and is simply a plug that inserts straight down into the motherboard--to remove pry the plug straight up.
-
-
-
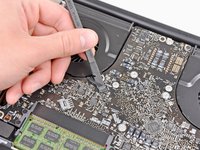
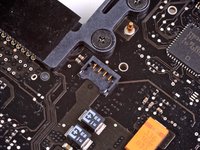
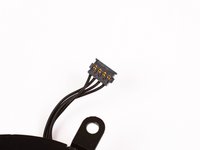
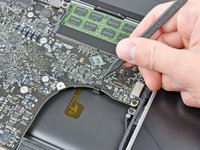
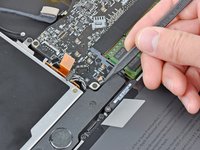
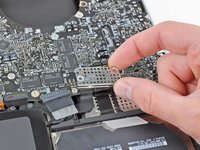
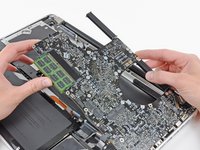
Use the flat end of a spudger to lift the right fan connector out of its socket on the logic board.
-
-
-
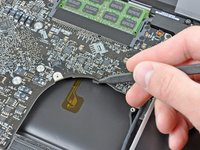
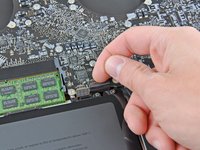
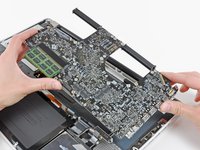
Use the flat end of a spudger to lift the left fan connector out of its socket on the logic board.
-
-
-
-
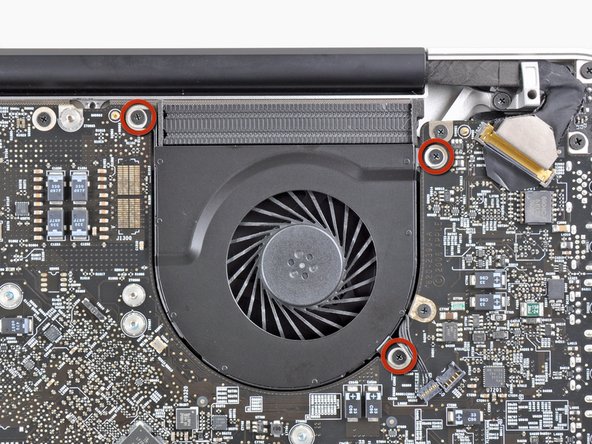
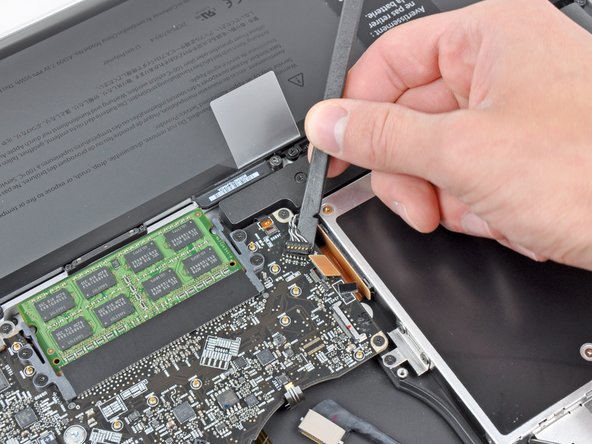
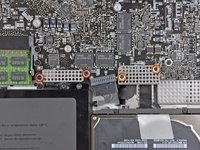
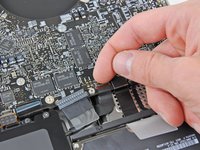
Remove the two 7.9 mm Phillips screws securing the left speaker assembly to the logic board.
-
-
-
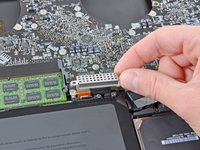
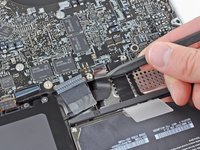
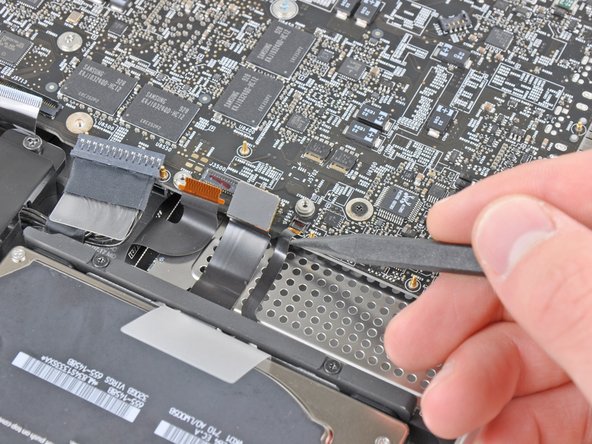
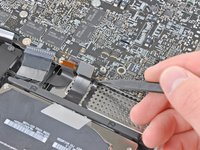
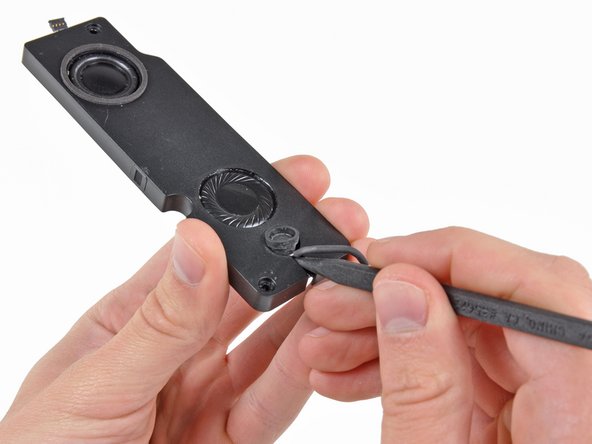
De-route the microphone cable from the channel molded into the left speaker enclosure.
-
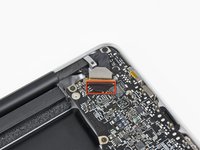
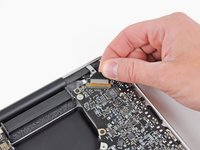
Use the tip of a spudger to lift the microphone out of the left speaker enclosure.
-
Microphone remains.
-


To reassemble your device, follow these instructions in reverse order.
İptal et: Bu kılavuzu tamamlamadım.
4 farklı kişi bu kılavuzu tamamladı.

1Rehber Yorum
We’re going to have to make some changes here. In Step 10 for Late 2011 models, the camera cable looks different, is located in a different place on the logic board, and detaches differently. Yes, there are 5 comments there, but no pictures.