Ana içeriğe geç

Neye ihtiyacın var

Bu teardown bir tamir kılavuzu değildir. Macintosh Color Classic cihazınızı onarmak için, servis kılavuzumuzu kullanın.

  1. Macintosh Color Classic completamente renovado para su 25 aniversario (Mac Mini en el interior), Macintosh Color Classic completamente renovado para su 25 aniversario (Mac Mini en el interior): adım 1, 1 resimden 1.
    • Mi Macintosh Color Classic ejecutándose bajo MacOS 7.6 algunos días antes de que muriera

  2. Macintosh Color Classic completamente renovado para su 25 aniversario (Mac Mini en el interior): adım 2, 1 resimden 1.
    • Máquina completante vaciada

  3. Macintosh Color Classic completamente renovado para su 25 aniversario (Mac Mini en el interior): adım 3, 1 resimden 1.
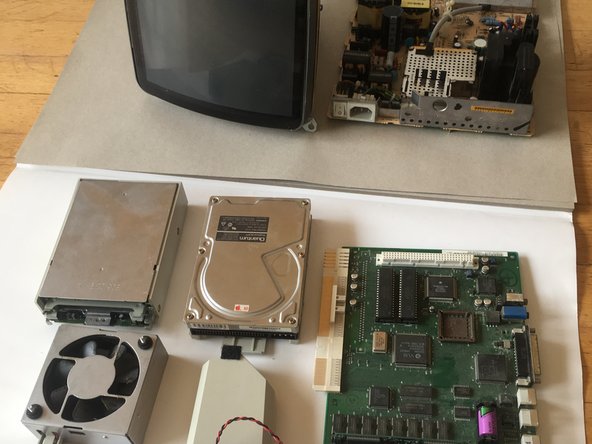
    • todos los componentes orginales...

  4. Macintosh Color Classic completamente renovado para su 25 aniversario (Mac Mini en el interior): adım 4, 1 resimden 1.
    • ... fueron reemplazados con unos nuevos

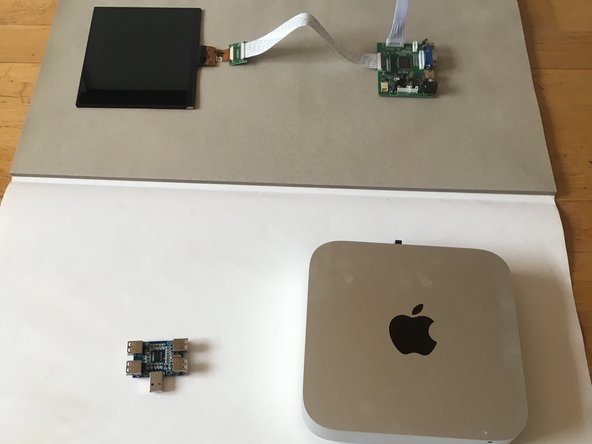
  5. Macintosh Color Classic completamente renovado para su 25 aniversario (Mac Mini en el interior): adım 5, 1 resimden 1.
    • Comprobando la nueva pantalla LCD HDMI de 8".

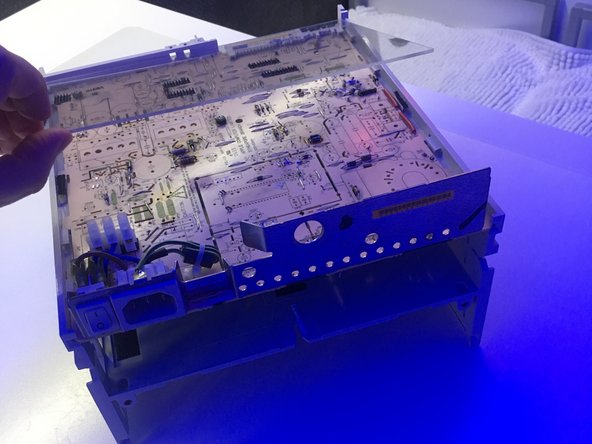
  6. Macintosh Color Classic completamente renovado para su 25 aniversario (Mac Mini en el interior): adım 6, 1 resimden 1.
    • El chasis y la placa de la fuente de alimentación se limpiaron y adaptaron para adaptarse a los nuevos componentes.

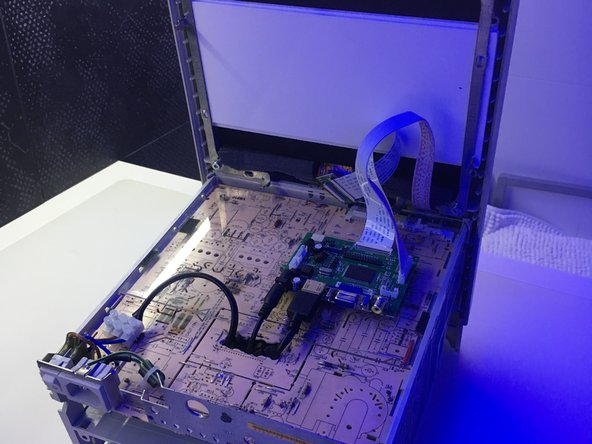
  7. Macintosh Color Classic completamente renovado para su 25 aniversario (Mac Mini en el interior): adım 7, 1 resimden 1.
    • Instalando la nueva pantalla

  8. Macintosh Color Classic completamente renovado para su 25 aniversario (Mac Mini en el interior): adım 8, 1 resimden 1.
    • Cerrando la carcasa trasera

  9. Macintosh Color Classic completamente renovado para su 25 aniversario (Mac Mini en el interior): adım 9, 1 resimden 1.
    • Introduciendo y conectando el MacMini 2014

  10. Macintosh Color Classic completamente renovado para su 25 aniversario (Mac Mini en el interior): adım 10, 1 resimden 1.
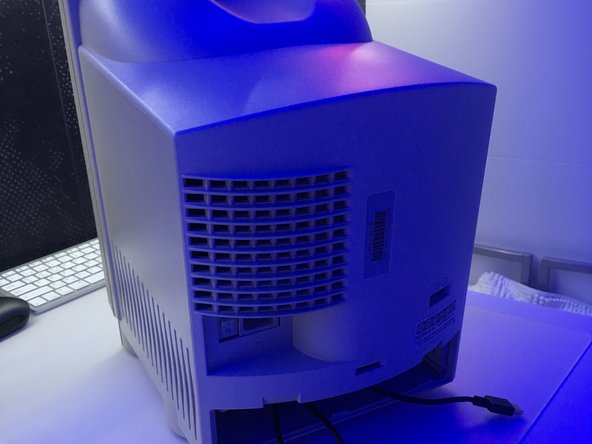
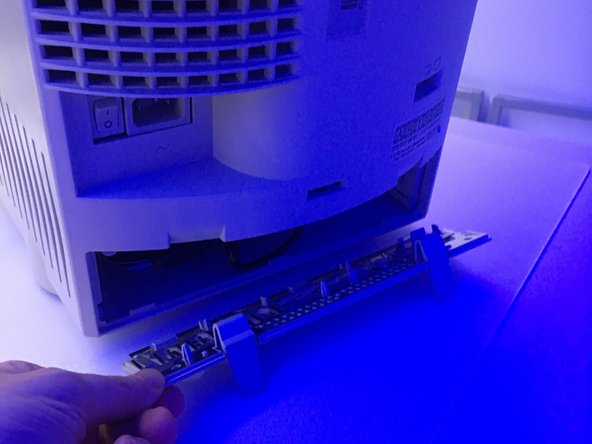
    • Cerrando el panel trasero con sus clips.

  11. Macintosh Color Classic completamente renovado para su 25 aniversario (Mac Mini en el interior): adım 11, 1 resimden 1.
    • Enchufando el ordenador

  12. Macintosh Color Classic completamente renovado para su 25 aniversario (Mac Mini en el interior): adım 12, 1 resimden 1.
    • Arrancando el ordenador

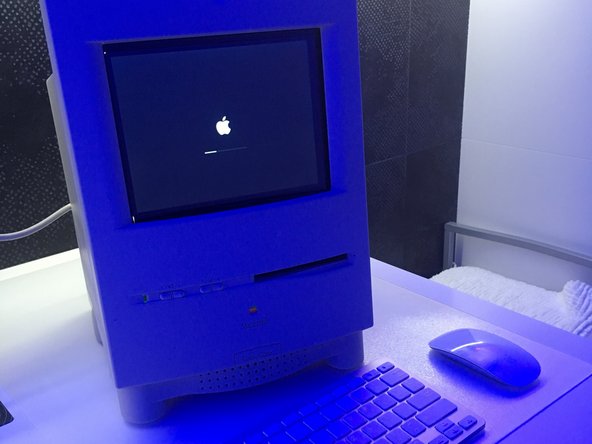
  13. Macintosh Color Classic completamente renovado para su 25 aniversario (Mac Mini en el interior): adım 13, 1 resimden 1.
    • Macintosh Color Classic ejecutándose en MacOS Mojave

  14. Macintosh Color Classic completamente renovado para su 25 aniversario (Mac Mini en el interior): adım 14, 3 resimden 1. Macintosh Color Classic completamente renovado para su 25 aniversario (Mac Mini en el interior): adım 14, 3 resimden 2. Macintosh Color Classic completamente renovado para su 25 aniversario (Mac Mini en el interior): adım 14, 3 resimden 3.
    • Inserta sabiduría aquí.

Bu çevirmenlere özel teşekkürler:

en es

100%

Angel dünyayı onarmamıza yardım ediyor! Katkıda bulunmak ister misiniz?
Çeviriye Başlayın ›

Roberto

Üyelik tarihi: 06/08/17

245 İtibar

1 Kılavuz yazıldı

12 Yorum

Wow, such a clean built. Thanks for sharing!

Luke - Yanıt

La pantalla es lo que mas temor da retirar si es igual a las de la emac y imacs, me gustaría haberlo hecho con la que me dañaron en un taller, no la guarde y tire la basura, en fin jamas se sabe lo que la tecnología nueva nos permite hacer con las viejas carcazas, debe ser grato ver la cara de la gente que te ve trabajar en ella con teclado y ratón inalámbricos.

javiersconde - Yanıt

Do you have a more detailed breakdown, including exact parts used. I have one of these Macs and it has died. The sentimental value is huge so doing to it what you did to yours is an awesome idea. Thanks

Nathan Fletcher - Yanıt

Sorry, I haven’t more details of the breakdown. The most difficult part was to clean up the power supply board and to saw parts of the plastic chassis to fit the MacMini inside. The parts I kept from the original machine are the chassis, the power supply board and the framework that sustained the original screen.

Roberto -

Roberto, what size is the fan? 60x25mm? And can you remove the stock fan from that metal housing so as to replace it with a quieter modern version? Thanks.

James Wages - Yanıt

I am guessing it is 80x25mm and runs at 12V, but is it 2-wire or 3-wire?

I ask in order to know what kind of replacement to buy. Thanks!

James Wages -

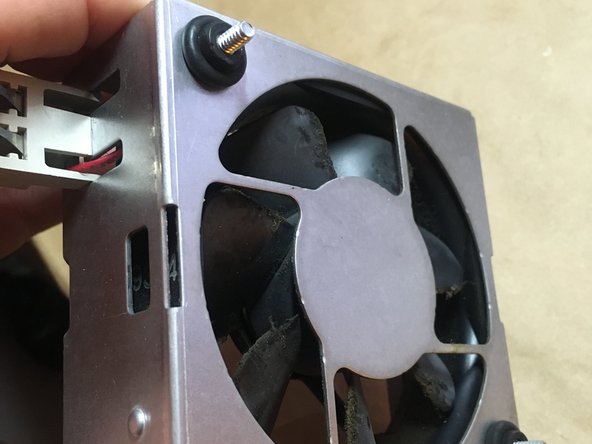
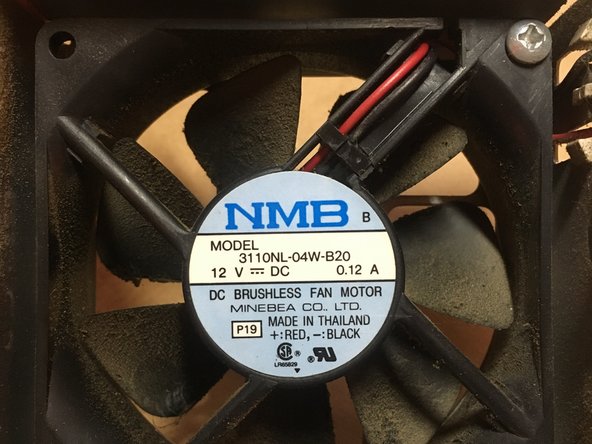
Hi James, the fan is 80x80x25, 2-wire and can be removed from the metal housing.

Roberto -

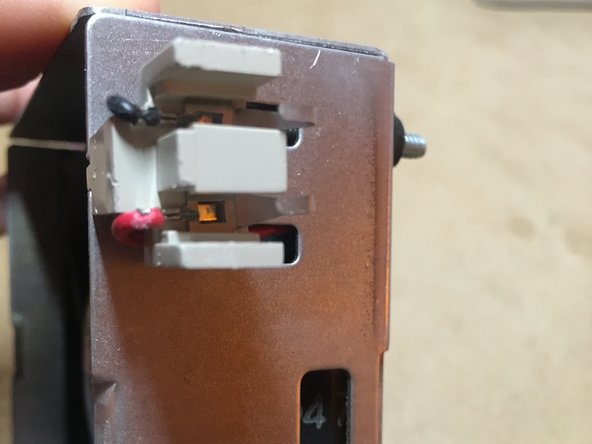
I have added some pictures of the fan.

Roberto -

I'm doing the same thing with my Mac mini and Color Classic. Can you tell me where you got your brackets from for securing the lcd? Thanks.

Marc Stone - Yanıt

Hi Marc, I do not remember how I secured the LCD. I think I used a foam top and bottom and a plate behind the screen, screwed to the plastic structure of the Mac. Since then I replaced the LCD with an iPad mini and connected the iPad to the Mac through a device called Luna Display that allows to see your Mac desktop on the iPad screen. The iPad is fixed with a magnetic tool to the Mac structure, so that I can detach it when needed.

Roberto -

By te way, if you mean the brackets that can be seen on step 7, those were the original brackets sustaining the original display.

Roberto -

Increíble la transformación, justo lo que siempre he soñado, seria un gusto tener una computadora así

Luis Oscós Palacios - Yanıt

Yorum Ekle

İstatistikleri Görüntüle:

Son 24 Saat: 1

Son 7 gün: 5

Son 30 gün: 20

Her zaman: 4,185