Ana içeriğe geç
Onarım Topluluğuna Katılın - Hesap Oluşturun

Makita XPH01 LED Light Replacement

Neye ihtiyacın var

    1. Makita XPH01 LED Light Replacement, Battery: adım 1, 1 resimden 1.
      • Hold the drill upright.

      • Place your finger on the white battery-release button.

      FixBot'a Sor

      Yorum Ekle

    2. Makita XPH01 LED Light Replacement: adım 2, 1 resimden 1.
      • Press and hold the white release button located on the front of the battery.

      FixBot'a Sor

      Yorum Ekle

    3. Makita XPH01 LED Light Replacement: adım 3, 1 resimden 1.
      • Slide the battery forward while pressing down on the white battery-release button.

      FixBot'a Sor

      Yorum Ekle

    1. Makita XPH01 LED Light Replacement, Outer Casing: adım 4, 2 resimden 1. Makita XPH01 LED Light Replacement, Outer Casing: adım 4, 2 resimden 2.
      • Hold the drill upright with the back panel facing you.

      • Unscrew the two 18 mm screws from the back panel using a Phillips PH2 screwdriver.

      FixBot'a Sor

      Yorum Ekle

    2. Makita XPH01 LED Light Replacement: adım 5, 1 resimden 1.
      • Apply slight pressure to the sides of the backplate and pull away from the drill.

      FixBot'a Sor

      Yorum Ekle

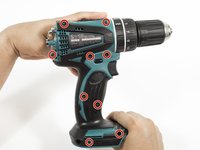
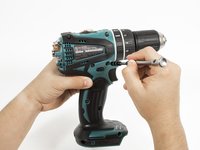
    3. Makita XPH01 LED Light Replacement: adım 6, 2 resimden 1. Makita XPH01 LED Light Replacement: adım 6, 2 resimden 2.
      • Unscrew the nine 18 mm screws from the outer casing using a Phillips PH2 screwdriver.

      FixBot'a Sor

      Yorum Ekle

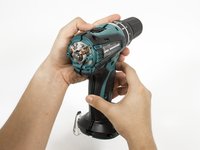
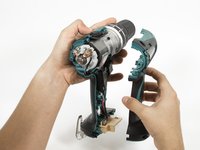
    4. Makita XPH01 LED Light Replacement: adım 7, 2 resimden 1. Makita XPH01 LED Light Replacement: adım 7, 2 resimden 2.
      • Apply slight pressure to the sides of the outer casing and pull away from the drill.

      FixBot'a Sor

      Yorum Ekle

    1. Makita XPH01 LED Light Replacement, LED Light: adım 8, 2 resimden 1. Makita XPH01 LED Light Replacement, LED Light: adım 8, 2 resimden 2.
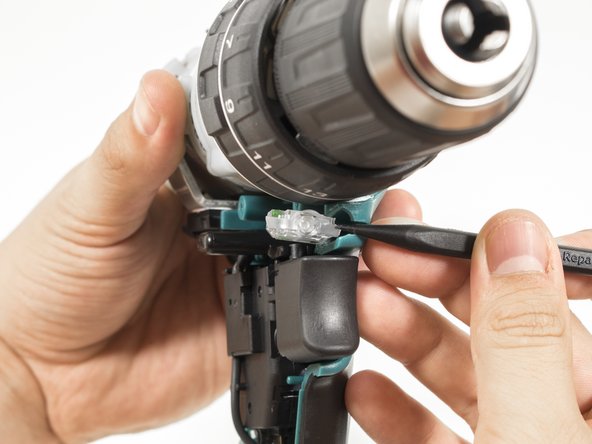
      • Use the pointed end of a plastic spudger to push the LED out of the drill.

      FixBot'a Sor

      Yorum Ekle

    2. Makita XPH01 LED Light Replacement: adım 9, 2 resimden 1. Makita XPH01 LED Light Replacement: adım 9, 2 resimden 2.
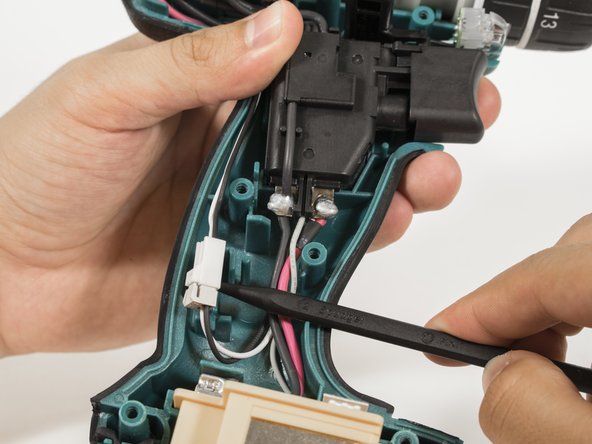
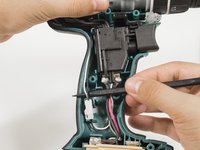
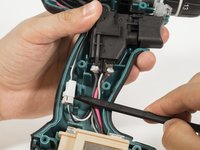
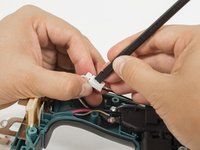
      • Use the pointed edge of a spudger to pull out the black and white wires located on the left hand side of the drill.

      • Use the pointed edge of a spudger to pull out the plastic connector.

      FixBot'a Sor

      Yorum Ekle

    3. Makita XPH01 LED Light Replacement: adım 10, 3 resimden 1. Makita XPH01 LED Light Replacement: adım 10, 3 resimden 2. Makita XPH01 LED Light Replacement: adım 10, 3 resimden 3.
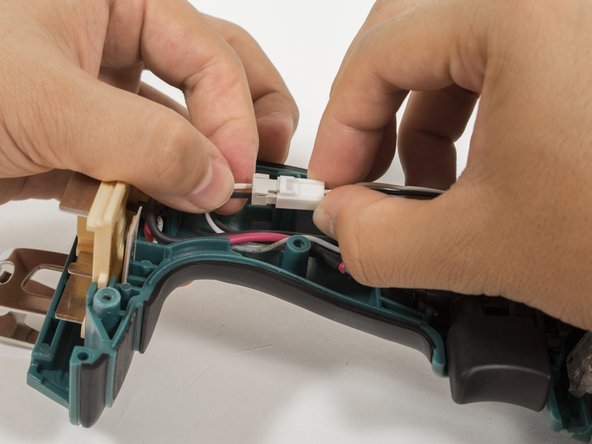
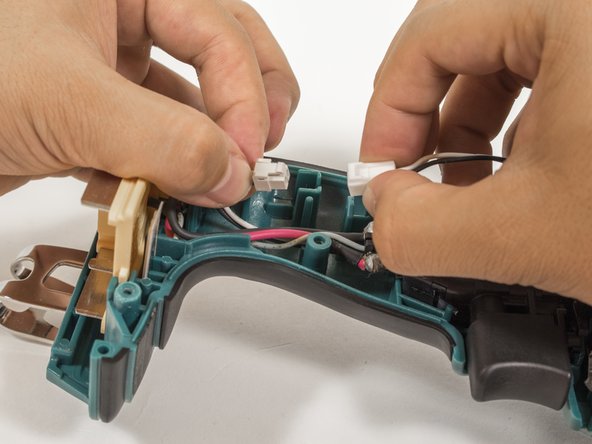
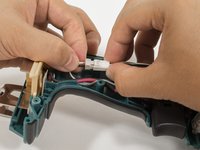
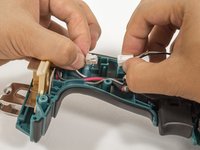
      • Use the flat end of the spudger to push in the clip on the plastic connector.

      • Pull both sides of the plastic connector apart.

      FixBot'a Sor

      Yorum Ekle

    4. Makita XPH01 LED Light Replacement: adım 11, 3 resimden 1. Makita XPH01 LED Light Replacement: adım 11, 3 resimden 2. Makita XPH01 LED Light Replacement: adım 11, 3 resimden 3.
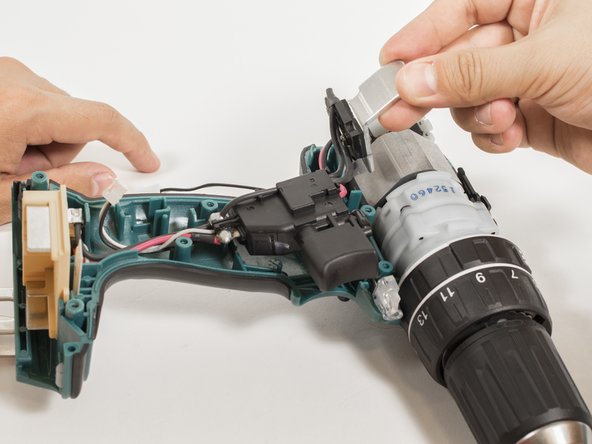
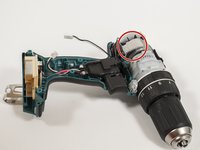
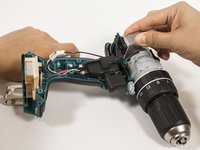
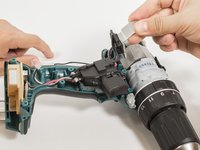
      • Pull the silver metal clip on the motor away from the drill.

      FixBot'a Sor

      Yorum Ekle

    5. Makita XPH01 LED Light Replacement: adım 12, 1 resimden 1.
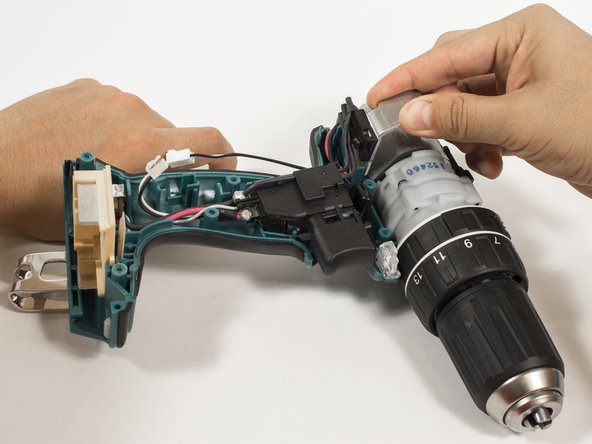
      • Pull the black trigger assembly away from the drill.

      FixBot'a Sor

      Yorum Ekle

    6. Makita XPH01 LED Light Replacement: adım 13, 2 resimden 1. Makita XPH01 LED Light Replacement: adım 13, 2 resimden 2.
      Bu adımda kullanılan alet:
      Tweezers
      $4.99
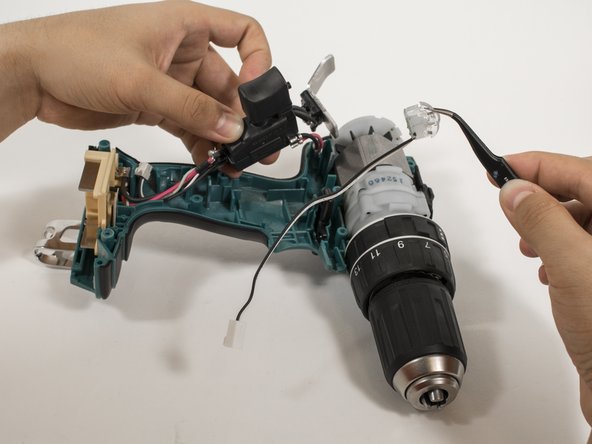
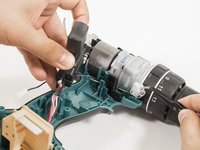
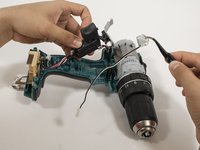
      • Use tweezers to pull out the LED light assembly.

      FixBot'a Sor

      Yorum Ekle

Sonuç

To reassemble your device, follow these instructions in reverse order.

İptal et: Bu kılavuzu tamamlamadım.

2 farklı kişi bu kılavuzu tamamladı.

Eric Herwatt

Üyelik tarihi: 10/05/16

1.038 İtibar

7 adet Kılavuz yazıldı

Ekip

Cal Poly, Team 15-4, Livingston Fall 2016 Cal Poly, Team 15-4, Livingston Fall 2016 üyesi

CPSU-LIVINGSTON-F16S15G4

4 Üyeler

7 adet Kılavuz yazıldı

1Rehber Yorum

Should I do these steps if my drill is under a warranty?

Richard Williams - Yanıt Paylaş

Yorum Ekle

İstatistikleri Görüntüle:

Son 24 Saat: 1

Son 7 gün: 8

Son 30 gün: 32

Her zaman: 3,300