Ana içeriğe geç

Memorex CD Alarm Clock Radio PCB Board Replacement

Neye ihtiyacın var

  1. Memorex CD Alarm Clock Radio PCB Board Replacement, Memorex CD Alarm Clock Radio: adım 1, 3 resimden 1. Memorex CD Alarm Clock Radio PCB Board Replacement, Memorex CD Alarm Clock Radio: adım 1, 3 resimden 2. Memorex CD Alarm Clock Radio PCB Board Replacement, Memorex CD Alarm Clock Radio: adım 1, 3 resimden 3.
    • Turn the clock radio over so the bottom is facing up.

    • Pull the tab upward and remove the cover from the battery compartment.

    • Remove the batteries.

  2. Memorex CD Alarm Clock Radio PCB Board Replacement: adım 2, 3 resimden 1. Memorex CD Alarm Clock Radio PCB Board Replacement: adım 2, 3 resimden 2. Memorex CD Alarm Clock Radio PCB Board Replacement: adım 2, 3 resimden 3.
    • Remove the five screws on the bottom of the device with a screwdriver.

    • Grasp the top and bottom and gently pull apart.

  3. Memorex CD Alarm Clock Radio PCB Board Replacement, PCB Board: adım 3, 1 resimden 1.
    • Remove the (5) 7mm screws with a Phillips #1 screwdriver and a pair of tweezers.

    • Using a magnetic tip screwdriver will prevent screw loss.

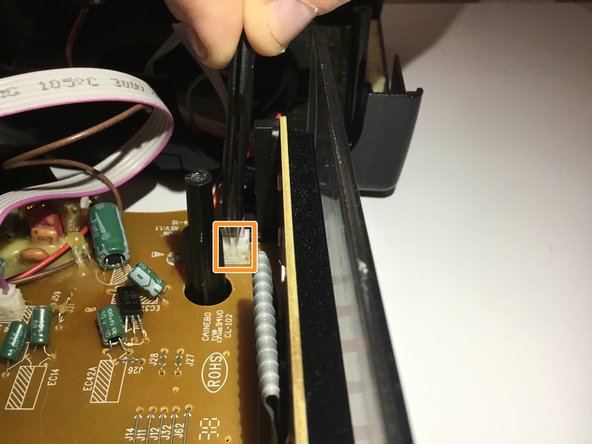
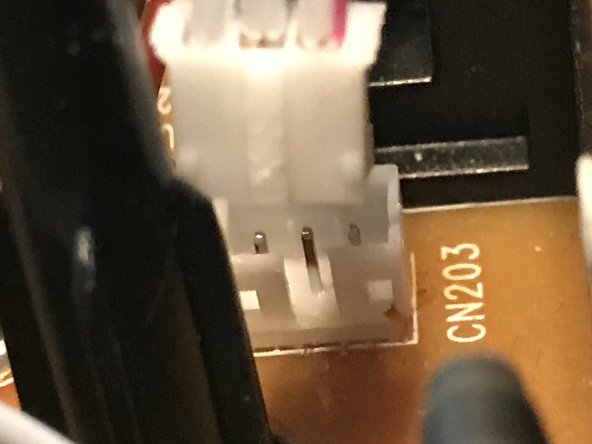
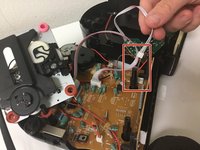
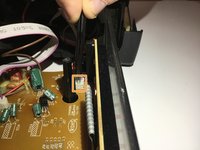
  4. Memorex CD Alarm Clock Radio PCB Board Replacement: adım 4, 3 resimden 1. Memorex CD Alarm Clock Radio PCB Board Replacement: adım 4, 3 resimden 2. Memorex CD Alarm Clock Radio PCB Board Replacement: adım 4, 3 resimden 3.
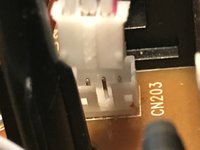
    • Locate the wiring harness.

    • Disconnect the wiring harness using the tweezers.

  5. Memorex CD Alarm Clock Radio PCB Board Replacement: adım 5, 1 resimden 1.
    • Remove the PCB board from the device.

    • Replace the broken motherboard with a new PCB board.

Sonuç

To reassemble your device, follow these instructions in reverse order.

0 Yorum

Yorum Ekle

İstatistikleri Görüntüle:

Son 24 Saat: 0

Son 7 gün: 1

Son 30 gün: 3

Her zaman: 322