Giriş
This guide will aid you in the replacement of the logic board in the speaker.
Neye ihtiyacın var
-
-
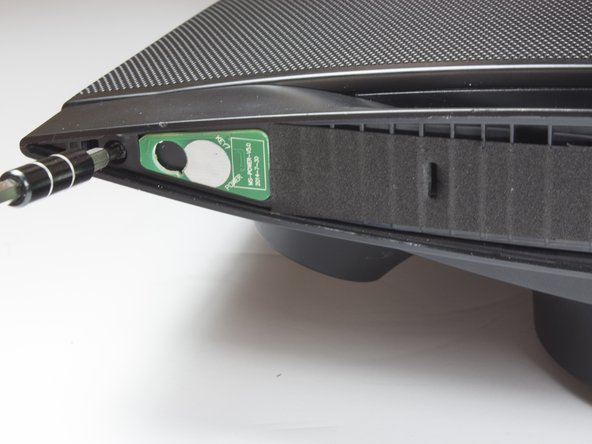
Use a spudger or your fingers to pry off and remove the rubber pad on the bottom of the speaker.
-
-
-
-
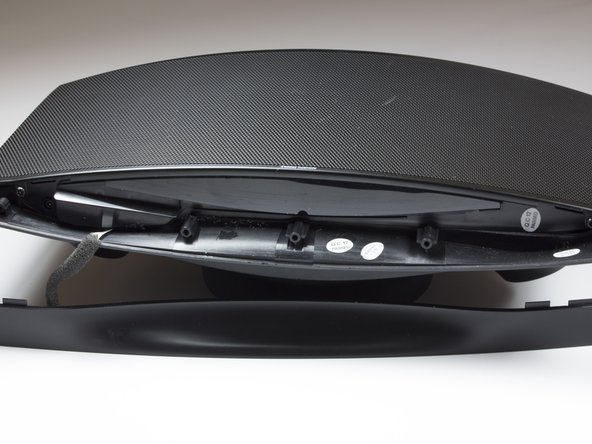
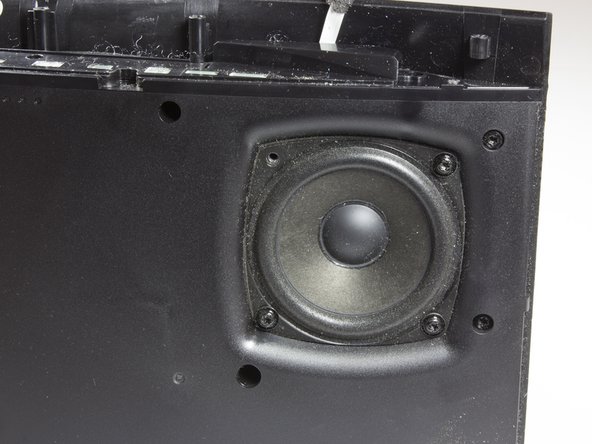
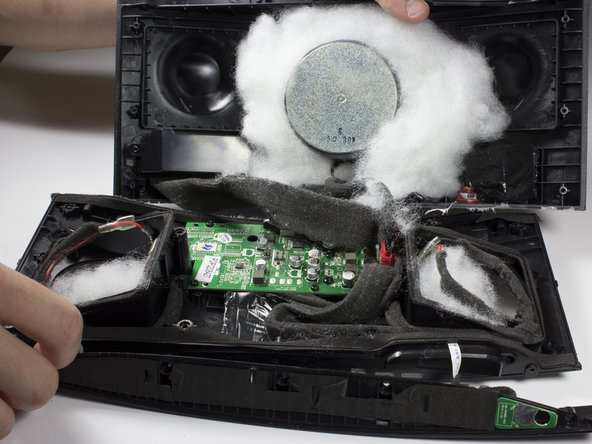
After removing grille, you will see the speakers.
-
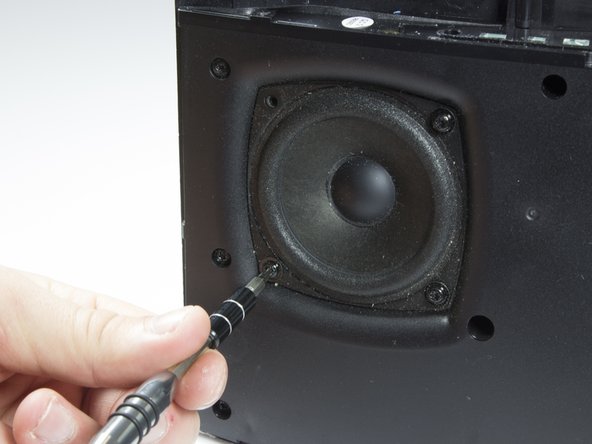
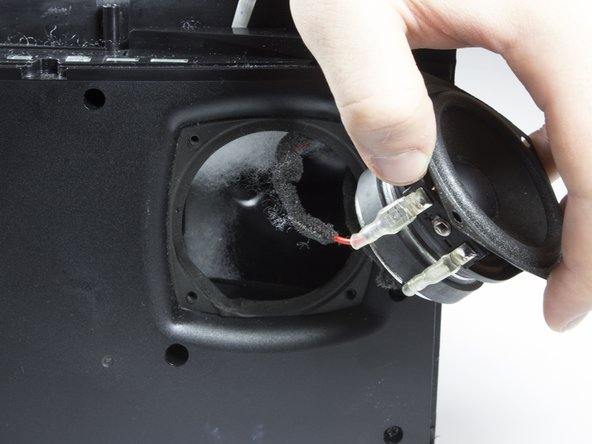
Remove the eight 10mm screws that surround the speakers. There will be four around each speaker.
-
-
-
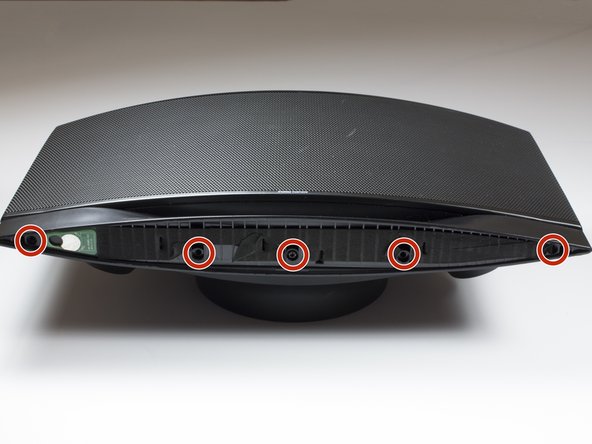
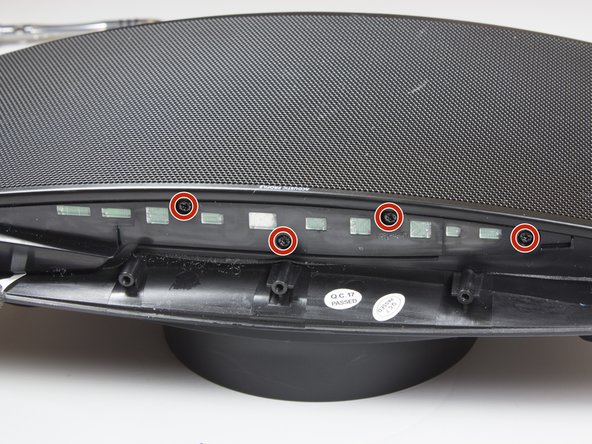
Identify the eight screws around the border of the front panel.
-
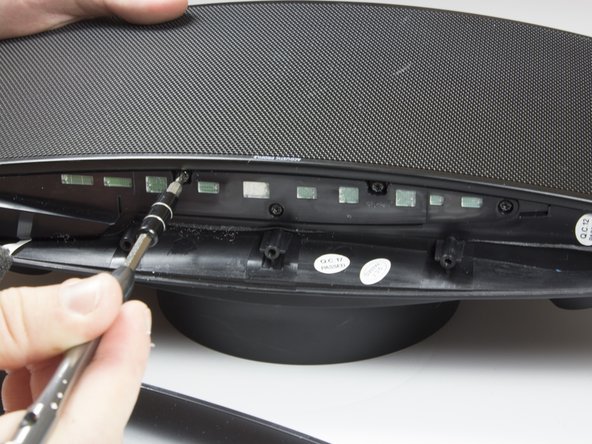
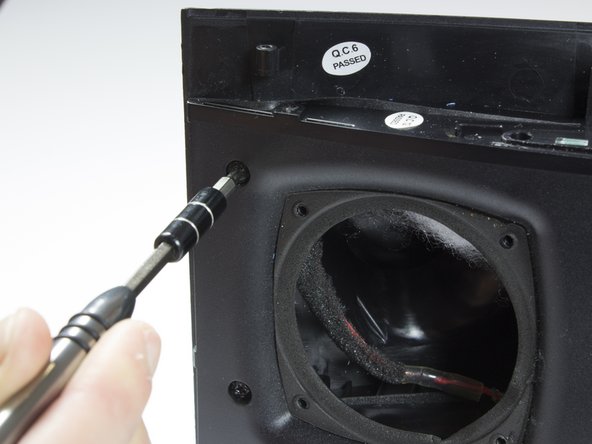
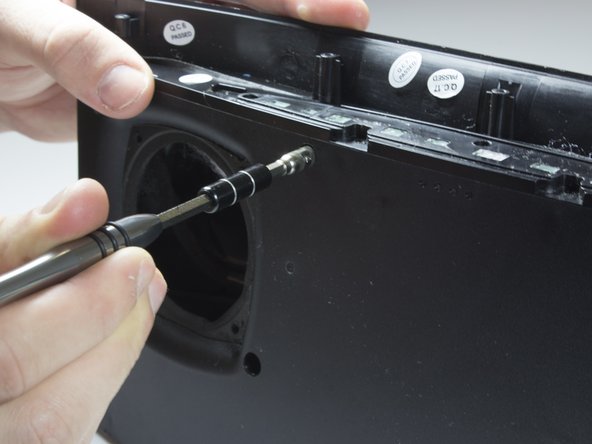
Using the TR 10 driver, remove the two 8mm screws.
-
Using the TR 10 driver, remove the six 12mm screws.
-
-
-
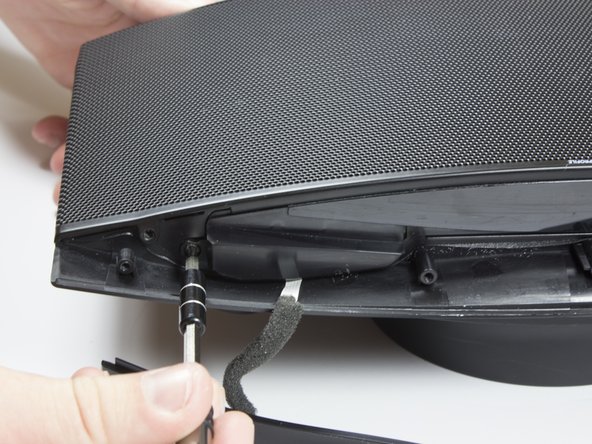
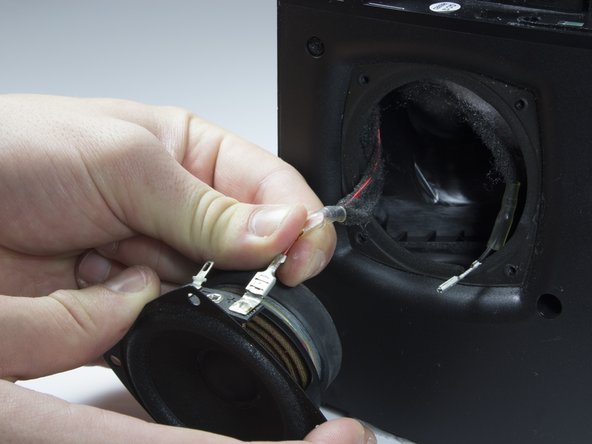
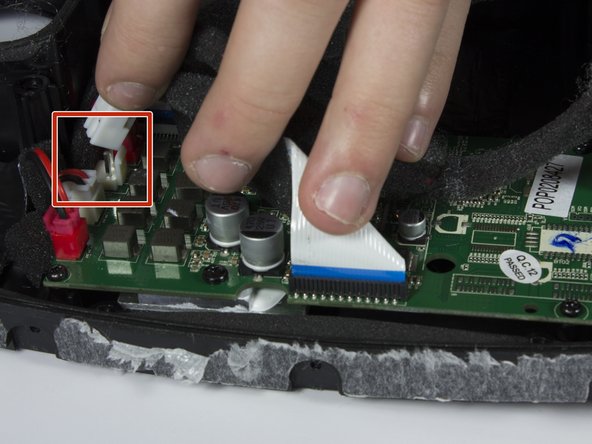
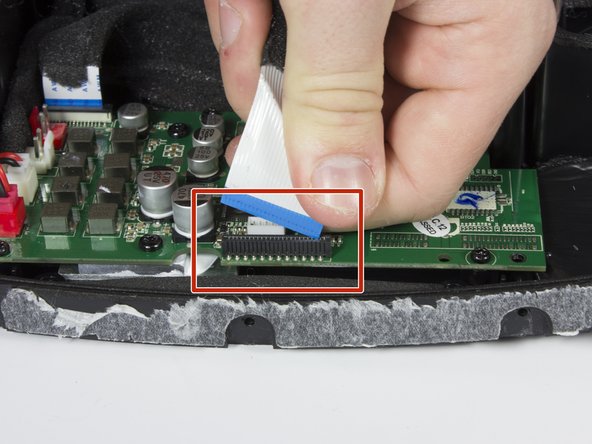
Unplug the rear white connector from the logic board.
-
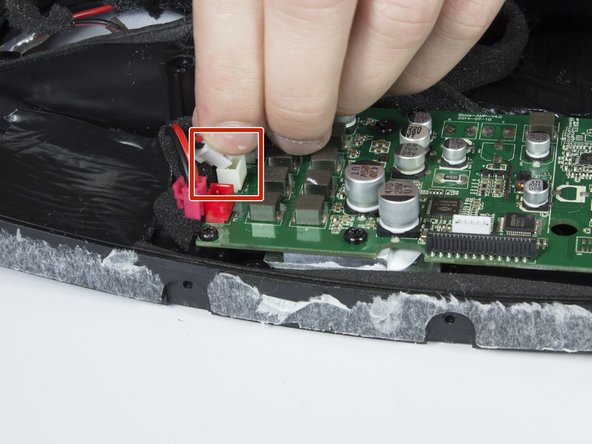
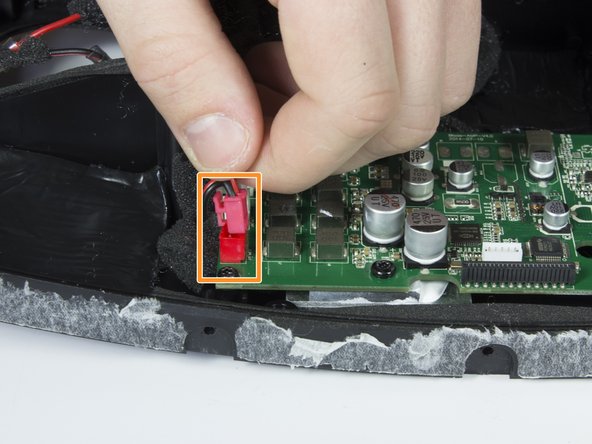
Unplug the rear red connector beside the white one.
-


To reassemble your device, follow these instructions in reverse order.
To reassemble your device, follow these instructions in reverse order.
İptal et: Bu kılavuzu tamamlamadım.
3 farklı kişi bu kılavuzu tamamladı.
Ekip

Cal Poly, Team 21-5, Maness Winter 2017 Cal Poly, Team 21-5, Maness Winter 2017 üyesi
CPSU-MANESS-W17S21G5
4 Üyeler
12 adet Kılavuz yazıldı
2 Yorum
Monster Soundstage circuit board supplier?
@shughe11 Monster Soundstage circuit board supplier?