Giriş
Follow this guide to replace the front camera in your Moto X Pure Edition.
Before you begin, download the Rescue and Smart Assistant app to backup your device and diagnose whether your problem is software or hardware related.
Neye ihtiyacın var
-
-
Prepare an iOpener and heat the back of the phone along its right edge for about five minutes. This will help soften the adhesive securing the back cover.
 FixBot'a Sor
-
-
-
In the following steps, you'll be cutting through the adhesive securing the back cover.
-
Avoid slicing in this area to avoid damaging delicate ribbon cables.
-
-
Bu adımda kullanılan alet:Tweezers$4.99
-
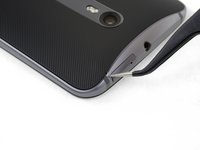
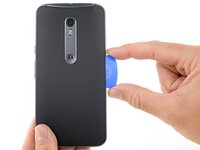
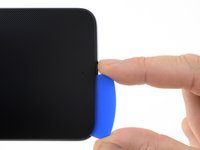
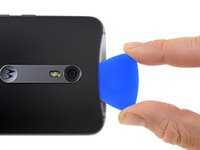
Hold a pair of pointed tweezers closed, and insert them into the small hole on the edge of the back cover near the SIM card slot.
-
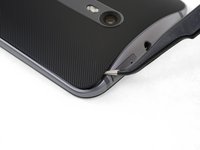
Use the tweezers to lift the cover up slightly, and slide an opening pick into the gap between the cover and the frame.
-
-
-
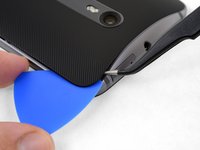
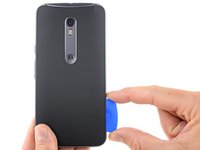
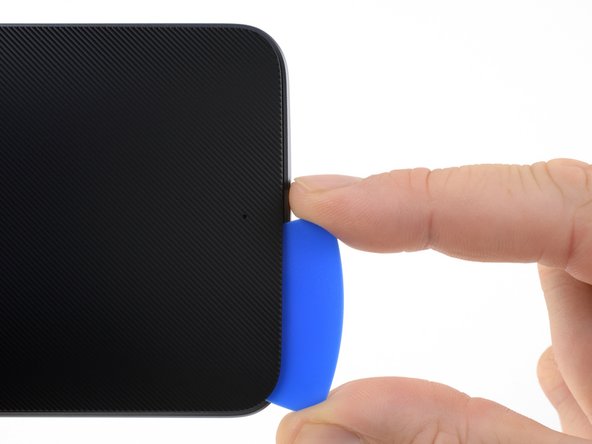
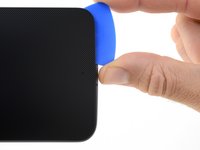
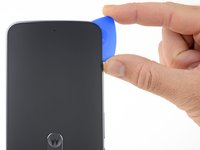
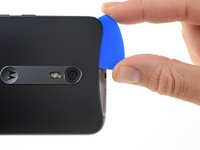
Slide the opening pick along the edge of the phone to slice through the back cover adhesive.
-
Try to insert the pick as far as you can underneath the cover, toward the center of the cover. There's thick adhesive on the middle of the cover that must be separated.
-
-
-
Prepare an iOpener and heat the back of the phone along its left edge for about five minutes. This will help soften the adhesive securing the rest of the back cover.
-
-
-
-
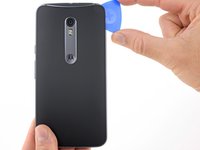
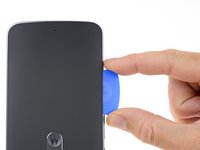
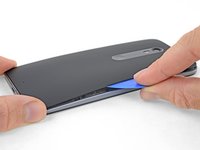
Slice through the adhesive along the left side of the phone.
-
Try to insert the pick as far as you can underneath the cover, toward the center of the cover. There's thick adhesive on the middle of the cover that must be separated.
-
-
-
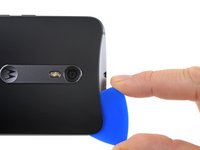
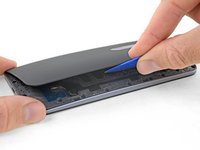
Slice through the adhesive along the top edge of the phone, pulling the pick out slightly to guide it around the rear-facing camera.
-
-
Bu adımda kullanılan alet:Tesa 61395 Tape$8.95
-
Carefully pry the cover away from the phone.
-
First use tweezers and a spudger to peel and scrape away any remaining adhesive from both the back cover and the phone's chassis.
-
Then, clean the adhesion areas with high concentration isopropyl alcohol (at least 90%) and a lint-free cloth. Swipe in one direction only, not back and forth. This will help prep the surface for the new adhesive.
-
Replacement adhesive comes in a pre-cut sheet to match the exact contours of the back cover. If that's not available, you can use a high-bond double-sided tape, such as Tesa 61395. Before installing the precut adhesive on the back cover, remove the metal insert. Install the adhesive, then replace the insert.
-
After installing the back cover, apply strong, steady pressure to your phone for several minutes to help the adhesive form a good bond.
-
-
-
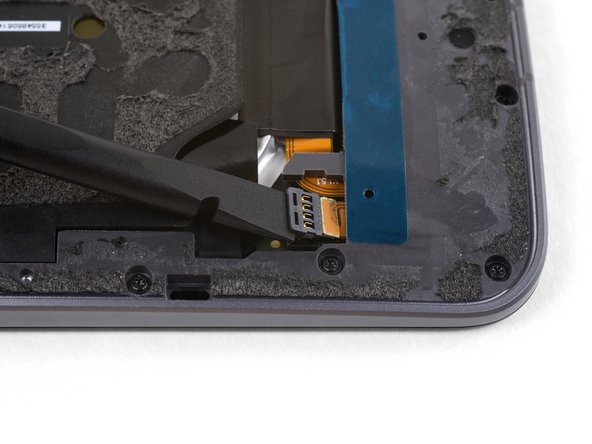
Use the point of a spudger to pry up the rubber cover over the battery connector.
-
Remove the rubber cover.
-
-
-
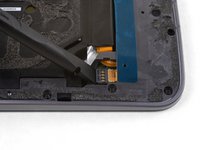
Use the flat end of a spudger to pry the battery connector straight up and out of its socket.
-
-
-
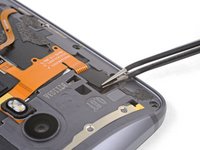
Use the tip of a spudger against the corner of the flash connector to pry the connecter straight up and out of its socket.
-
-
-
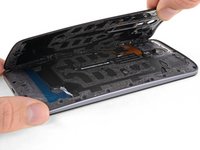
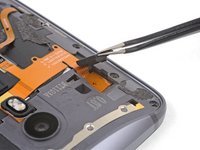
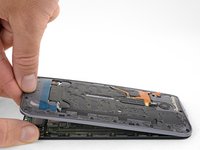
Use the point of a spudger to push the small clip securing the left side of the midframe toward the edge of the phone, releasing the clip.
-
-
-
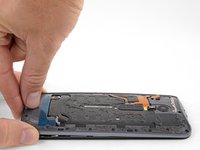
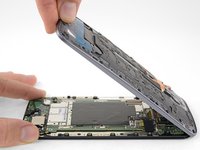
Holding the display by the edges, gently lift the midframe away from the display.
-
Remove the midframe from the display.
-
-
-
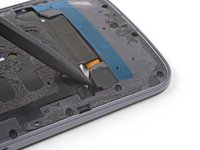
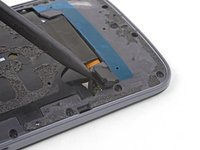
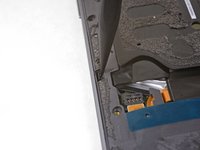
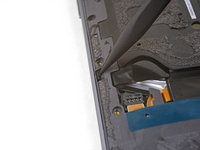
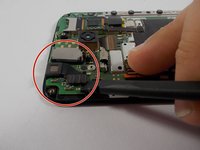
Use the flat end of the nylon spudger to gently pry up on the front camera connector.
-


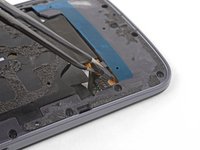


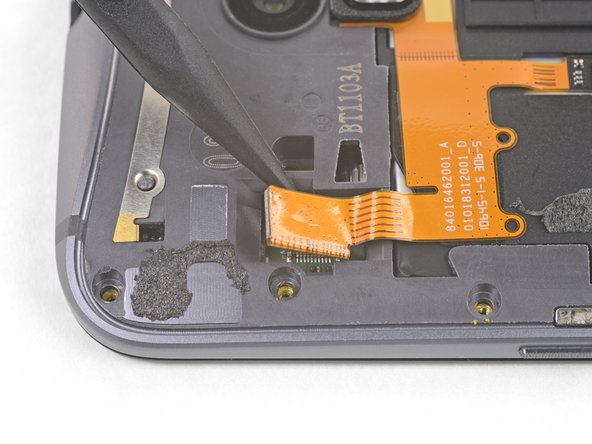


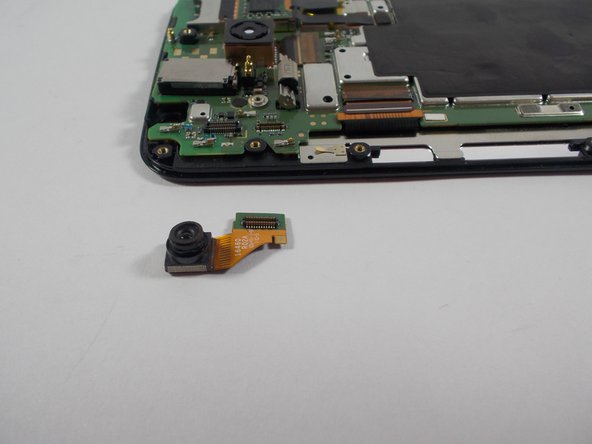

To reassemble your device, follow these instructions in reverse order.

Ekip

UMass Dartmouth, Team 5-2, Landers Spring 2016 UMass Dartmouth, Team 5-2, Landers Spring 2016 üyesi
UMASSD-LANDERS-S16S5G2
3 Üyeler
20 adet Kılavuz yazıldı