Ana içeriğe geç
Onarım Topluluğuna Katılın - Hesap Oluşturun

Motorola Droid RAZR Motherboard Replacement

Neye ihtiyacın var

    1. Motorola Droid RAZR Motherboard Replacement, Back Cover: adım 1, 2 resimden 1. Motorola Droid RAZR Motherboard Replacement, Back Cover: adım 1, 2 resimden 2.
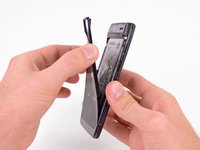
      • Insert a plastic opening tool between the back cover and rear case at the lower left edge of the back cover.

      • Pry the back cover up with the plastic opening tool to free the plastic clips.

      • Continue prying along the left edge of the back cover towards the top of the phone.

      FixBot'a Sor

      Yorum Ekle

    2. Motorola Droid RAZR Motherboard Replacement: adım 2, 3 resimden 1. Motorola Droid RAZR Motherboard Replacement: adım 2, 3 resimden 2. Motorola Droid RAZR Motherboard Replacement: adım 2, 3 resimden 3.
      • Work the plastic opening tool across the top of the back case to free the plastic clips.

      • The top edge of the back case is very thin. Pry carefully to avoid cracking or snapping it.

      • Continue prying down the right side of the back cover to free the remaining clips.

      FixBot'a Sor

      Yorum Ekle

    3. Motorola Droid RAZR Motherboard Replacement: adım 3, 3 resimden 1. Motorola Droid RAZR Motherboard Replacement: adım 3, 3 resimden 2. Motorola Droid RAZR Motherboard Replacement: adım 3, 3 resimden 3.
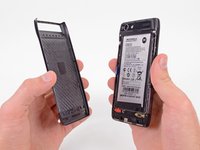
      • Pull the back cover away from the phone to remove it.

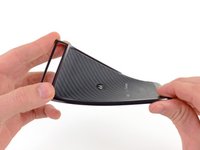
      • The back cover is attached to the battery with a generous amount of adhesive, so you may have to use quite a bit of force to separate the two pieces.

      • The battery must remain in the phone and not come off with the back cover or you will break the power lead.

      • Since the back cover is made of Kevlar, it can handle a fair amount of twisting and tugging without breaking.

      FixBot'a Sor

      Yorum Ekle

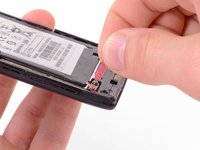
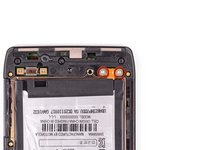
    1. Motorola Droid RAZR Motherboard Replacement, Battery: adım 4, 2 resimden 1. Motorola Droid RAZR Motherboard Replacement, Battery: adım 4, 2 resimden 2.
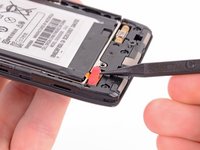
      • Use the tip of a spudger to lift up the red silicone cover over the battery terminal screws and remove it.

      FixBot'a Sor

      Yorum Ekle

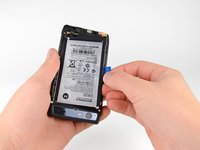
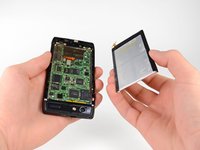
    2. Motorola Droid RAZR Motherboard Replacement: adım 5, 3 resimden 1. Motorola Droid RAZR Motherboard Replacement: adım 5, 3 resimden 2. Motorola Droid RAZR Motherboard Replacement: adım 5, 3 resimden 3.
      • Remove the two 3.3 mm T5 Torx battery terminal screws.

      • Grab the blue battery removal tab and lift the battery out to remove it.

      • There is quite a bit of adhesive securing the battery to the motherboard. Work slowly to avoid deforming the battery.

      • Your phone will have a number of metal EMI shields on the motherboard, rather than the bare ICs seen here.

      FixBot'a Sor

      Yorum Ekle

    1. Motorola Droid RAZR Motherboard Replacement, Camera Cover: adım 6, 2 resimden 1. Motorola Droid RAZR Motherboard Replacement, Camera Cover: adım 6, 2 resimden 2.
      • Use a heat gun or hair dryer to soften the adhesive underneath the camera cover.

      • The following steps were performed without the use of a heat gun. Notice that the camera cover cracks very easily if you do not heat the adhesive that holds it in place.

      • Gently pry up the bottom edge of the camera cover with a plastic opening tool.

      • Carefully slide the plastic opening tool across the bottom edge to free it from the adhesive.

      • Continue to use the heat gun as needed to soften the adhesive as you remove the camera cover.

      FixBot'a Sor

      Yorum Ekle

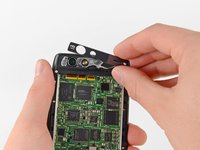
    2. Motorola Droid RAZR Motherboard Replacement: adım 7, 3 resimden 1. Motorola Droid RAZR Motherboard Replacement: adım 7, 3 resimden 2. Motorola Droid RAZR Motherboard Replacement: adım 7, 3 resimden 3.
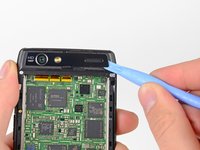
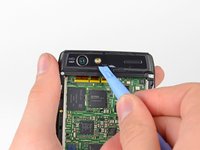
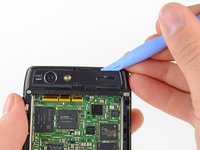
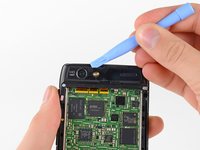
      • Insert the plastic opening tool underneath the top edge of the camera cover.

      • Gently pry the camera cover up as you slide the plastic opening tool across the top edge to free it from the adhesive.

      • Remove the camera cover.

      FixBot'a Sor

      Yorum Ekle

    1. Motorola Droid RAZR Motherboard Replacement, Rear Case: adım 8, 1 resimden 1.
      • Remove the six screws securing the rear case to the rest of the phone:

      • three 6.7 mm silver T3 Torx screws at the top,

      • four 4.0 mm gold T3 Torx screws in the middle,

      • and three 4.5 mm black T5 Torx screws at the bottom.

      FixBot'a Sor

      Yorum Ekle

    2. Motorola Droid RAZR Motherboard Replacement: adım 9, 3 resimden 1. Motorola Droid RAZR Motherboard Replacement: adım 9, 3 resimden 2. Motorola Droid RAZR Motherboard Replacement: adım 9, 3 resimden 3.
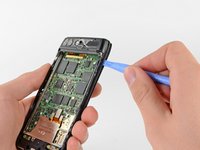
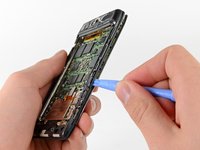
      • Insert a plastic opening tool between the rear case and the motherboard assembly.

      • Work your way down the side of the phone and gently pry the rear case up.

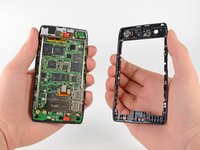
      • Separate the rear case from the motherboard assembly.

      FixBot'a Sor

      Yorum Ekle

    1. Motorola Droid RAZR Motherboard Replacement, Motherboard Assembly: adım 10, 2 resimden 1. Motorola Droid RAZR Motherboard Replacement, Motherboard Assembly: adım 10, 2 resimden 2.
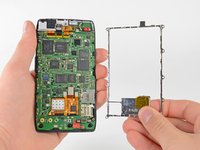
      • Remove the three 2.5 mm T3 Torx screws securing the metal chassis to the motherboard.

      • Remove the metal chassis from the motherboard assembly.

      FixBot'a Sor

      Yorum Ekle

    2. Motorola Droid RAZR Motherboard Replacement: adım 11, 2 resimden 1. Motorola Droid RAZR Motherboard Replacement: adım 11, 2 resimden 2.
      • Use the flat end of a spudger to remove the two red silicone microphone covers at the top and bottom of the motherboard.

      FixBot'a Sor

      Yorum Ekle

    3. Motorola Droid RAZR Motherboard Replacement: adım 12, 1 resimden 1.
      • There is a small metal shield that covers the display assembly cable connectors on the motherboard. This shield is held in place by a few small clips that attach to the surrounding EMI shields.

      • Use the tip of a spudger to gently bend the clips out of shape and remove the shield.

      FixBot'a Sor

      Yorum Ekle

    4. Motorola Droid RAZR Motherboard Replacement: adım 13, 3 resimden 1. Motorola Droid RAZR Motherboard Replacement: adım 13, 3 resimden 2. Motorola Droid RAZR Motherboard Replacement: adım 13, 3 resimden 3.
      • Use the flat end of a spudger to pry the three display cable connectors off their sockets on the motherboard.

      FixBot'a Sor

      Yorum Ekle

    5. Motorola Droid RAZR Motherboard Replacement: adım 14, 2 resimden 1. Motorola Droid RAZR Motherboard Replacement: adım 14, 2 resimden 2.
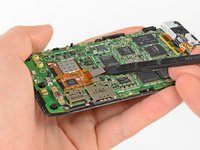
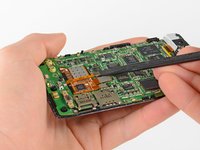
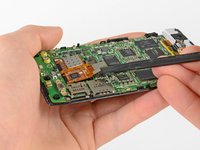
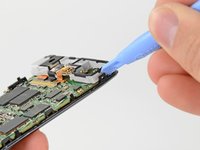
      • There are a number of small black plastic clips on the display assembly that hold the motherboard in place.

      • Release the securing clips with a plastic opening tool.

      FixBot'a Sor

      Yorum Ekle

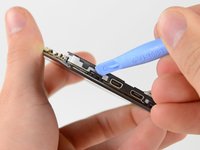
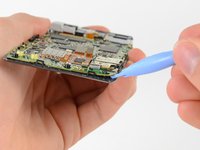
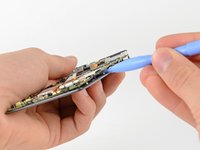
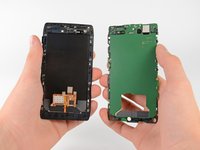
    6. Motorola Droid RAZR Motherboard Replacement: adım 15, 3 resimden 1. Motorola Droid RAZR Motherboard Replacement: adım 15, 3 resimden 2. Motorola Droid RAZR Motherboard Replacement: adım 15, 3 resimden 3.
      • Use a heat gun or hair dryer to soften the adhesive strip around the perimeter of the motherboard.

      • Pry the edges of the motherboard up from the display assembly with a plastic opening tool.

      • Remove the motherboard assembly.

      FixBot'a Sor

      Yorum Ekle

    1. Motorola Droid RAZR Motherboard Replacement, Rear-Facing Camera: adım 16, 2 resimden 1. Motorola Droid RAZR Motherboard Replacement, Rear-Facing Camera: adım 16, 2 resimden 2.
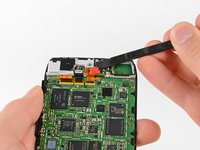
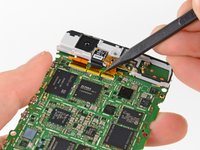
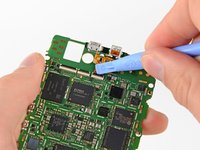
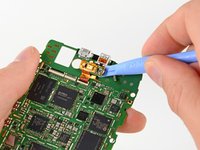
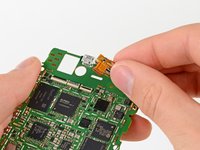
      • Lift up the anti-static tape covering the camera and earpiece ZIF connectors with the tip of a spudger.

      • Peel back the tape and remove it.

      • Unless you have spare ESD-safe tape lying around, you may consider keeping this piece somewhere safe to be reused at reassembly.

      FixBot'a Sor

      Yorum Ekle

    2. Motorola Droid RAZR Motherboard Replacement: adım 17, 3 resimden 1. Motorola Droid RAZR Motherboard Replacement: adım 17, 3 resimden 2. Motorola Droid RAZR Motherboard Replacement: adım 17, 3 resimden 3.
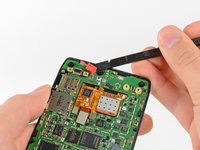
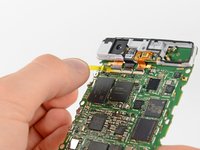
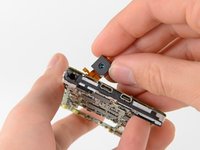
      • Use a plastic opening tool or your fingernail to lift up the tab on the rear-facing camera ribbon cable ZIF connector.

      • Make sure you're prying on the tab and not the connector itself.

      • Push the rear-facing camera through its hole in the grey antenna and remove it.

      FixBot'a Sor

      Yorum Ekle

    1. Motorola Droid RAZR Motherboard Replacement, Front-Facing Camera: adım 18, 3 resimden 1. Motorola Droid RAZR Motherboard Replacement, Front-Facing Camera: adım 18, 3 resimden 2. Motorola Droid RAZR Motherboard Replacement, Front-Facing Camera: adım 18, 3 resimden 3.
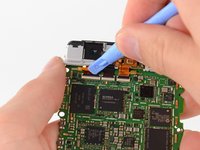
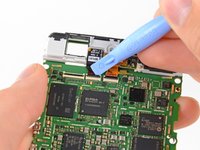
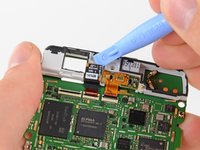
      • Use a plastic opening tool or your fingernail to lift up the tab on the front-facing camera ribbon cable ZIF connector.

      • Make sure you're prying on the tab and not the connector itself.

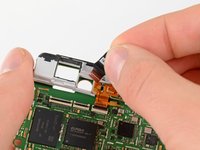
      • Lift the front-facing camera out of the antenna with the plastic opening tool and remove it.

      FixBot'a Sor

      Yorum Ekle

    1. Motorola Droid RAZR Motherboard Replacement, Earpiece Speaker: adım 19, 3 resimden 1. Motorola Droid RAZR Motherboard Replacement, Earpiece Speaker: adım 19, 3 resimden 2. Motorola Droid RAZR Motherboard Replacement, Earpiece Speaker: adım 19, 3 resimden 3.
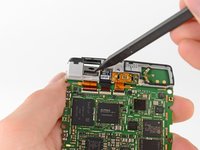
      • Flip up the tab on the earpiece speaker ZIF connector with your finger or a plastic opening tool.

      • Make sure that you are prying on the tab and not the connector itself.

      • Remove the earpiece speaker from the motherboard.

      FixBot'a Sor

      Yorum Ekle

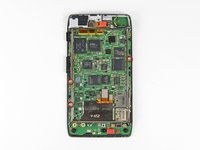
    1. Motorola Droid RAZR Motherboard Replacement, Motherboard: adım 20, 1 resimden 1.
      • The motherboard remains.

      FixBot'a Sor

      Yorum Ekle

Sonuç

To reassemble your device, follow these instructions in reverse order.

İptal et: Bu kılavuzu tamamlamadım.

11 farklı kişi bu kılavuzu tamamladı.

David Hodson

Üyelik tarihi: 04/13/10

156.560 İtibar

127 adet Kılavuz yazıldı

1Rehber Yorum

Does anybody do charging port repairs on a droid razor ?

I don't have the tools and would rather donate so somebody who has them.....

Chuck - Yanıt Paylaş

Yorum Ekle

İstatistikleri Görüntüle:

Son 24 Saat: 0

Son 7 gün: 8

Son 30 gün: 40

Her zaman: 23,488