Giriş
Use this guide to replace a broken or malfunctioning screen. When removing the screen, make sure to wear safety glasses.
Before you begin, download the Rescue and Smart Assistant app to backup your device and diagnose whether your problem is software or hardware related.
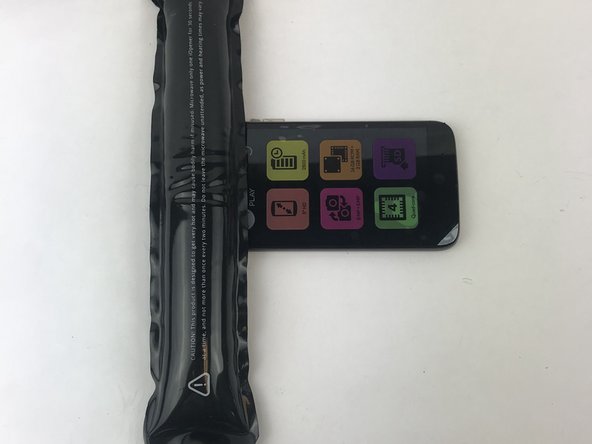
Note: Microwave only one iOpener at a time for no more than 30 seconds, and make sure to not microwave it more than once within two minutes.
Neye ihtiyacın var
-
-
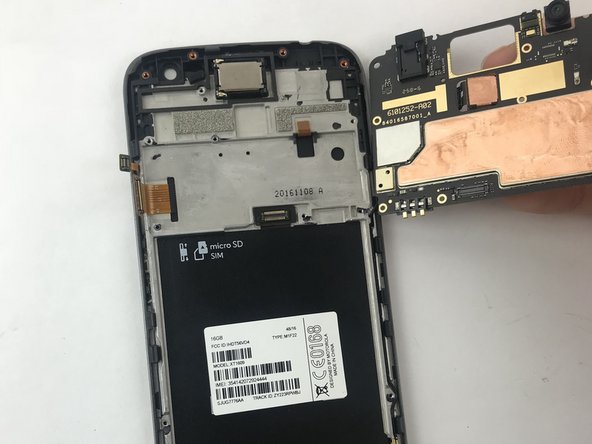
Open case with a plastic opening tool that has the same size as the divot located at the bottom left of the phone. If you don’t have an opening tool, use your finger nails.
-
-
-
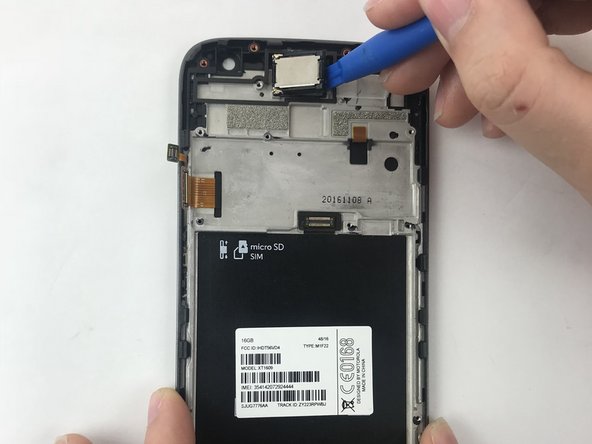
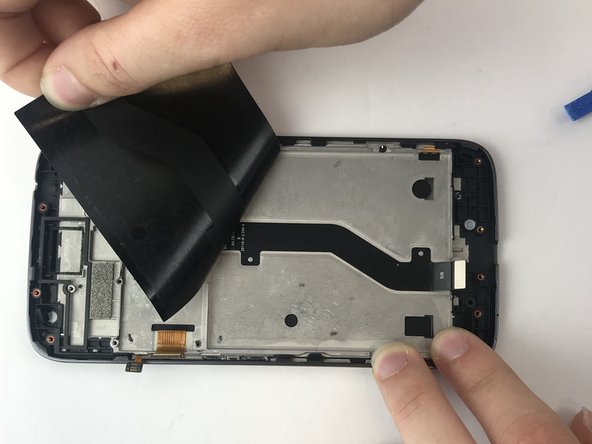
Use the flat end of a spudger to disconnect the rear-facing camera connector from its socket on the mother board.
-
-
-
-
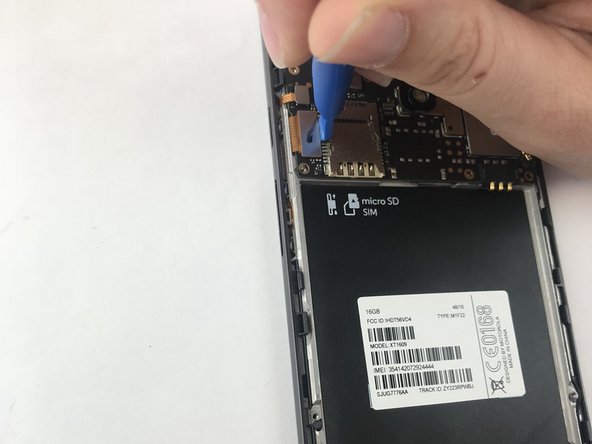
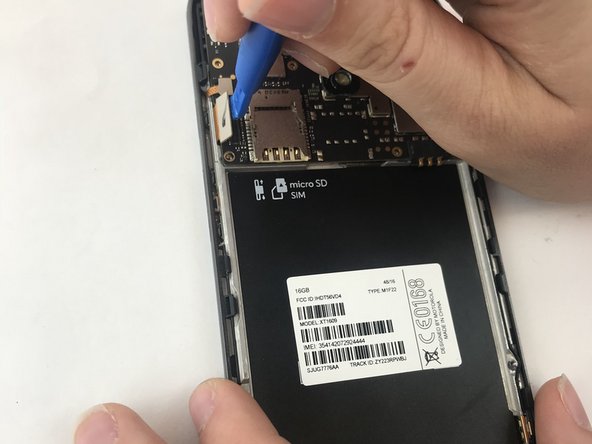
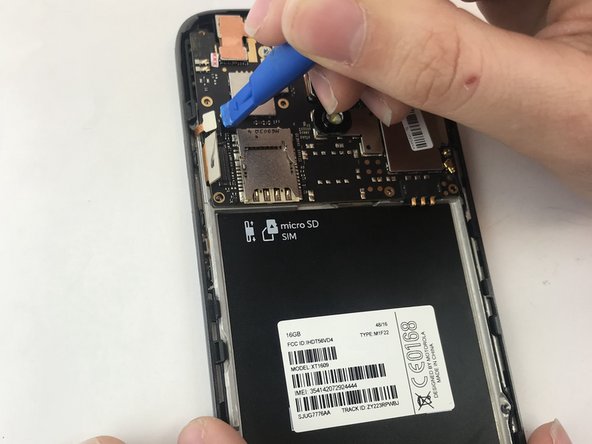
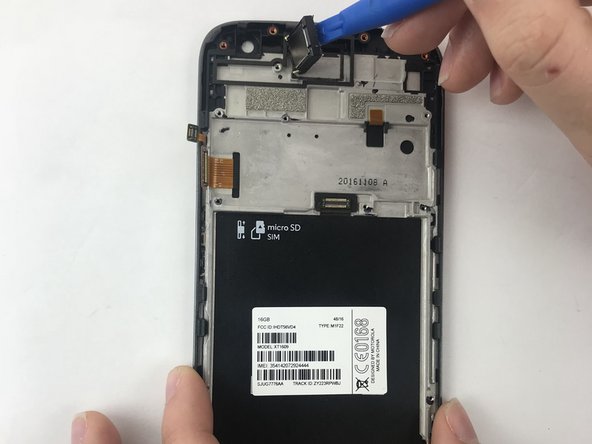
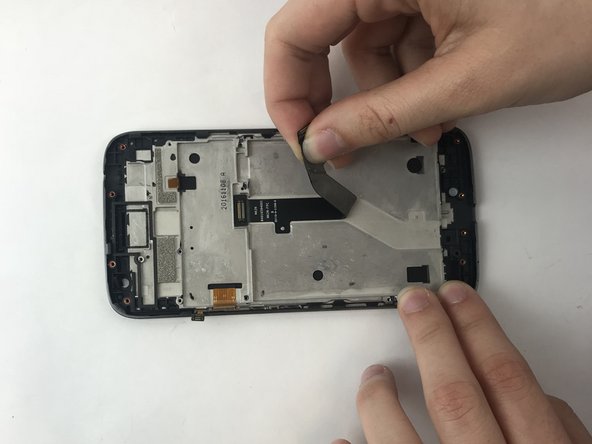
Using an opening tool, pry up one of the connectors to the left of where the sim card was located.
-
-
-
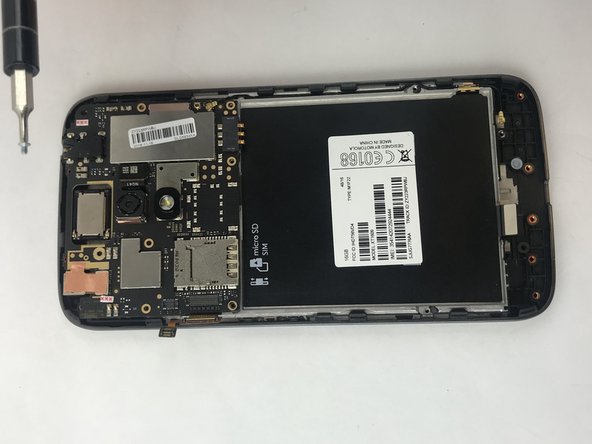
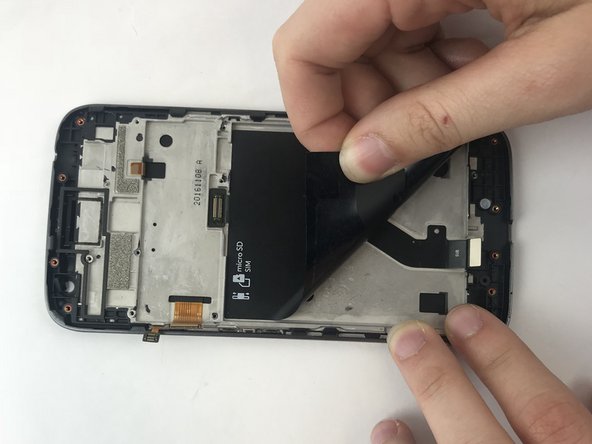
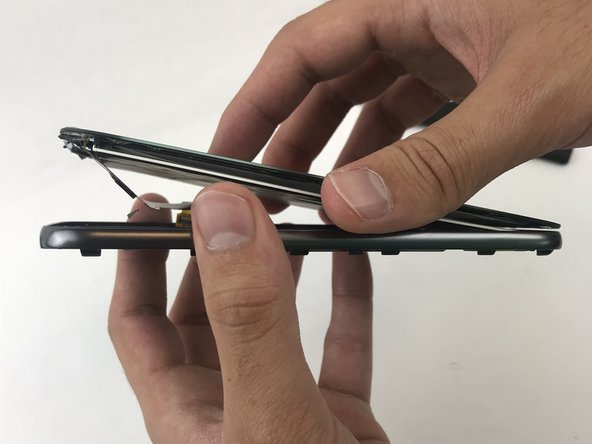
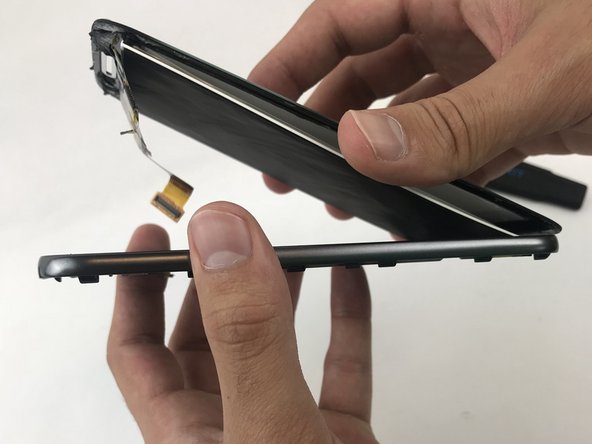
Insert the Jimmy knife through the edge.
-
Place a plastic card so that the adhesive doesn't stick back again.
-
Go around the edges of the device with the Jimmy knife until all the adhesive has been removed.
-


To reassemble your device, follow these instructions in reverse order.
To reassemble your device, follow these instructions in reverse order.
İptal et: Bu kılavuzu tamamlamadım.
9 farklı kişi bu kılavuzu tamamladı.
Ekip

USF Tampa, Team S17-G4, Boczar Spring 2018 USF Tampa, Team S17-G4, Boczar Spring 2018 üyesi
USFT-BOCZAR-S18S17G4
4 Üyeler
11 adet Kılavuz yazıldı
4 Yorum
The smaller one is from the power and Volume buttons and needs tobe transfered to the new display if you bought one with Frame (which makes it much easier)
I had to figure out that out myself. Yes, you will need to transfer the connector from the old frame to the new frame. I should also add, the frame I got had no buttons, so I had to get them from the old phone.
Good guide though I could not see the purpose of removing items 20, 21 & 22