Bu sürüm, hatalı düzenlemeler içerebilir. En son doğrulanmış bellek kopyası dönün.
Neye ihtiyacın var
-
Bu adım çevrilmemiş. Çevrilmesine yardım edin
-
Use the Torx T5 Screwdriver to remove two 5.0 mm screws at the bottom of the phone.
-
-
Bu adım çevrilmemiş. Çevrilmesine yardım edin
-
To remove the SIM card, use an unfolded paperclip to press down on the metal plate on the left side of the phone until it pops up.
-
-
Bu adım çevrilmemiş. Çevrilmesine yardım edin
-
Gently push the screen toward the top edge of the phone and tilt the screen to reveal the black flex cables.
-
-
Bu adım çevrilmemiş. Çevrilmesine yardım edin
-
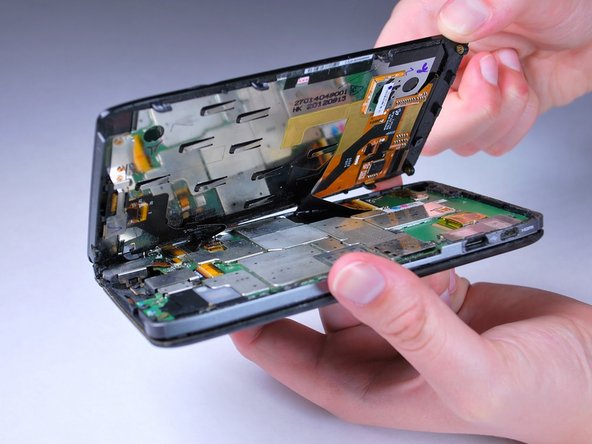
Release the two black ribbon flex cables by gently pulling up on the connection using the spudger. Then lift the screen to remove.
-
-
-
Bu adım çevrilmemiş. Çevrilmesine yardım edin
-
Remove the plastic yellow tape on the battery connector using the spudger.
-
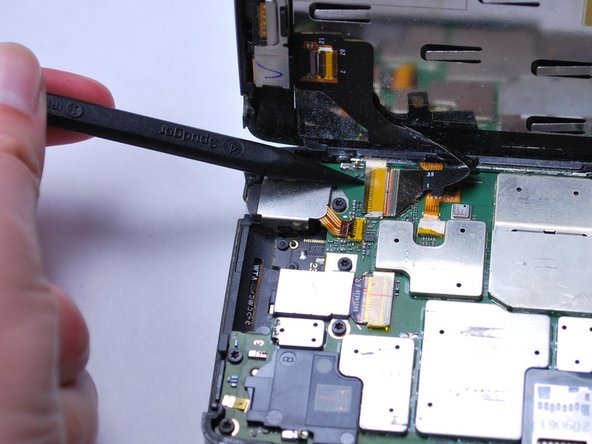
Pry up on the orange connection to release it from the motherboard.
-
-
Bu adım çevrilmemiş. Çevrilmesine yardım edin
-
Unscrew all ten 4.0 mm screws on the motherboard using a T5 Torx screwdriver.
-
-
Bu adım çevrilmemiş. Çevrilmesine yardım edin
-
Using tweezers, remove the clear plastic covering on the speaker.
-
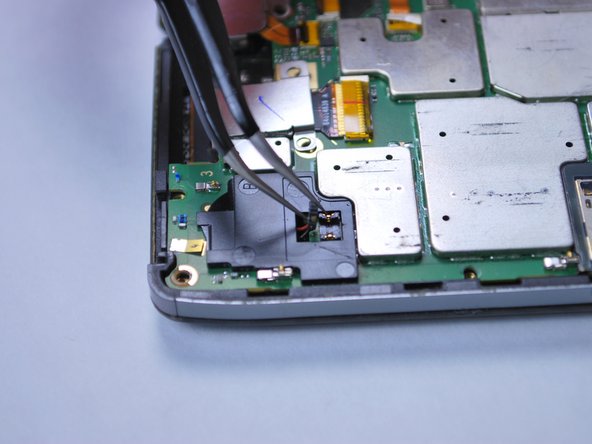
Pry open the connection by lifting up on the speaker wire connector.
-
-
Bu adım çevrilmemiş. Çevrilmesine yardım edin
-
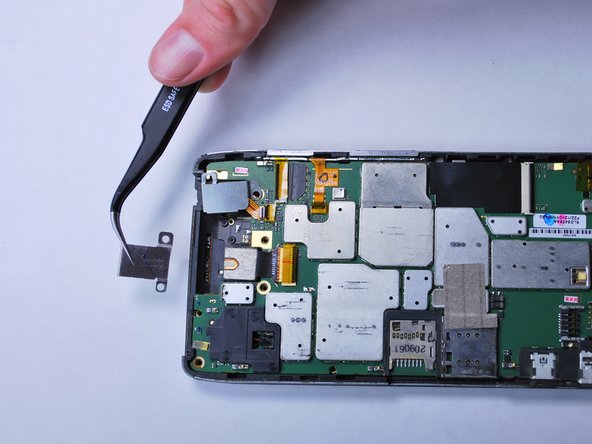
Using the spudger tool, release the yellow ribbon cable on the headphone jack cover by pushing up on the connection.
-
Remove the cover from the motherboard.
-
-
Bu adım çevrilmemiş. Çevrilmesine yardım edin
-
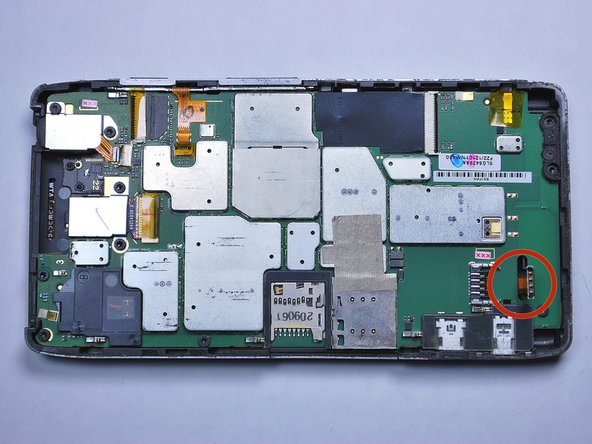
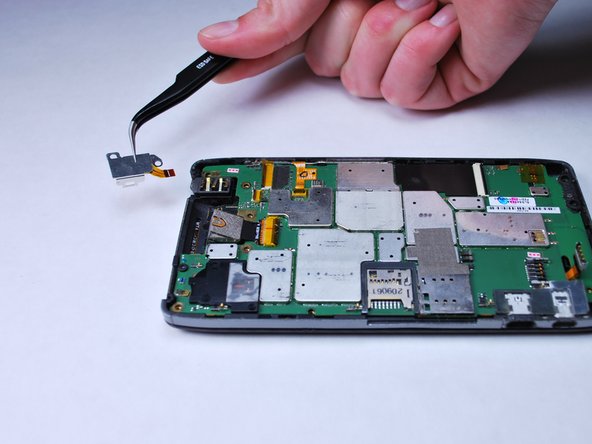
Release the yellow flex cable on the right side of the phone using the spudger by lifting up on the retaining clip.
-
-
Bu adım çevrilmemiş. Çevrilmesine yardım edin
-
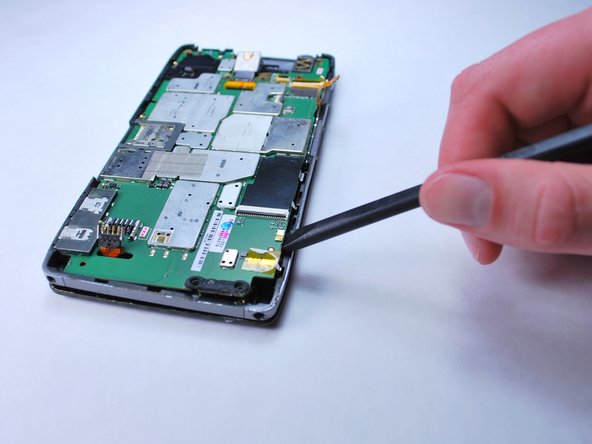
Wedge the spudger between the motherboard and the back case.
-
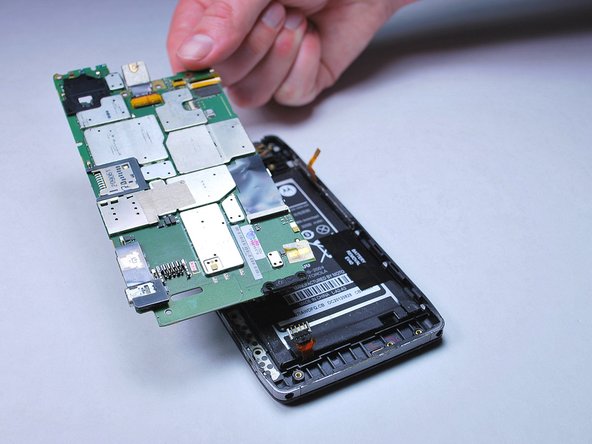
Work your way around the entire edge of the motherboard to release it and remove it from the back of the phone.
-


İptal et: Bu kılavuzu tamamlamadım.
4 farklı kişi bu kılavuzu tamamladı.
Ekip

Cal Poly, Team 8-40, Amido Winter 2015 Cal Poly, Team 8-40, Amido Winter 2015 üyesi
CPSU-AMIDO-W15S8G40
5 Üyeler
18 adet Kılavuz yazıldı
Bir Yorum
so i have an old XT912 and i thought the other day it would be cool to have it running linux
however the device has a broken power button
actually no power button was too rough with it back in the when i had little knowledge about opening phones
the button is gone lol i remember using using a small screw driver to get it to respond a few times and it just stopped after a while
i think i dug it right off the board do you thinks its worth it to attempt to fix it or is there another way to get it to respond to power
>>>>>>>>>(-_//)