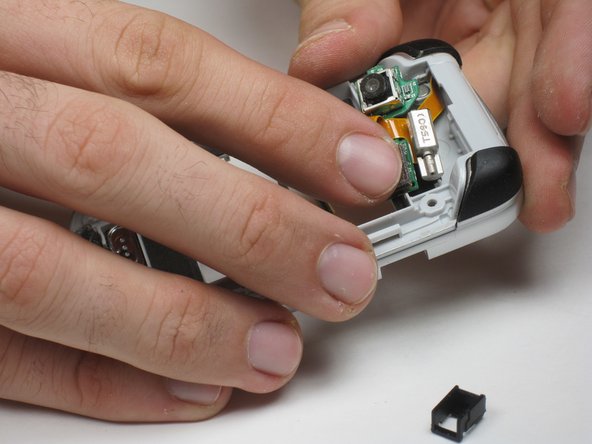
Ana içeriğe geç

Motorola V325 Camera Replacement

Neye ihtiyacın var

  1. Motorola V325 Camera Replacement, External Casing: adım 1, 3 resimden 1. Motorola V325 Camera Replacement, External Casing: adım 1, 3 resimden 2. Motorola V325 Camera Replacement, External Casing: adım 1, 3 resimden 3.
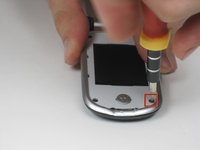
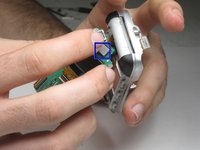
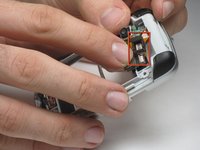
    • Remove the rearmost panel by pushing down on the silver button, then simultaneously pulling downward on the panel.

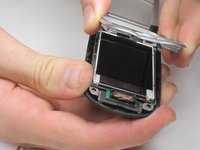
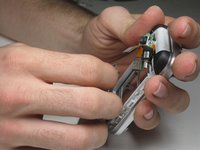
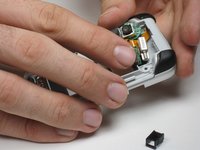
    • Lift the panel off of the phone.

  2. Motorola V325 Camera Replacement: adım 2, 3 resimden 1. Motorola V325 Camera Replacement: adım 2, 3 resimden 2. Motorola V325 Camera Replacement: adım 2, 3 resimden 3.
    • Using your thumbnail or a thin flat head screwdriver, peel back the screen protector on the inside of the phone: It is only held on by glue but may take a good amount of force to be removed.

  3. Motorola V325 Camera Replacement: adım 3, 2 resimden 1. Motorola V325 Camera Replacement: adım 3, 2 resimden 2.
    • Unscrew the four screws using the T6 Torx Screwdriver.

  4. Motorola V325 Camera Replacement: adım 4, 3 resimden 1. Motorola V325 Camera Replacement: adım 4, 3 resimden 2. Motorola V325 Camera Replacement: adım 4, 3 resimden 3.
    • Peel back the screen protector frame. Close phone at the hinge, then pull off the front outer casing.

  5. Motorola V325 Camera Replacement, Motorola V325 Screen and External Display Disassembly: adım 5, 2 resimden 1. Motorola V325 Camera Replacement, Motorola V325 Screen and External Display Disassembly: adım 5, 2 resimden 2.
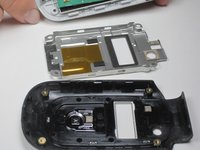
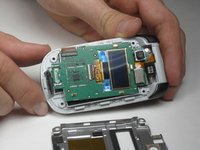
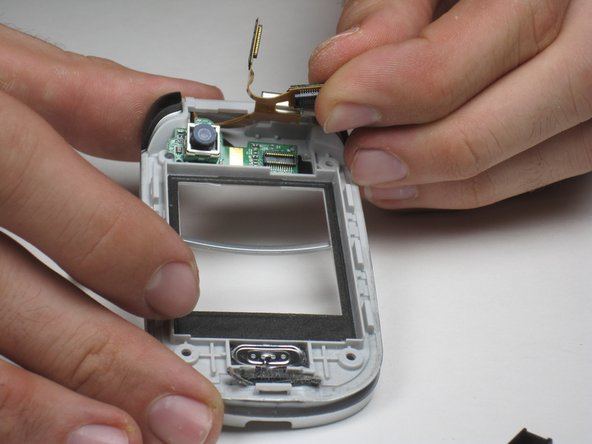
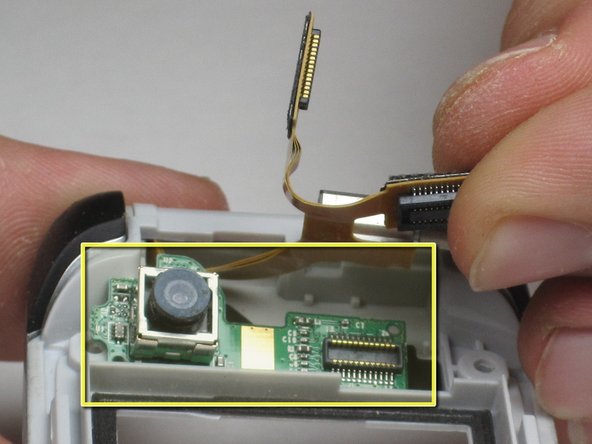
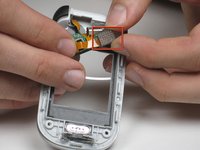
    • After removing the external casing, there are no more screws holding on the gray metal plate. Carefully separate the gray plate from the rest of the phone by simply lifting it off.

  6. Motorola V325 Camera Replacement: adım 6, 3 resimden 1. Motorola V325 Camera Replacement: adım 6, 3 resimden 2. Motorola V325 Camera Replacement: adım 6, 3 resimden 3.
    • Next separate the screen from the phone, pulling it away slowly as it will still be attached by a yellow ribbon.

    • A yellow ribbon attaches to the area boxed in blue. Unclip the yellow ribbon from the circuit board using your fingers.

  7. Motorola V325 Camera Replacement, Camera: adım 7, 2 resimden 1. Motorola V325 Camera Replacement, Camera: adım 7, 2 resimden 2.
    • Remove the cover on the vibrator by simply pulling it off gently.

  8. Motorola V325 Camera Replacement: adım 8, 1 resimden 1.
    • Pull out the small circuit board where the camera is mounted.

    • Be careful with the yellow ribbon attaching both sides of the phone. It can break if pulled on too hard.

  9. Motorola V325 Camera Replacement: adım 9, 3 resimden 1. Motorola V325 Camera Replacement: adım 9, 3 resimden 2. Motorola V325 Camera Replacement: adım 9, 3 resimden 3.
    • Detach the clip from the camera's circuit board carefully by pulling them apart with your fingers.

    • The camera should now be completely detached as shown here in yellow.

  10. Motorola V325 Camera Replacement: adım 10, 1 resimden 1.
    • This is the piece that is removed from the phone.

    • You will need to replace this entire piece for the camera to function properly again.

Sonuç

To reassemble your device, follow these instructions in reverse order.

Felipe Alfaro

Üyelik tarihi: 01/15/10

1 İtibar

1 Kılavuz yazıldı

Ekip

Cal Poly, Team 4-15, Forte Winter 2010 Cal Poly, Team 4-15, Forte Winter 2010 üyesi

CPSU-FORTE-W10S4G15

5 Üyeler

8 adet Kılavuz yazıldı

0 Yorum

Yorum Ekle

İstatistikleri Görüntüle:

Son 24 Saat: 0

Son 7 gün: 1

Son 30 gün: 3

Her zaman: 2,431