Ana içeriğe geç
Onarım Topluluğuna Katılın - Hesap Oluşturun

Motorola V60s Motherboard Replacement

Neye ihtiyacın var

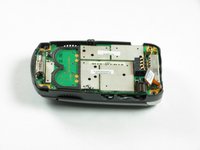
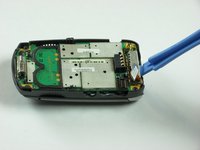
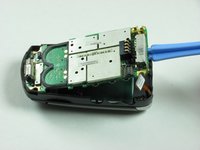
  1. Motorola V60s Motherboard Replacement, Battery: adım 1, 3 resimden 1. Motorola V60s Motherboard Replacement, Battery: adım 1, 3 resimden 2. Motorola V60s Motherboard Replacement, Battery: adım 1, 3 resimden 3.
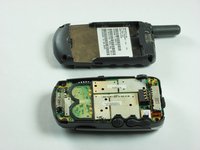
    • Push in release lever towards top of phone, then use blue spudger to pry case off.

    • After case is removed from the back of the phone, you can simply use your hands to take it the rest of the way off.

    • Set cover aside in a safe location.

    FixBot'a Sor
  2. Motorola V60s Motherboard Replacement: adım 2, 2 resimden 1. Motorola V60s Motherboard Replacement: adım 2, 2 resimden 2.
    • Carefully grab battery towards bottom of phone.

    • Lift from bottom and take out of phone, set aside in a safe location.

    FixBot'a Sor
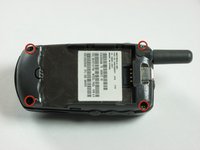
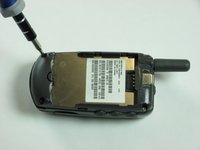
  3. Motorola V60s Motherboard Replacement, Motherboard: adım 3, 2 resimden 1. Motorola V60s Motherboard Replacement, Motherboard: adım 3, 2 resimden 2.
    • Remove the four corner screws with a T6 screwdriver.

    • The two top screws are short and silver. The two bottom screws are black and long.

    FixBot'a Sor
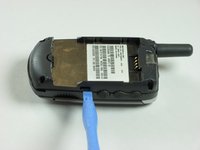
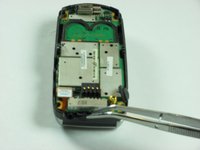
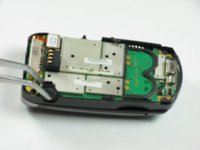
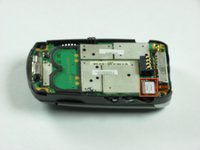
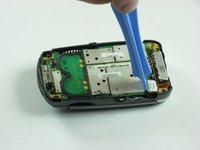
  4. Motorola V60s Motherboard Replacement: adım 4, 3 resimden 1. Motorola V60s Motherboard Replacement: adım 4, 3 resimden 2. Motorola V60s Motherboard Replacement: adım 4, 3 resimden 3.
    • Use a spudger to gently pry off back chassis. Wedge the spudger in crevice between back panel and phone and lift.

    FixBot'a Sor
  5. Motorola V60s Motherboard Replacement: adım 5, 3 resimden 1. Motorola V60s Motherboard Replacement: adım 5, 3 resimden 2. Motorola V60s Motherboard Replacement: adım 5, 3 resimden 3.
    • Starting from left side of phone, remove side buttons and place aside.

    • There are three buttons. One on each side, and the top.

    • Return phone to starting orientation when done.

    FixBot'a Sor
  6. Motorola V60s Motherboard Replacement: adım 6, 3 resimden 1. Motorola V60s Motherboard Replacement: adım 6, 3 resimden 2. Motorola V60s Motherboard Replacement: adım 6, 3 resimden 3.
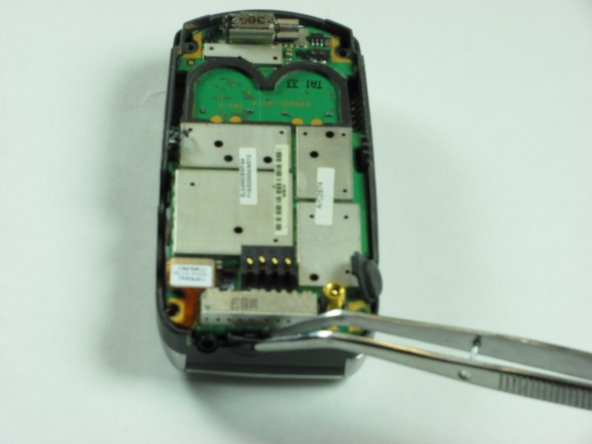
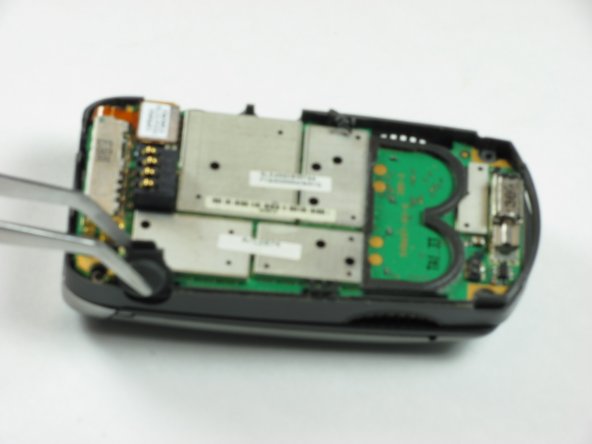
    • Gently remove orange ribbon cable by prying up with spudger.

    FixBot'a Sor
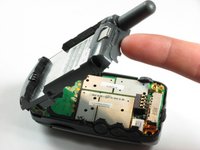
  7. Motorola V60s Motherboard Replacement: adım 7, 2 resimden 1. Motorola V60s Motherboard Replacement: adım 7, 2 resimden 2.
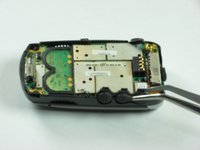
    • Use a spudger to pry up logic board by wedging in between logic board and chassis and lifting.

    • Orange ribbon cable is fragile and can be broken.

    FixBot'a Sor
Sonuç

To reassemble your device, follow these instructions in reverse order.

Bir başkası bu kılavuzu tamamladı.

Eric Freeman

Üyelik tarihi: 01/26/10

12 İtibar

7 adet Kılavuz yazıldı

Ekip

Cal Poly, Team 8-48, Regan Winter 2010 Cal Poly, Team 8-48, Regan Winter 2010 üyesi

CPSU-REGAN-W10S8G48

4 Üyeler

13 adet Kılavuz yazıldı

0Kılavuz Yorumları

Yorum Ekle

İstatistikleri Görüntüle:

Son 24 Saat: 2

Son 7 gün: 16

Son 30 gün: 75

Her zaman: 2,160