Ana içeriğe geç

Motorola W315 Screen Replacement

Neye ihtiyacın var

  1. Motorola W315 Screen Replacement, Display Cover: adım 1, 3 resimden 1. Motorola W315 Screen Replacement, Display Cover: adım 1, 3 resimden 2. Motorola W315 Screen Replacement, Display Cover: adım 1, 3 resimden 3.
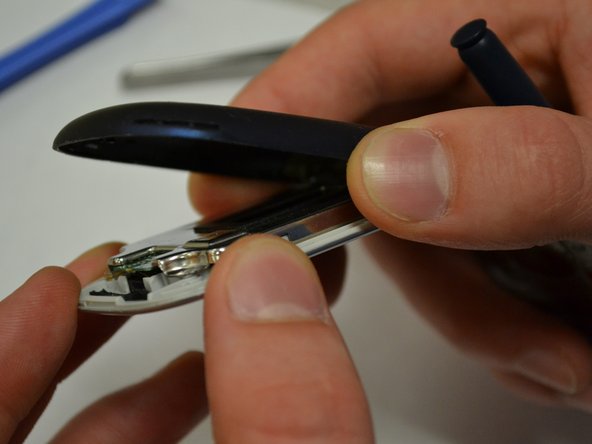
    • Insert the spudger between the silver body of the phone and the black "Verizon" display sticker.

    • Work the spudger around the extremity of the sticker.

    • Remove display sticker.

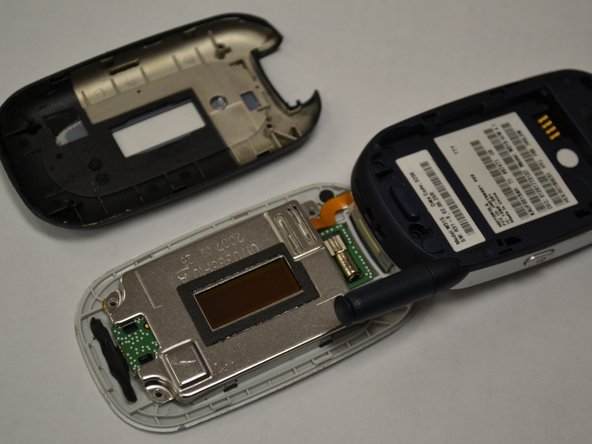
    • Be aware that if the display sticker comes back in contact with the phone it will adhere back to the phone.

  2. Motorola W315 Screen Replacement, Screen: adım 2, 1 resimden 1.
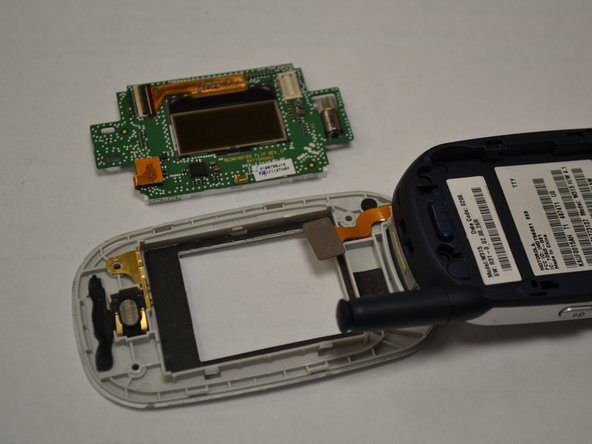
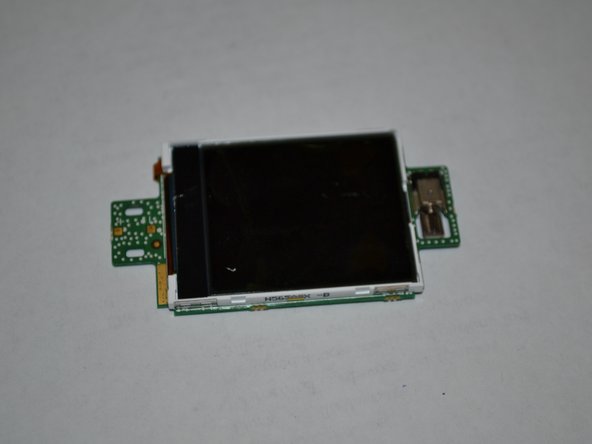
    • Using the T6 tool, remove the four 5mm screws on the face of the display (circled in red).Before replacing the screen, the four screws beneath the display must already be removed.

  3. Motorola W315 Screen Replacement: adım 3, 1 resimden 1.
    • Insert the tweezers between the front and back panels of the top half of the device. Make as large a gap as possible using the tweezers.

  4. Motorola W315 Screen Replacement: adım 4, 3 resimden 1. Motorola W315 Screen Replacement: adım 4, 3 resimden 2. Motorola W315 Screen Replacement: adım 4, 3 resimden 3.
    • Using the Pry Bar, move around the entire edge of the the device until the two panels separate from each other.

    • Grab the plastic casing and remove

  5. Motorola W315 Screen Replacement: adım 5, 3 resimden 1. Motorola W315 Screen Replacement: adım 5, 3 resimden 2. Motorola W315 Screen Replacement: adım 5, 3 resimden 3.
    • Use the pry bar to lift the metal cover from the screen housing.

  6. Motorola W315 Screen Replacement: adım 6, 2 resimden 1. Motorola W315 Screen Replacement: adım 6, 2 resimden 2.
    • Pry the chip connected by magnetic strip from the back of the screen.

    • Remove display circuit board from the body of the phone.

  7. Motorola W315 Screen Replacement: adım 7, 2 resimden 1. Motorola W315 Screen Replacement: adım 7, 2 resimden 2.
    • Remove the screen from the front panel of the device.

Sonuç

To reassemble your device, follow these instructions in reverse order.

Justin Scott

Üyelik tarihi: 03/26/14

501 İtibar

5 adet Kılavuz yazıldı

Ekip

Clemson, Team 6-3, Benson Spring 2014 Clemson, Team 6-3, Benson Spring 2014 üyesi

CLEM-BENSON-S14S6G3

3 Üyeler

18 adet Kılavuz yazıldı

0 Yorum

Yorum Ekle

İstatistikleri Görüntüle:

Son 24 Saat: 0

Son 7 gün: 1

Son 30 gün: 1

Her zaman: 175