Ana içeriğe geç

MusicAngel JH-MD04E2 wired speakers Disassembly

Neye ihtiyacın var

  1. MusicAngel JH-MD04E2 wired speakers Disassembly, First assessment: adım 1, 3 resimden 1. MusicAngel JH-MD04E2 wired speakers Disassembly, First assessment: adım 1, 3 resimden 2. MusicAngel JH-MD04E2 wired speakers Disassembly, First assessment: adım 1, 3 resimden 3.
    • Bottom side has 4 5.95mm tapping Phillips #1 screws, under a rubber cover.

    • Under the label, there are two more Phillips #1 screws 9.15mm tapping screws.

  2. MusicAngel JH-MD04E2 wired speakers Disassembly, Opening the speaker: adım 2, 3 resimden 1. MusicAngel JH-MD04E2 wired speakers Disassembly, Opening the speaker: adım 2, 3 resimden 2. MusicAngel JH-MD04E2 wired speakers Disassembly, Opening the speaker: adım 2, 3 resimden 3.
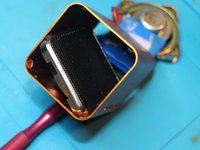
    • Use a very thin metal prying tool and slide it in between the metal looking grill and the speaker body. Carefully pry it out (no glue is used) all the way around.

    • Repeat on both speaker sides.

  3. MusicAngel JH-MD04E2 wired speakers Disassembly, Taking out the parts: adım 3, 3 resimden 1. MusicAngel JH-MD04E2 wired speakers Disassembly, Taking out the parts: adım 3, 3 resimden 2. MusicAngel JH-MD04E2 wired speakers Disassembly, Taking out the parts: adım 3, 3 resimden 3.
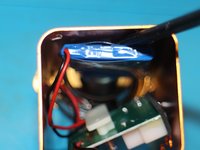
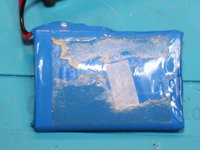
    • Use a spudger to pry the battery that is glued to the top, from the body. Note: This is pretty strong adhesive.

    • Tilt the speaker grill / element a little, to slide it through the body.

  4. MusicAngel JH-MD04E2 wired speakers Disassembly, Information: adım 4, 3 resimden 1. MusicAngel JH-MD04E2 wired speakers Disassembly, Information: adım 4, 3 resimden 2. MusicAngel JH-MD04E2 wired speakers Disassembly, Information: adım 4, 3 resimden 3.
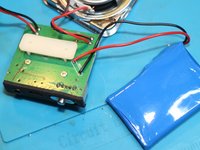
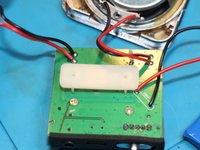
    • As you can see, there are no connectors used. All connections are soldered directly to the board.

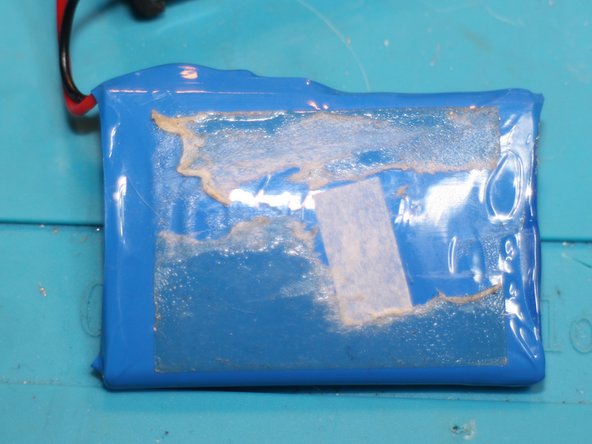
    • No information can be found on the battery, either side.

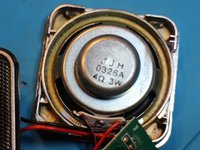
    • The speaker elements are 45mm, 3W and 4Ω

  5. MusicAngel JH-MD04E2 wired speakers Disassembly, Board overview: adım 5, 1 resimden 1.
    • Not really much going on on this board.

Sonuç

To reassemble your device, follow these instructions in reverse order.

2 farklı kişi bu kılavuzu tamamladı.

Geir Ove Andersen

Üyelik tarihi: 06/06/22

7.740 İtibar

5 adet Kılavuz yazıldı

Ekip

Master Techs Master Techs üyesi

Community

322 Üyeler

2.535 adet Kılavuz yazıldı

0 Yorum

Yorum Ekle

İstatistikleri Görüntüle:

Son 24 Saat: 0

Son 7 gün: 3

Son 30 gün: 11

Her zaman: 178