Giriş
Before beginning this guide we recommend following our Nabi 2 back cover removal guide.
This guide will walk you through the steps of replacing a cracked or otherwise non functioning screen on a Nabi 2. As the screen is glued to the front assembly, we recommend replacing the entire display assembly.
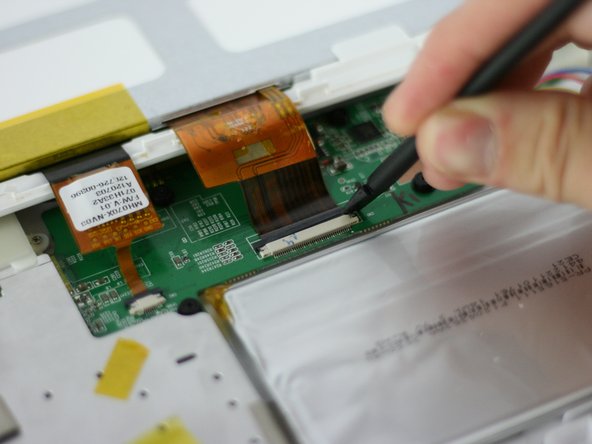
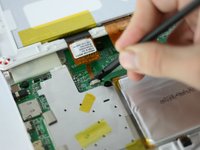
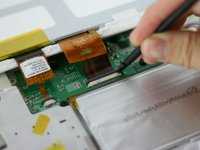
Be sure to use caution when releasing the clips that secure the display ribbon cables. Use a plastic spudger and push directly out, do not pry up on the clips, they will break.
Neye ihtiyacın var
-
-
With a PH00 screwdriver, remove the four outermost screws from the back of the tablet.
-
-
-
-
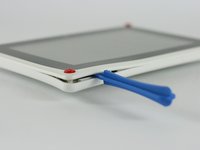
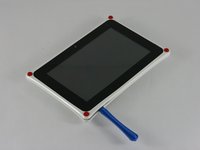
Carefully, insert a plastic opening tool into the seam of the device and begin gently prying the two plastic pieces apart.
-
Work the tool all the way around the device. Small plastic clips should release. If they do not, gently apply outwards pressure until the clips give.
-
-
-
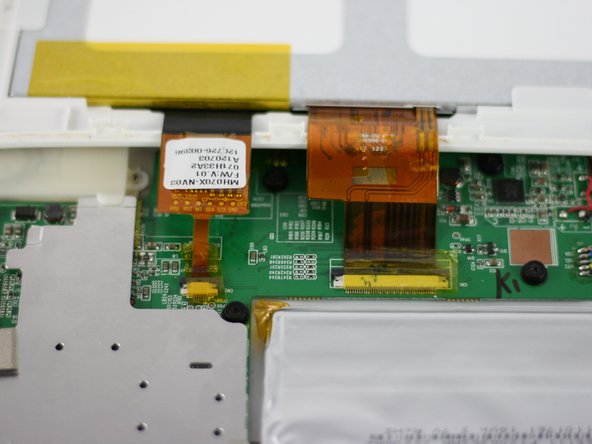
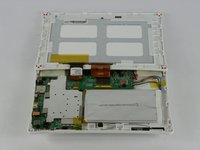
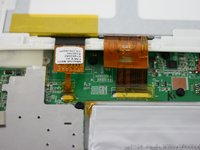
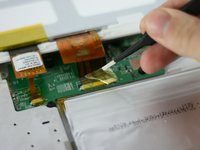
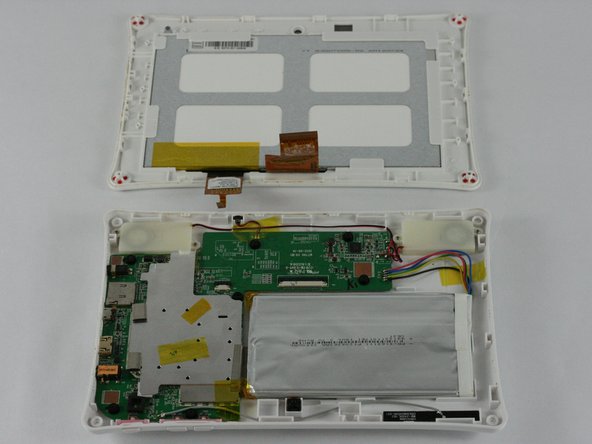
Lay the tablet down flat and remove the yellow tape from the ZIF connector on each side
-
-
-
Using a spudger, slide the brown tab forward on each side of the connector
-
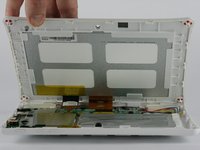
Slide until the connector is completely loose, then separate the screen from the bottom half of the tablet
-
If the screen is not working correctly, you will need to replace the entire display assembly
-


 FixBot'a Sor





To reassemble your device, follow these instructions in reverse order.
İptal et: Bu kılavuzu tamamlamadım.
7 farklı kişi bu kılavuzu tamamladı.

Ekip

USF Tampa, Team 4-3, Lacy Spring 2016 USF Tampa, Team 4-3, Lacy Spring 2016 üyesi
USFT-LACY-S16S4G3
4 Üyeler
14 adet Kılavuz yazıldı
4Kılavuz Yorumları
Is the LCD glued to the front glass/digitizer?
It Worked Thank U So Much!!!
