Ana içeriğe geç
Onarım Topluluğuna Katılın - Hesap Oluşturun

Neato Botvac D8000 Wheel Replacement

Neye ihtiyacın var

    1. Neato Botvac D8000 Wheel Replacement, Brushes: adım 1, 1 resimden 1.
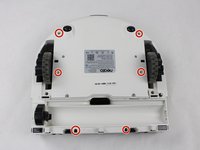
      • Place the vacuum on its back so the brushes are visible.

      FixBot'a Sor
      Yorum Ekle

    2. Neato Botvac D8000 Wheel Replacement: adım 2, 3 resimden 1. Neato Botvac D8000 Wheel Replacement: adım 2, 3 resimden 2. Neato Botvac D8000 Wheel Replacement: adım 2, 3 resimden 3.
      • Remove the four 10 mm screws with a Torx T10 screwdriver.

      FixBot'a Sor
      Yorum Ekle

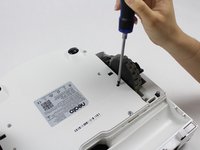
    3. Neato Botvac D8000 Wheel Replacement: adım 3, 2 resimden 1. Neato Botvac D8000 Wheel Replacement: adım 3, 2 resimden 2.
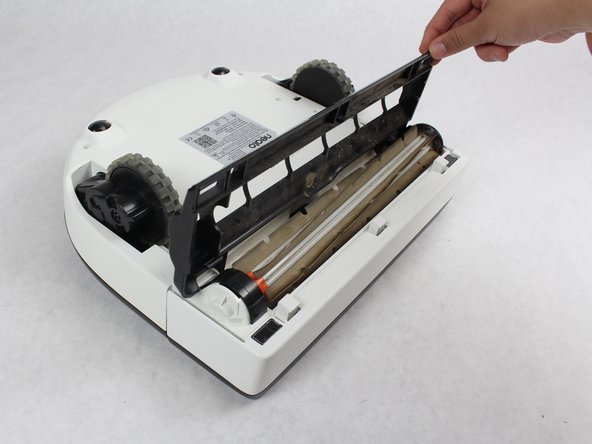
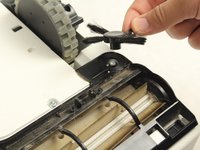
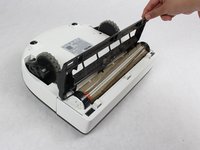
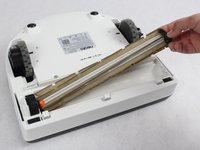
      • Remove the rotary brush simply by grabbing it firmly and pulling it off.

      • Once you have removed your rotary brush and 4 bolts, you can easy remove the brush guard.

      FixBot'a Sor
      Yorum Ekle

    4. Neato Botvac D8000 Wheel Replacement: adım 4, 2 resimden 1. Neato Botvac D8000 Wheel Replacement: adım 4, 2 resimden 2.
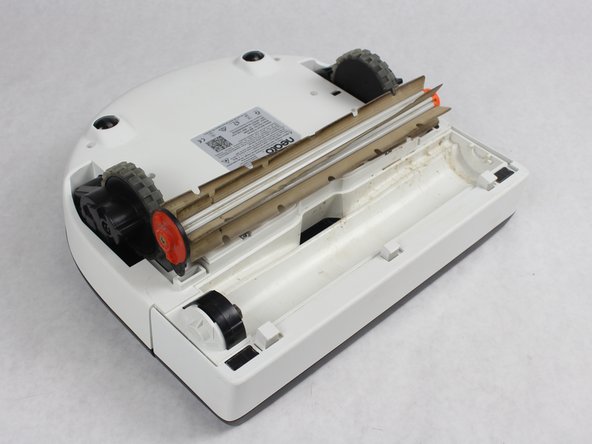
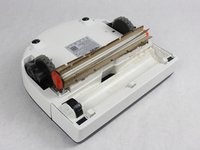
      • Remove the brush by simply pulling it out.

      • From there you can clean it or replace the brush with a new one.

      FixBot'a Sor

      Yorum Ekle

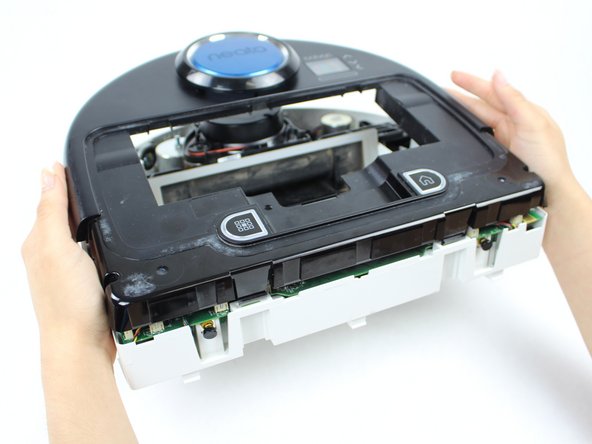
    1. Neato Botvac D8000 Wheel Replacement, Top Face Panel: adım 5, 1 resimden 1.
      • Grab the rear bumper with both hands on either side.

      FixBot'a Sor
      Yorum Ekle

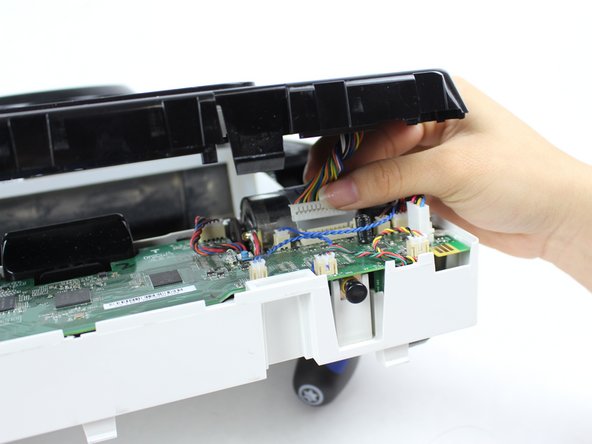
    2. Neato Botvac D8000 Wheel Replacement: adım 6, 2 resimden 1. Neato Botvac D8000 Wheel Replacement: adım 6, 2 resimden 2.
      • Firmly pull the bumper forward at a steady pace.

      • When pulling the bumper forward avoid being too rough because the bumper might break.

      FixBot'a Sor
      Yorum Ekle

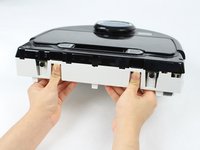
    3. Neato Botvac D8000 Wheel Replacement: adım 7, 2 resimden 1. Neato Botvac D8000 Wheel Replacement: adım 7, 2 resimden 2.
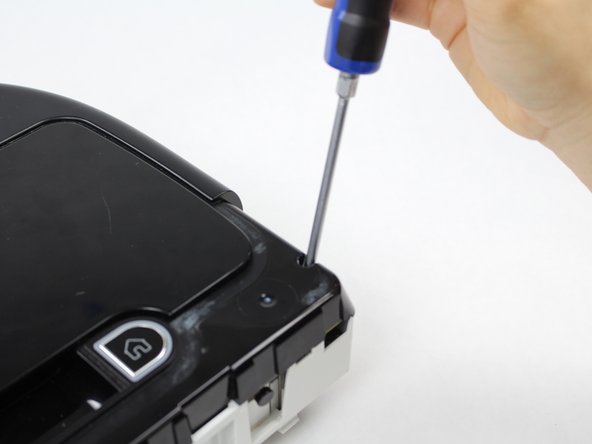
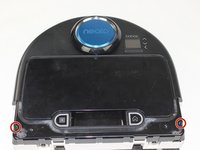
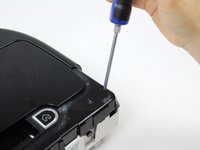
      • Looking from above, remove the two 11mm screws with a Torx T10 screwdriver.

      FixBot'a Sor
      Yorum Ekle

    4. Neato Botvac D8000 Wheel Replacement: adım 8, 3 resimden 1. Neato Botvac D8000 Wheel Replacement: adım 8, 3 resimden 2. Neato Botvac D8000 Wheel Replacement: adım 8, 3 resimden 3.
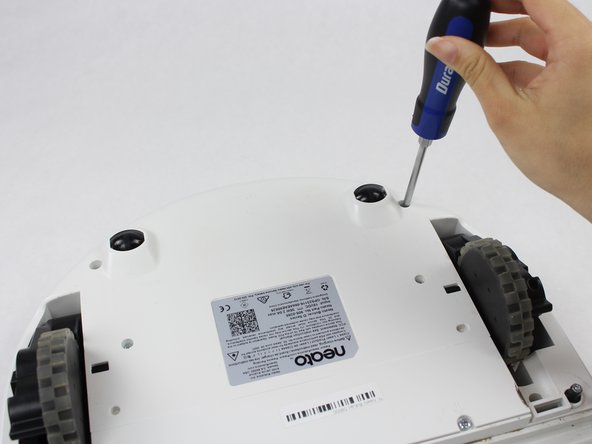
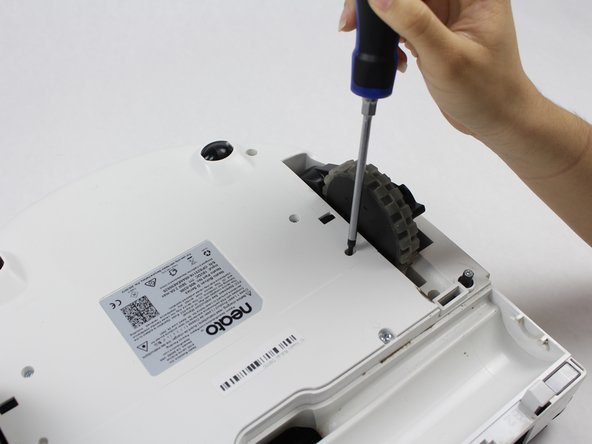
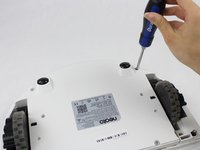
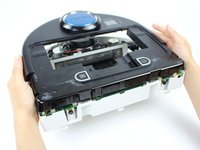
      • Place the robot on its back and remove the six 11mm screws using a Torx T10 screwdriver.

      FixBot'a Sor
      Yorum Ekle

    5. Neato Botvac D8000 Wheel Replacement: adım 9, 3 resimden 1. Neato Botvac D8000 Wheel Replacement: adım 9, 3 resimden 2. Neato Botvac D8000 Wheel Replacement: adım 9, 3 resimden 3.
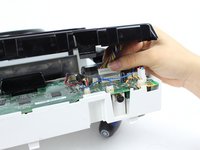
      • Push the clips, located in the back side, inward.

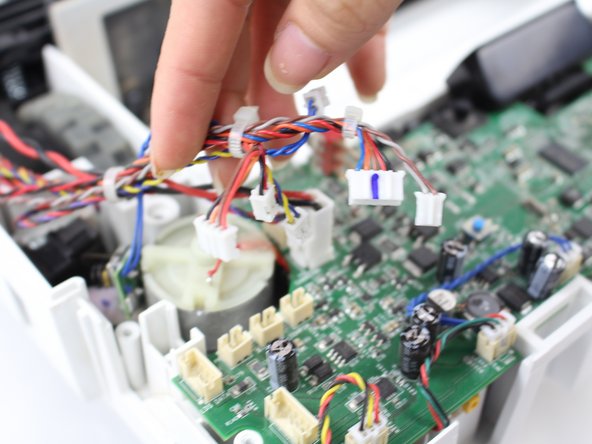
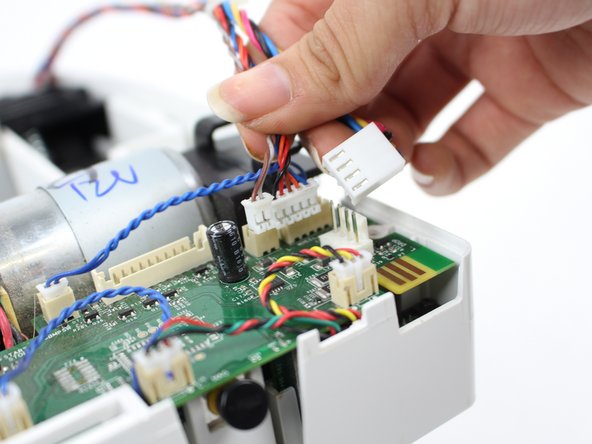
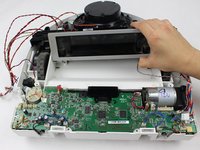
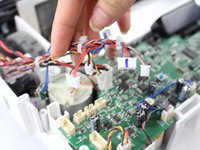
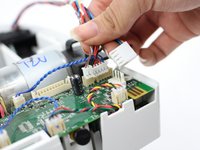
      • Gently lift up the top cover until you can see the wires. Then gently un-clip all the wires.

      • When you lift the top cover be careful because the wires are thin and fragile.

      FixBot'a Sor
      Yorum Ekle

    6. Neato Botvac D8000 Wheel Replacement: adım 10, 1 resimden 1.
      • Once you have carefully removed the wire clip; you can fully remove the top cover.

      FixBot'a Sor

      Yorum Ekle

    1. Neato Botvac D8000 Wheel Replacement, Wheel: adım 11, 3 resimden 1. Neato Botvac D8000 Wheel Replacement, Wheel: adım 11, 3 resimden 2. Neato Botvac D8000 Wheel Replacement, Wheel: adım 11, 3 resimden 3.
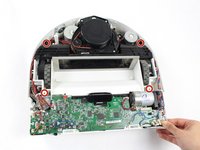
      • Locate the screws that mount the wheel extension to the Robot.

      • Unscrew the four 11mm screws indicated with a Torx T10 screwdriver to remove the frame.

      • Make sure to remove the metallic weight. However, this does not require the removal of any screws.

      FixBot'a Sor

      Yorum Ekle

    2. Neato Botvac D8000 Wheel Replacement: adım 12, 3 resimden 1. Neato Botvac D8000 Wheel Replacement: adım 12, 3 resimden 2. Neato Botvac D8000 Wheel Replacement: adım 12, 3 resimden 3.
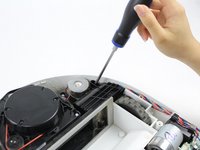
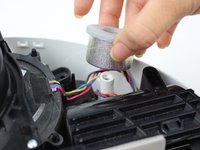
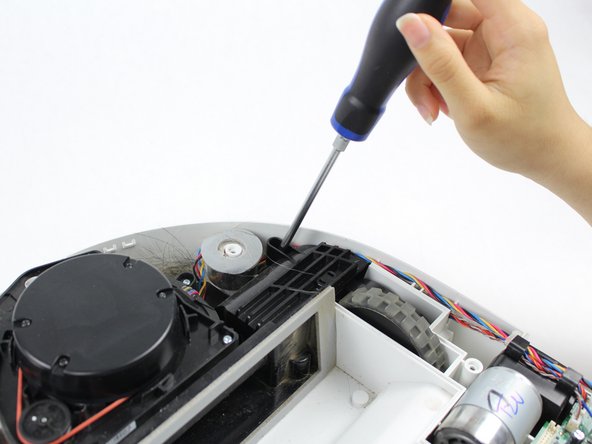
      • Delicately lift up the frame holding the laser. This will access the wheels.

      • Detach the wheel wires that are connected to the motherboard.

      • Once the wires are detached, the wheel are free from their casing.

      FixBot'a Sor
      Yorum Ekle

    3. Neato Botvac D8000 Wheel Replacement: adım 13, 2 resimden 1. Neato Botvac D8000 Wheel Replacement: adım 13, 2 resimden 2.
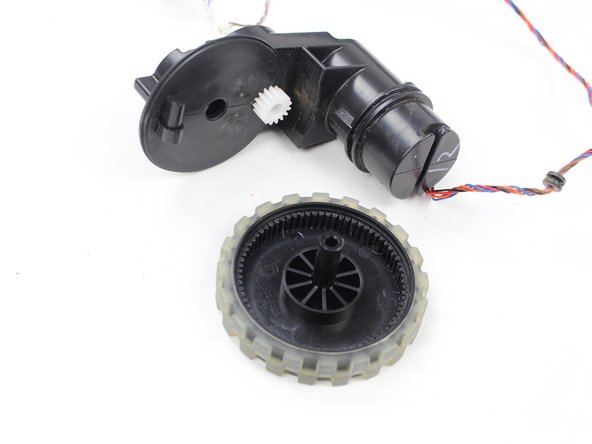
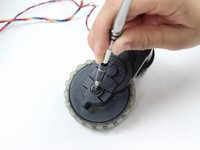
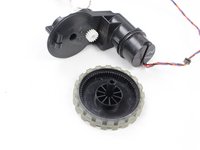
      • Use a Torx T15 screwdriver to remove the 32.5mm screw.
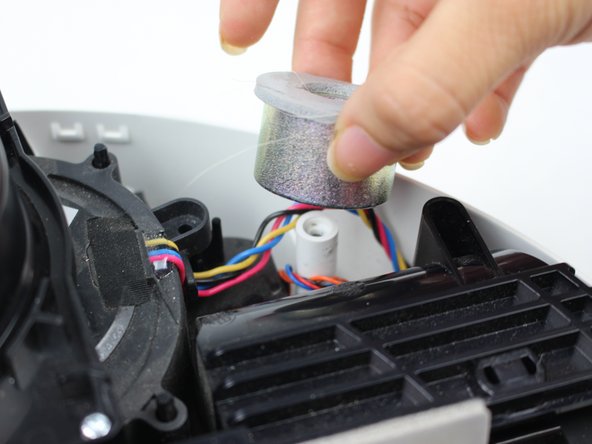
      • Finally, just hold and separate the wheel from its axle.

      FixBot'a Sor

      Yorum Ekle

Sonuç

To reassemble your device, follow these instructions in reverse order.

İptal et: Bu kılavuzu tamamlamadım.

Bir başkası bu kılavuzu tamamladı.

Ruth Lopez

Üyelik tarihi: 03/22/18

280 İtibar

2 adet Kılavuz yazıldı

Ekip

0Kılavuz Yorumları

Yorum Ekle

İstatistikleri Görüntüle:

Son 24 Saat: 1

Son 7 gün: 6

Son 30 gün: 28

Her zaman: 4,157