Ana içeriğe geç
Onarım Topluluğuna Katılın - Hesap Oluşturun

Nextbook NXA8QC116B Display Assembly Replacement

Neye ihtiyacın var

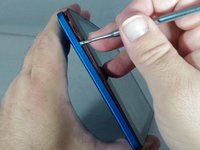
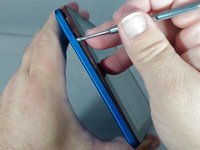
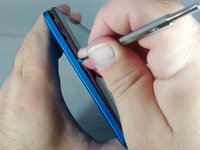
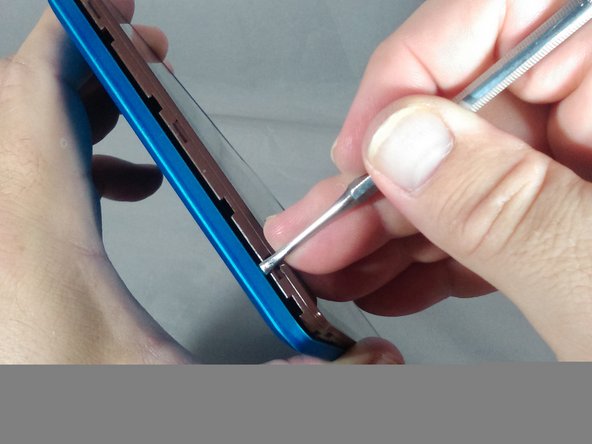
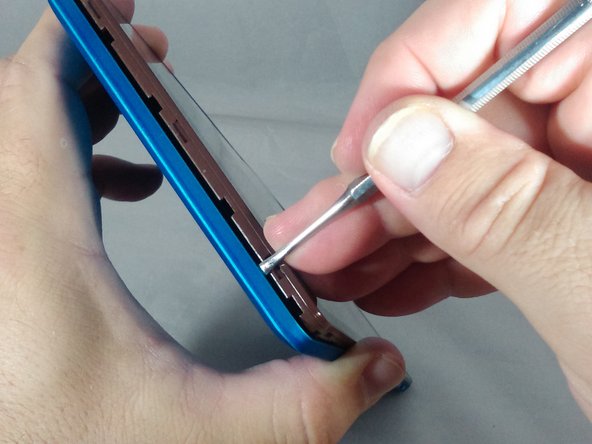
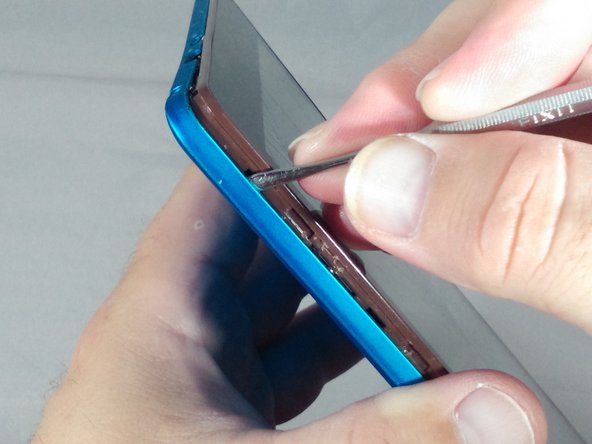
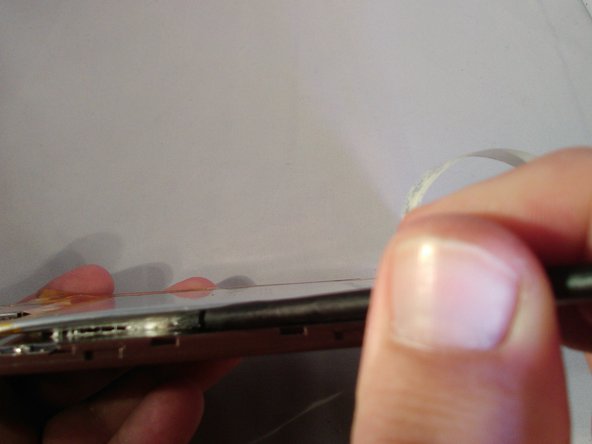
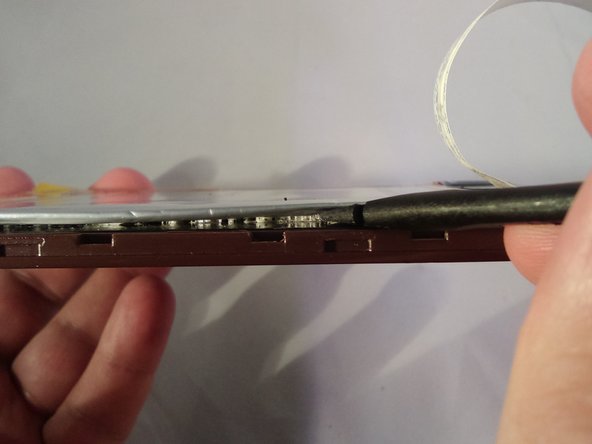
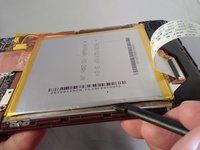
  1. Nextbook NXA8QC116B Display Assembly Replacement, Battery: adım 1, 3 resimden 1. Nextbook NXA8QC116B Display Assembly Replacement, Battery: adım 1, 3 resimden 2. Nextbook NXA8QC116B Display Assembly Replacement, Battery: adım 1, 3 resimden 3.
    • If you see any leakage coming from the tablet do not open the back cover!

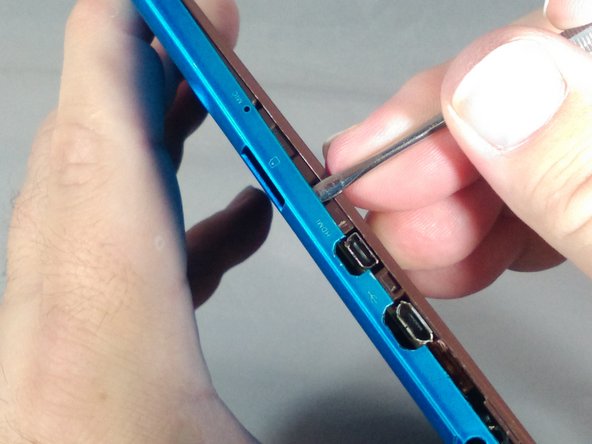
    • Ensure you do not pry around the buttons. This could result in damage and render them inoperable.

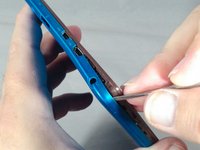
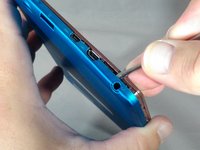
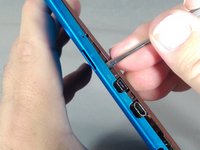
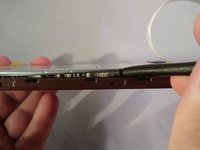
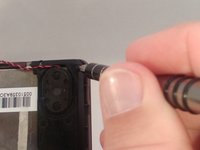
    • •With the tip of the thin metal spudger in place, use a prying motion to work the spudger down the side to the corner of the device.

    FixBot'a Sor

    Yorum Ekle

  2. Nextbook NXA8QC116B Display Assembly Replacement: adım 2, 2 resimden 1. Nextbook NXA8QC116B Display Assembly Replacement: adım 2, 2 resimden 2.
    • Continue working the spudger downward and pry with the spudger until the bottom left-hand corner of the tablet is reached.

    FixBot'a Sor

    Yorum Ekle

  3. Nextbook NXA8QC116B Display Assembly Replacement: adım 3, 3 resimden 1. Nextbook NXA8QC116B Display Assembly Replacement: adım 3, 3 resimden 2. Nextbook NXA8QC116B Display Assembly Replacement: adım 3, 3 resimden 3.
    • Along the bottom of the tablet, keep using a working and prying motion with the spudger to loosen the cover.

    FixBot'a Sor

    Yorum Ekle

  4. Nextbook NXA8QC116B Display Assembly Replacement: adım 4, 3 resimden 1. Nextbook NXA8QC116B Display Assembly Replacement: adım 4, 3 resimden 2. Nextbook NXA8QC116B Display Assembly Replacement: adım 4, 3 resimden 3.
    • Continue prying motion until the bottom right-hand corner of the tablet is reached.

    FixBot'a Sor

    Yorum Ekle

  5. Nextbook NXA8QC116B Display Assembly Replacement: adım 5, 2 resimden 1. Nextbook NXA8QC116B Display Assembly Replacement: adım 5, 2 resimden 2.
    • Work the spudger to the upper left-hand corner of the tablet.

    FixBot'a Sor

    Yorum Ekle

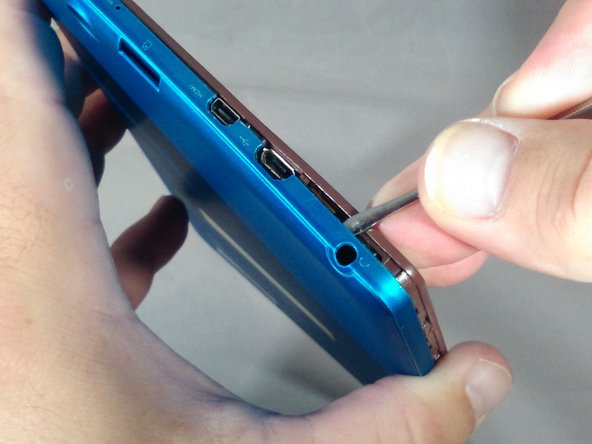
  6. Nextbook NXA8QC116B Display Assembly Replacement: adım 6, 3 resimden 1. Nextbook NXA8QC116B Display Assembly Replacement: adım 6, 3 resimden 2. Nextbook NXA8QC116B Display Assembly Replacement: adım 6, 3 resimden 3.
    • Be careful once you get to the top of the tablet with the spudger so as not to damage the headphone jack and other ports.

    • When prying along the top of the tablet, try to keep the spudger between 70 to 85 degrees (almost perpendicular) to the tablet screen.

    • Continue working the spudger around the tablet until the cover of the device comes off

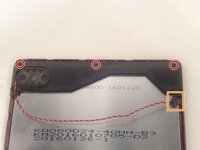
    FixBot'a Sor

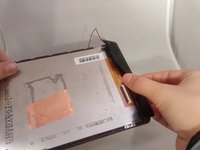
    Yorum Ekle

  7. Nextbook NXA8QC116B Display Assembly Replacement: adım 7, 2 resimden 1. Nextbook NXA8QC116B Display Assembly Replacement: adım 7, 2 resimden 2.
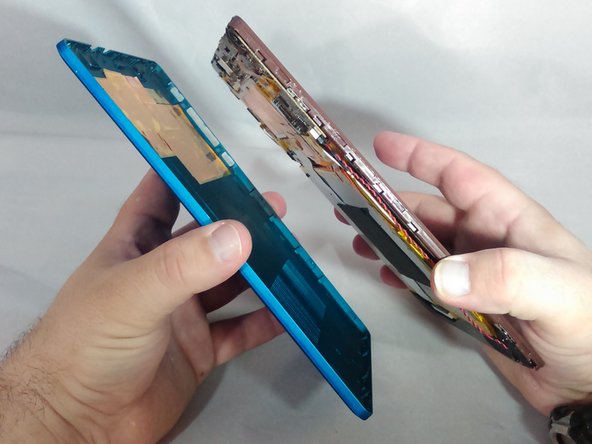
    • Separate from the cover from the tablet.

    FixBot'a Sor

    Yorum Ekle

  8. Nextbook NXA8QC116B Display Assembly Replacement: adım 8, 3 resimden 1. Nextbook NXA8QC116B Display Assembly Replacement: adım 8, 3 resimden 2. Nextbook NXA8QC116B Display Assembly Replacement: adım 8, 3 resimden 3.
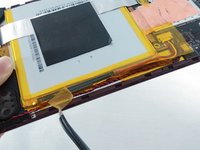
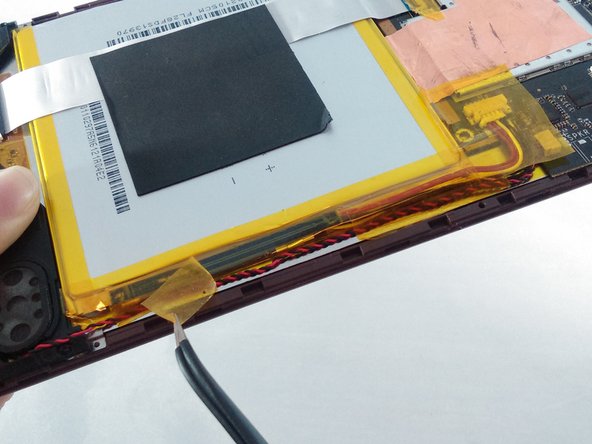
    • Locate and carefully remove the yellow cellophane tape from the red and black speaker wires that connect the speaker to the edge of the motherboard.

    FixBot'a Sor

    Yorum Ekle

  9. Nextbook NXA8QC116B Display Assembly Replacement: adım 9, 2 resimden 1. Nextbook NXA8QC116B Display Assembly Replacement: adım 9, 2 resimden 2.
    Bu adımda kullanılan alet:
    Tweezers
    $4.99
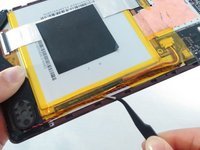
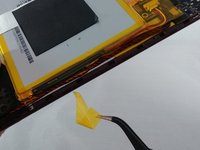
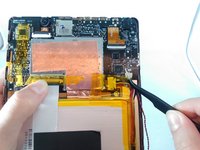
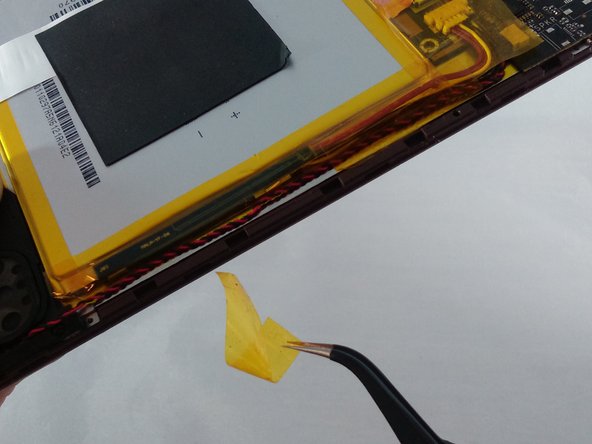
    • Locate and carefully remove the yellow cellophane tape with tweezers from the battery connector and black and red speaker wires on the edge of the motherboard.

    FixBot'a Sor

    Yorum Ekle

  10. Nextbook NXA8QC116B Display Assembly Replacement: adım 10, 3 resimden 1. Nextbook NXA8QC116B Display Assembly Replacement: adım 10, 3 resimden 2. Nextbook NXA8QC116B Display Assembly Replacement: adım 10, 3 resimden 3.
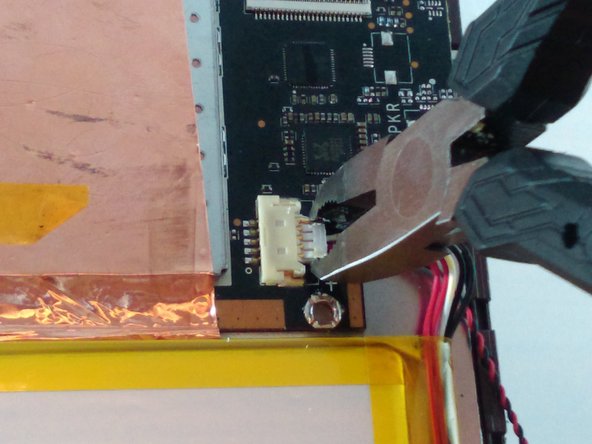
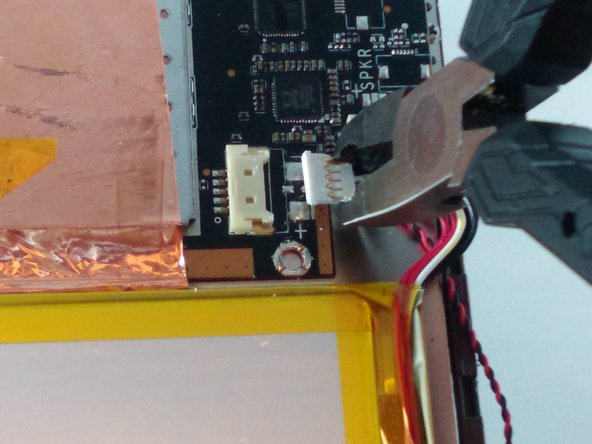
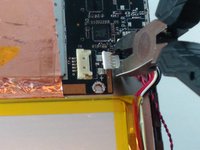
    • Using small pliers, carefully disconnect the male battery connector from the motherboard.

    • If you are only replacing the front camera, skip to step 17 in the camera replacement guide and continue.

    FixBot'a Sor

    Yorum Ekle

  11. Nextbook NXA8QC116B Display Assembly Replacement: adım 11, 1 resimden 1.
    • If the battery is leaking or bulging, stop and get away from it!

    • Carefully remove the gray square pad glued to both the white ribbon cable and the battery by pulling slowly.

    FixBot'a Sor

    Yorum Ekle

  12. Nextbook NXA8QC116B Display Assembly Replacement: adım 12, 1 resimden 1.
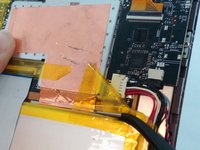
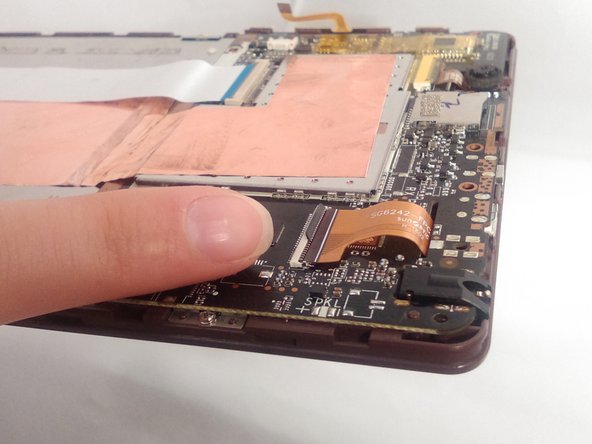
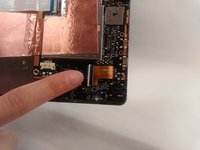
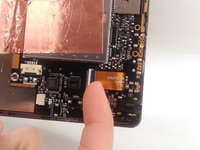
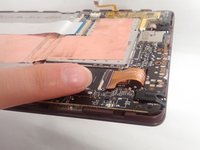
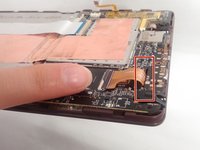
    • Locate the white ribbon cable Zero Insertion Force (ZIF) connector between the battery and the motherboard, and peel the yellow cellophane tape off the connector.

    FixBot'a Sor

    Yorum Ekle

  13. Nextbook NXA8QC116B Display Assembly Replacement: adım 13, 2 resimden 1. Nextbook NXA8QC116B Display Assembly Replacement: adım 13, 2 resimden 2.
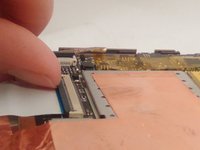
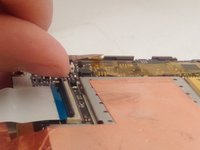
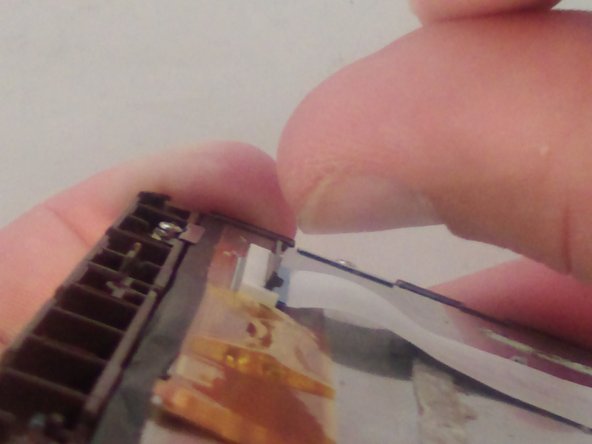
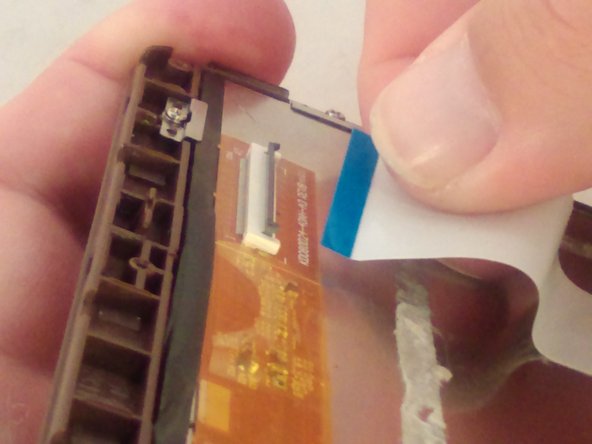
    • Flip up the gray retainer clip on the white ribbon cable ZIF connector on the motherboard with your fingernail. If you do not have fingernails long enough, carefully use a black plastic spudger.

    FixBot'a Sor

    Yorum Ekle

  14. Nextbook NXA8QC116B Display Assembly Replacement: adım 14, 3 resimden 1. Nextbook NXA8QC116B Display Assembly Replacement: adım 14, 3 resimden 2. Nextbook NXA8QC116B Display Assembly Replacement: adım 14, 3 resimden 3.
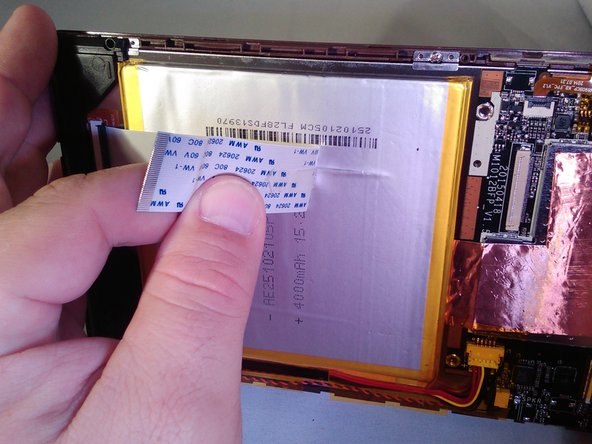
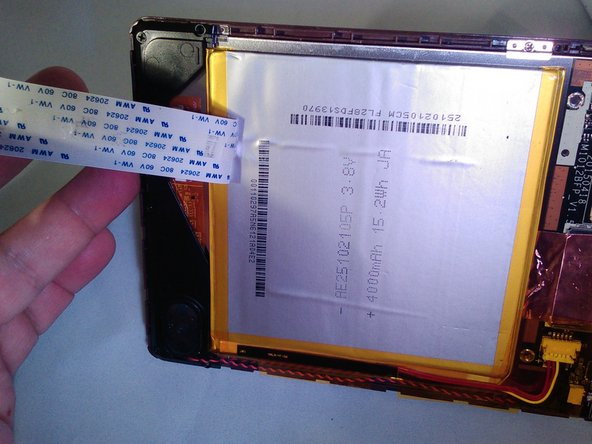
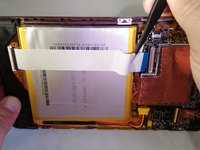
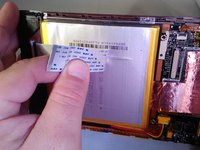
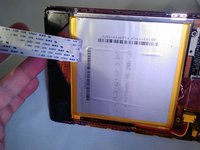
    • Remove the white ribbon cable and carefully peel it off the battery.

    FixBot'a Sor

    Yorum Ekle

  15. Nextbook NXA8QC116B Display Assembly Replacement: adım 15, 3 resimden 1. Nextbook NXA8QC116B Display Assembly Replacement: adım 15, 3 resimden 2. Nextbook NXA8QC116B Display Assembly Replacement: adım 15, 3 resimden 3.
    • Move the spudger in a left-to-right scraping motion to loosen the glue until the battery is separated from the tablet.

    FixBot'a Sor

    Yorum Ekle

  16. Nextbook NXA8QC116B Display Assembly Replacement: adım 16, 1 resimden 1.
    • Remove the battery.

    FixBot'a Sor

    Yorum Ekle

  17. Nextbook NXA8QC116B Display Assembly Replacement, Motherboard: adım 17, 2 resimden 1. Nextbook NXA8QC116B Display Assembly Replacement, Motherboard: adım 17, 2 resimden 2.
    • Locate and remove the yellow cellophane tape from the display assembly ribbon cable ZIF connector.

    FixBot'a Sor

    Yorum Ekle

  18. Nextbook NXA8QC116B Display Assembly Replacement: adım 18, 1 resimden 1.
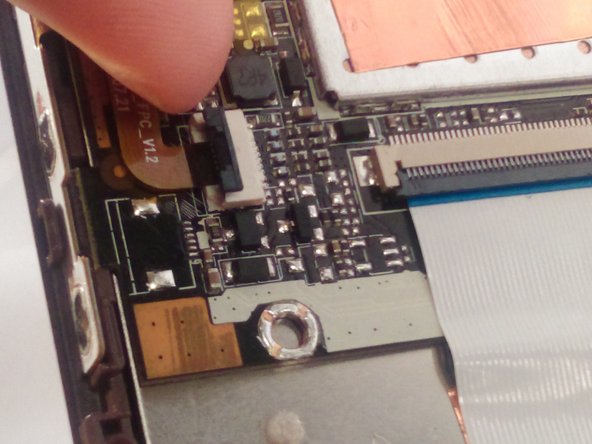
    • Locate the volume, power, home button ribbon cable ZIF connector.

    FixBot'a Sor

    Yorum Ekle

  19. Nextbook NXA8QC116B Display Assembly Replacement: adım 19, 2 resimden 1. Nextbook NXA8QC116B Display Assembly Replacement: adım 19, 2 resimden 2.
    • Flip the ZIF connector retainer up with your fingernail. If you do not have fingernails long enough, carefully use the black plastic spudger.

    FixBot'a Sor

    Yorum Ekle

  20. Nextbook NXA8QC116B Display Assembly Replacement: adım 20, 1 resimden 1.
    • Remove the ribbon cable by gently pulling on it.

    FixBot'a Sor

    Yorum Ekle

  21. Nextbook NXA8QC116B Display Assembly Replacement: adım 21, 1 resimden 1.
    Bu adımda kullanılan alet:
    Tweezers
    $4.99
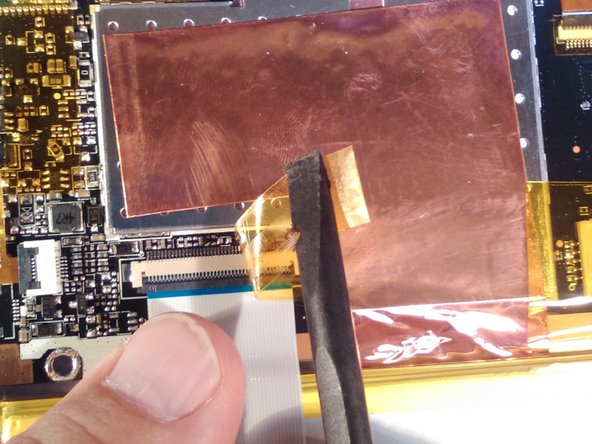
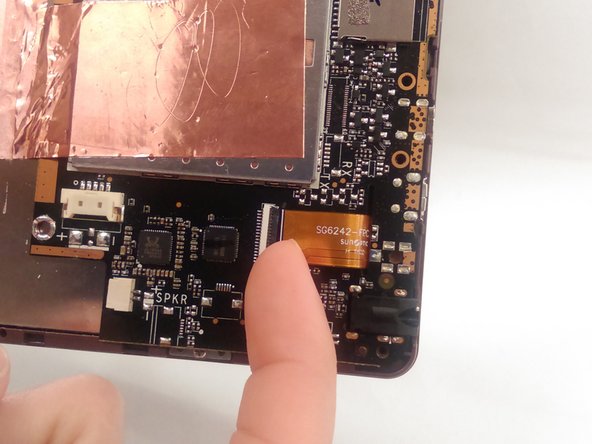
    • Locate the Display Assembly ribbon cable ZIF connector, and using tweezers, remove the yellow cellophane tape.

    FixBot'a Sor

    Yorum Ekle

  22. Nextbook NXA8QC116B Display Assembly Replacement: adım 22, 3 resimden 1. Nextbook NXA8QC116B Display Assembly Replacement: adım 22, 3 resimden 2. Nextbook NXA8QC116B Display Assembly Replacement: adım 22, 3 resimden 3.
    • Put your fingernail under the gray ZIF connector retainer and flip the retainer up. If you do not have fingernails long enough, carefully use a black plastic spudger.

    FixBot'a Sor

    Yorum Ekle

  23. Nextbook NXA8QC116B Display Assembly Replacement: adım 23, 1 resimden 1.
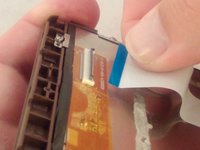
    • Remove the Display Assembly ribbon cable by gently pulling on it.

    FixBot'a Sor

    Yorum Ekle

  24. Nextbook NXA8QC116B Display Assembly Replacement: adım 24, 3 resimden 1. Nextbook NXA8QC116B Display Assembly Replacement: adım 24, 3 resimden 2. Nextbook NXA8QC116B Display Assembly Replacement: adım 24, 3 resimden 3.
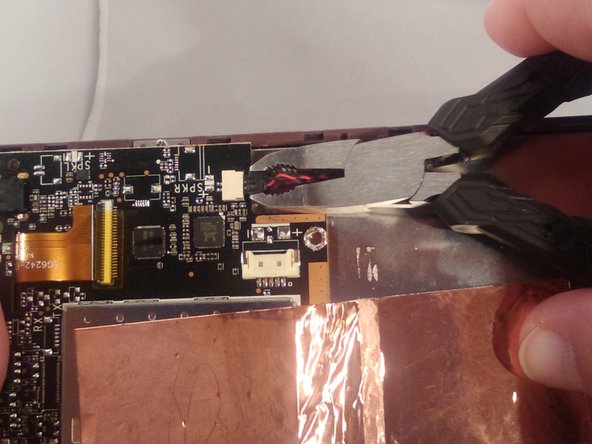
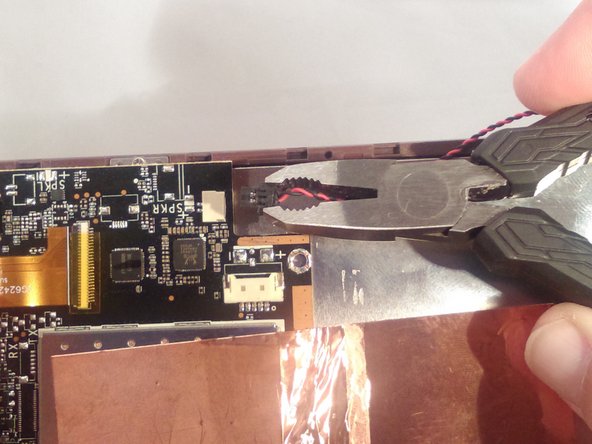
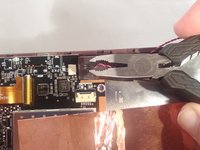
    • Use small pliers to pull the connector, wiggling it a little as you pull it from its connection.

    FixBot'a Sor

    Yorum Ekle

  25. Nextbook NXA8QC116B Display Assembly Replacement: adım 25, 2 resimden 1. Nextbook NXA8QC116B Display Assembly Replacement: adım 25, 2 resimden 2.
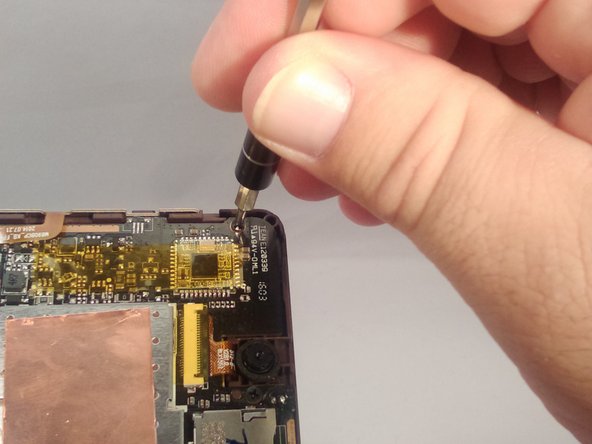
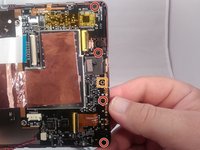
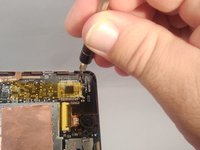
    • Using a J00 screwdriver, remove the 4 black 4.0 mm screws.

    • There is no screw at this location.

    FixBot'a Sor

    Yorum Ekle

  26. Nextbook NXA8QC116B Display Assembly Replacement: adım 26, 1 resimden 1.
    • Locate the ZIF connector to remove the white ribbon cable

    FixBot'a Sor

    Yorum Ekle

  27. Nextbook NXA8QC116B Display Assembly Replacement: adım 27, 3 resimden 1. Nextbook NXA8QC116B Display Assembly Replacement: adım 27, 3 resimden 2. Nextbook NXA8QC116B Display Assembly Replacement: adım 27, 3 resimden 3.
    • To remove the white ribbon cable, put your fingernail under the gray ZIF connector retainer and flip the retainer up.

    FixBot'a Sor

    Yorum Ekle

  28. Nextbook NXA8QC116B Display Assembly Replacement: adım 28, 3 resimden 1. Nextbook NXA8QC116B Display Assembly Replacement: adım 28, 3 resimden 2. Nextbook NXA8QC116B Display Assembly Replacement: adım 28, 3 resimden 3.
    • Ensure the ribbon cable does not get caught when removing the motherboard. Damage to the ribbon cable may result.

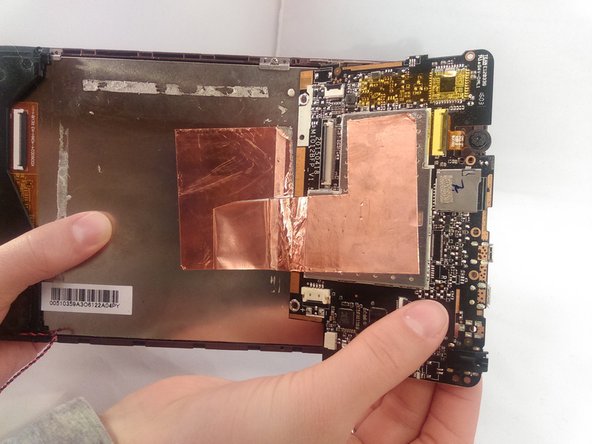
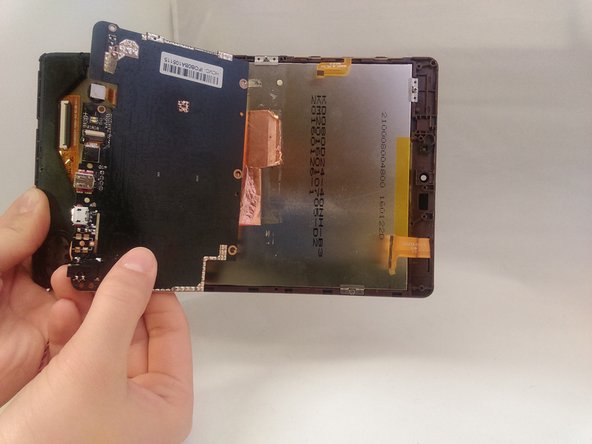
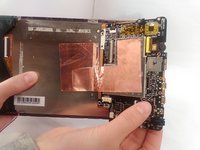
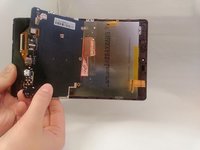
    • Pull the motherboard back over the copper tape to tear the tape and remove the motherboard.

    FixBot'a Sor

    Yorum Ekle

  29. Nextbook NXA8QC116B Display Assembly Replacement: adım 29, 1 resimden 1.
    • Remove the remaining copper tape from the back of the display assembly and the motherboard.

    • Replace with new tape when reassembling.

    FixBot'a Sor

    Yorum Ekle

  30. Nextbook NXA8QC116B Display Assembly Replacement, Display Assembly: adım 30, 3 resimden 1. Nextbook NXA8QC116B Display Assembly Replacement, Display Assembly: adım 30, 3 resimden 2. Nextbook NXA8QC116B Display Assembly Replacement, Display Assembly: adım 30, 3 resimden 3.
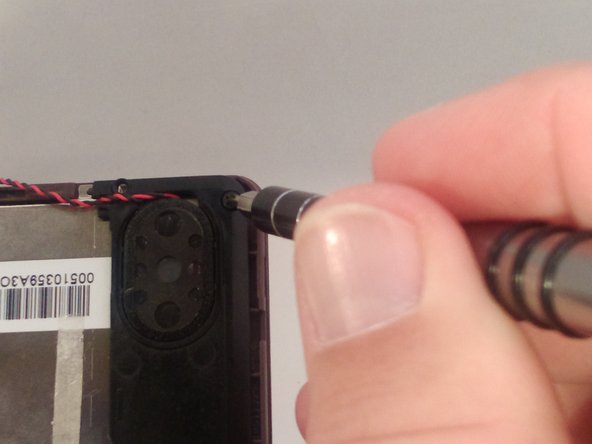
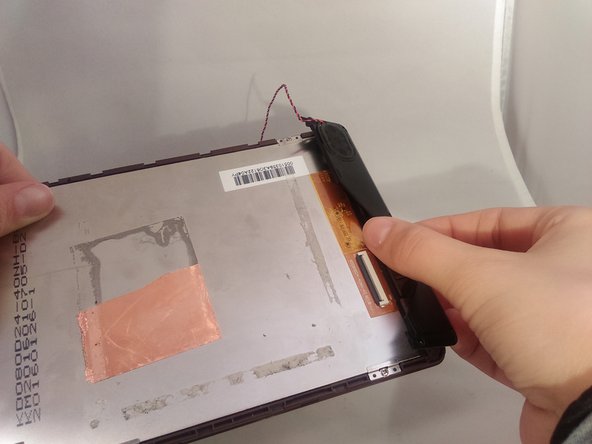
    • Locate and remove the 3 black 4.0 mm screws on the speaker panel using a J00 screwdriver.

    • Disconnect the speaker from the motherboard.

    • Remove the panel.

    FixBot'a Sor

    Yorum Ekle

  31. Nextbook NXA8QC116B Display Assembly Replacement: adım 31, 1 resimden 1.
    • Display Assembly

    FixBot'a Sor

    Yorum Ekle

Sonuç

To reassemble your device, follow these instructions in reverse order.

İptal et: Bu kılavuzu tamamlamadım.

3 farklı kişi bu kılavuzu tamamladı.

2Kılavuz Yorumları

Would these instructions be the same for a Nextbook ares11a?

Susann - Yanıt Paylaş
I would think so, it's basically the same adaptation for all laptops.

Rosalina Reyes - Yanıt Paylaş
Yorum Ekle

İstatistikleri Görüntüle:

Son 24 Saat: 2

Son 7 gün: 9

Son 30 gün: 32

Her zaman: 1,618