Giriş
If your device is experiencing display glitches, unresponsive buttons, or connection issues, the daughter board may be the root of the problem. Replacing the daughter board is a straightforward fix that can restore full functionality.
This guide will walk you through the process of replacing the daughter board using basic tools. Make sure the device is powered off and unplugged before starting the repair.
Neye ihtiyacın var
-
-
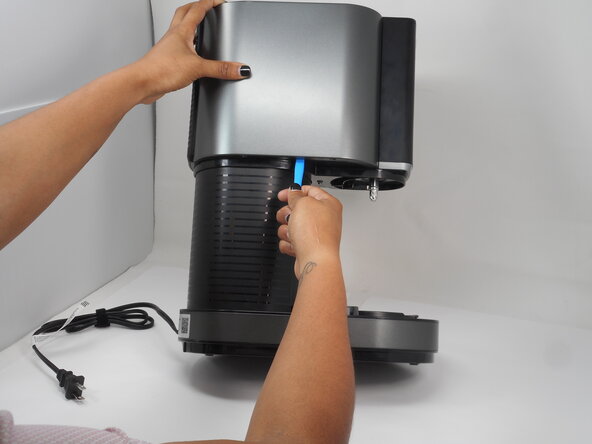
Use an opening tool to gently lift and remove the grey cover from the top of the main piece.
-
-
-
-
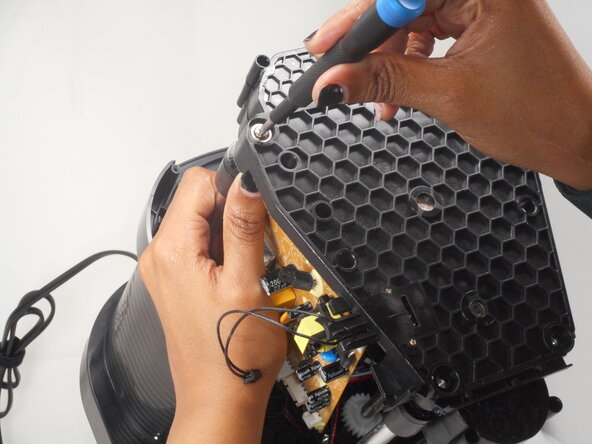
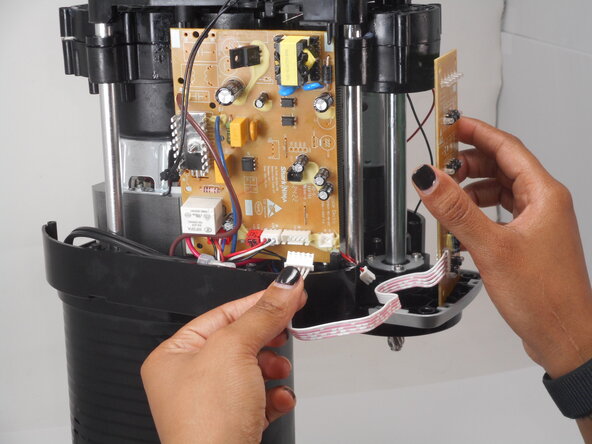
Disconnect the daughterboard's motherboard connector.
-
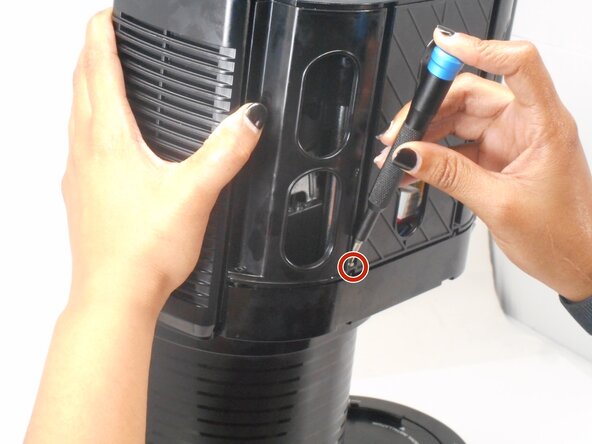
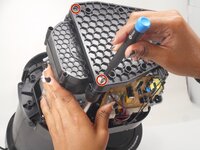
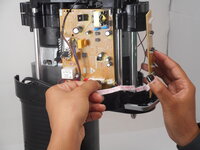
Remove the daughter board.
-


To reassemble your device, follow these instructions in reverse order.
Ekip

University of Memphis, Team 3-3, Sneed Spring 2025 University of Memphis, Team 3-3, Sneed Spring 2025 üyesi
UM-SNEED-S25S3G3
4 Üyeler
6 adet Kılavuz yazıldı