Bu çeviri bir makine tarafından oluşturulmuştur ve henüz bir kişi tarafından incelenmemiştir. Bu dili konuşuyor musunuz? İnceleme için.
Giriş
Öncelikle Nintendo 3DS XL'in alt kasasını, ardından üst LCD ekranını cihazın geri kalanına bağlayan şerit kablolara ulaşmak için üst kasasını sökeceksiniz.
Neye ihtiyacın var
-
-
-
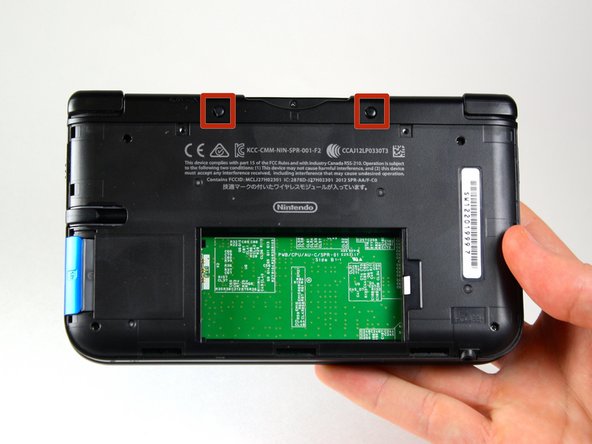
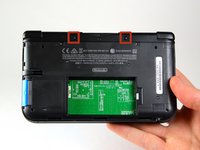
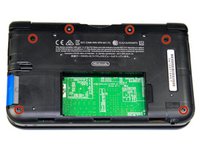
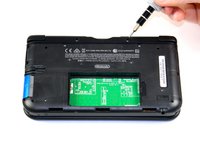
Arka kapağın üst kenarındaki 4,2 mm uzunluğundaki vidaları gevşetmek için bir JIS 00 tornavida kullanın.
 FixBot'a Sor
-
-
-
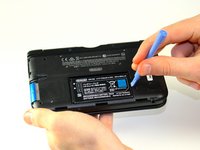
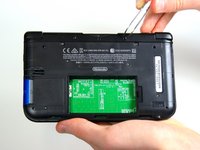
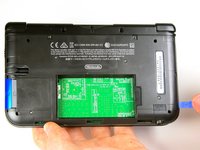
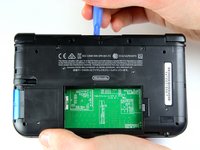
Arka kapağı sabitleyen klipsleri, üst köşelerden başlayıp aşağı doğru ilerleyerek ayırmak için bir plastik açma aleti kullanın.
-
Arka kapağı elinizle çıkarın.
-
-
-
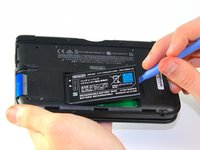
Açma aletini bataryanın sağ tarafında bulunan açıklığa yerleştirin.
-
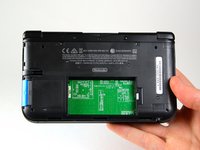
Bataryayı yuvasından kaldırarak ayırın ve çıkarın.
-
-
-
-
Bu adımda kullanılan alet:Tweezers$4.99
-
cımbız kullanarak, cihazın üst kısmında, oyun kartuşu yuvasının her iki yanında bulunan kauçuk tamponları çekerek çıkarın.
-
-
-
Oyun kartuşu yuvasının üzerinde bulunan 2,3 mm vidayı bir yıldız tornavida ile çıkarın.
-
-
-
Bir açma aleti kullanarak, alt kısımdan başlayıp çevre boyunca ilerleyerek alt kasayı dikkatlice ayırın.
-
Kasayı devre kartına iki adet ribbon kablo bağlar. Kasayı çok sert çekip ribbon kabloları koparmamaya dikkat edin.
-
-
-
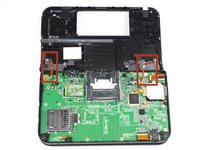
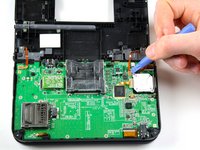
Sol ve sağ tamponların altında bulunan ribbon kabloları, bir açma aleti ile kabloların tabanından yukarı doğru kanırtarak ayırın.
-
Alt kasayı cihazın geri kalanından tamamen ayırın ve bir kenara koyun.
-
-
-
Cihazı, oyun kartuşu yuvası üstte kalacak şekilde konumlandırın.
-
Cihazın sağ tarafındaki daire pedi (circle pad) bulun.
-
Sol üst ve sağ alt köşelerdeki iki adet 7,5 mm vidayı çıkarın.
-
-
-
Plastik bir açma aleti kullanarak circle pad joystick'i yerinden çıkarın.
-
-
-
-
Plastik kanırtma aparatının düz ucunu kullanarak, circle pad şerit kablosunu anakarta bağlayan tutucu çentiği dikkatlice kaldırın.
-
Şerit kabloyu ve circle pad joystick'ini çıkarın.
-
-
-
-
-
Cihazı, oyun kartuşu yuvası üst tarafta olacak şekilde konumlandırın.
-
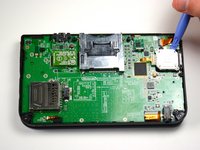
IR kartını anakartın sağ üst tarafında bulun.
-
IR kartını, bir açma aletini IR kartının altına sokup nazikçe yukarı kaldırarak çıkarın.
-
-
-
-
-
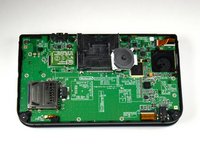
Plastik bir açma aleti kullanarak Wi-Fi kartını yerinden ayırın.
-
-
Bu adımda kullanılan alet:Tweezers$4.99
-
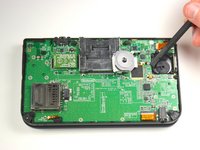
Anakartın sağ tarafındaki, daire ped joystick'in yanındaki ses düğmesini bulun.
-
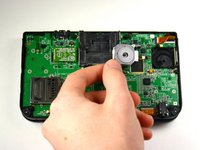
cımbız kullanarak ses kartını dikkatlice kasadan çıkarın. Hala bir ribbon kablo ile anakarta bağlı olacaktır.
-
-
-
Plastik kanırtma aparatının düz tarafını kullanarak ses kartı şerit kablosunu anakarta bağlayan kapağı dikkatlice kaldırın.
-
Ses kartını çıkarın ve bir kenara koyun.
-
-
-
Alt sol ve sağ köşelerdeki siyah plastik parçaları parmaklarınızla veya cımbız yardımıyla çıkarın.
-
-
-
Plastik kanırtma aparatının düz ucunu kullanarak, iki küçük şerit kabloyu anakarta sabitleyen kapakları dikkatlice kaldırın.
-
Şerit kabloları kapaklardan ayırın.
-
-
-
Plastik kanırtma aparatının düz ucunu kullanarak, daha geniş şeritleri anakarta bağlayan kapakçıkları dikkatlice kaldırın.
-
Şeritleri açılan kapakçıklardan çıkarın.
-
-
-
Plastik kanırtma aparatının düz uçlu tarafını kullanarak, şeridi anakarta bağlayan kapağı dikkatlice kaldırın.
-
Şeridi kapaktan çıkarın.
-
-
-
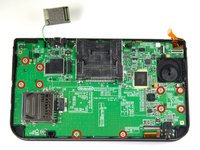
Anakartın yüzünde bulunan on adet 3,0 mm vidayı sökmek için bir #00 Yıldız tornavida kullanın.
-
-
-
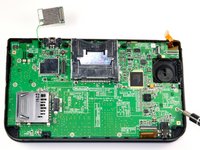
Anakartı, kartuş yuvasının üst köşelerinin yakınında bulunan iki plastik montaj parçasından kurtaracak kadar dikkatlice yukarı doğru kaldırın.
-
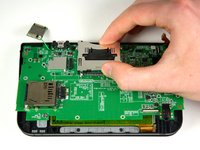
Anakartı nazikçe üst tarafa doğru çevirin.
-
-
-
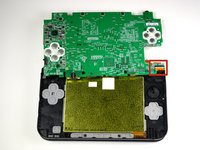
Plastik kanırtma aparatının düz ucunu kullanarak, sağ üst taraftaki daha geniş ribbon kabloyu anakarta bağlayan kapağı dikkatlice kaldırın.
-
Ribbon kabloyu açılan kapaktan çıkarın.
-
Anakartı bir kenara koyun.
-
-
-
-
Bu adımda kullanılan alet:Tweezers$4.99
-
Cihazı, üst LCD ekranı yukarıda kalacak şekilde açın.
-
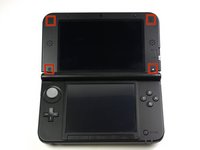
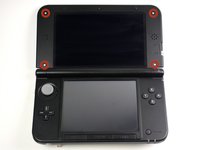
cımbız kullanarak dört köşede bulunan dört adet lastik parçayı çıkarın.
-
-
-
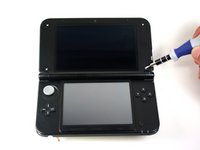
Dört adet kauçuk parçanın altında bulunan 4,3 mm'lik dört vidayı, yıldız tornavida (Phillips #00) kullanarak çıkarın.
-
-
-
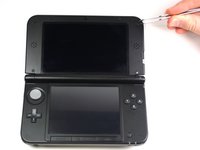
Cihazı ters çevirin ve menteşeyi kapatın.
-
Parmaklarınızı menteşenin üst kısmına yerleştirin ve üst kapağı menteşeden uzağa, aşağı doğru itmek için aşağı yönde bastırın. Sadece 2 mm (1/8") hareket eder.
-
-
-
Üst kasa gevşeyip klipslerinden kurtulduğunda, DS cihazından ayırarak çıkarın.
-
-
-
3D mekanizması geçiş düğmesini yerinde tutan vidayı çıkarın.
-
Kamerayı ve hoparlörleri Üst LCD'ye bağlayan şerit kabloları dikkatlice çekerek çıkarın.
-
-
-
Sol üst köşede bulunan iki küçük şeridi çıkarın.
-
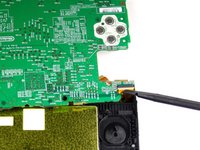
Plastik kanırtma aparatını kullanarak şeritleri brakete bağlayan siyah menteşeleri kaldırın.
-
Şeritleri braketten dışarı doğru çekin.
-
-
-
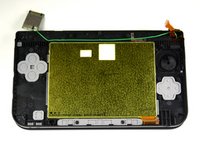
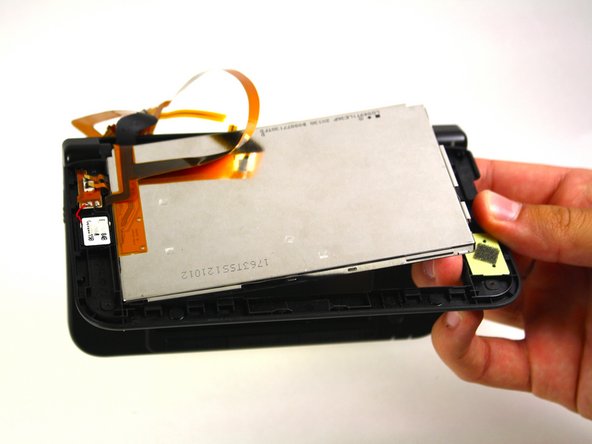
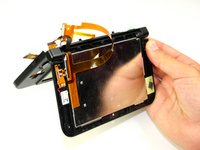
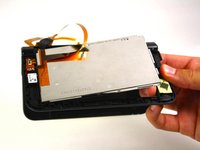
Menteşeyi açın ve parmaklarınızı kullanarak Üst LCD'yi dikkatlice yerinden çıkarın.
-
Ribbon kabloyu menteşeden nazikçe çıkarın.
-
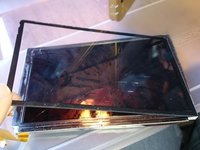
Koruyucu camı, kenarların etrafına ince yapıştırıcı uygulayarak veya eski yapıştırıcıyı yeniden kullanarak yeni ekrana yapıştırın.
-
-










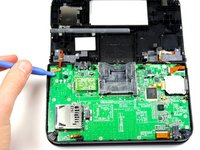
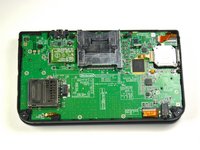


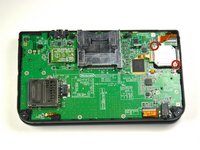
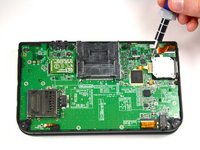






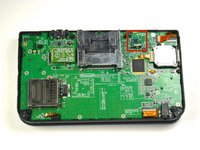
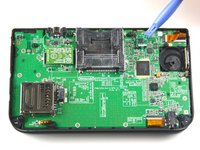


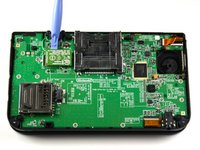
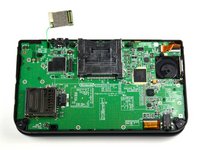


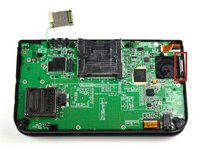
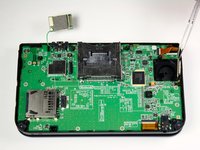


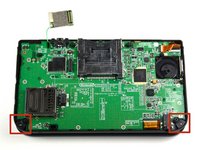
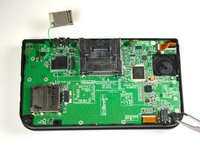


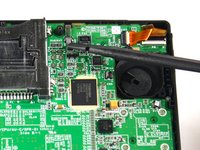
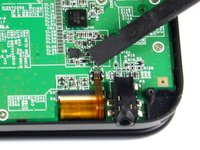
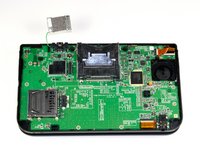


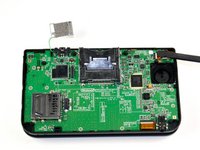
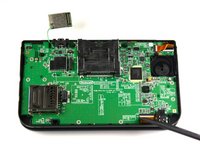
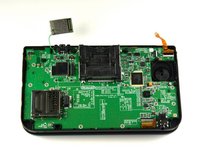


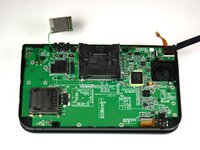
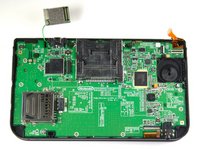












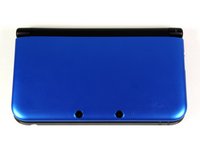
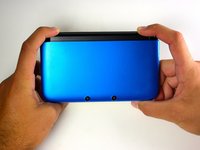
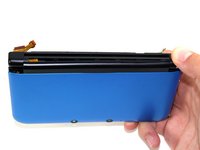


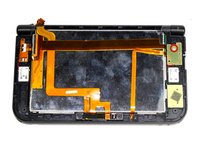
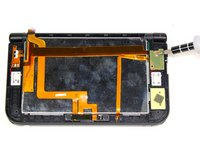
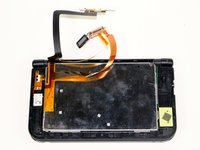



Cihazınızı yeniden birleştirmek için bu talimatları ters sırayla uygulayın.
İptal et: Bu kılavuzu tamamlamadım.
160 farklı kişi bu kılavuzu tamamladı.

Ekip

Cal Poly, Team 9-13, Regan Spring 2014 Cal Poly, Team 9-13, Regan Spring 2014 üyesi
CPSU-REGAN-S14S9G13
5 Üyeler
96 adet Kılavuz yazıldı
69Kılavuz Yorumları
Any good ways to get the ribbon cable back through the hole?
did u find a solution?? i need help.
Carefully just have a pre-twist to it....good luck
Note: If your top or bottom screen was working before disassembly and doesn't work after reassembly, then it's likely that the connector is loose or dirty or damaged or not clipped or PLACED UPSIDE-DOWN. I had this issue with my Super3DS XL(2015) and it turns out that the reason why my top screen wasn't working after put together, was because I had the top LCD connector upside-down. After I correctly put the connector in, It worked again! :)
Try a Bobby hair pin.
