Giriş
This guide has been updated by iFixit staff! Read the new, official guide here.
Replacing the Nintendo DS Lite Speakers
Neye ihtiyacın var
-
-
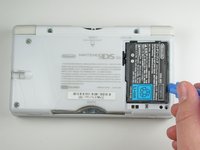
Place your device upside down and locate the battery compartment.
-
Find the Phillips head screw securing the battery cover in the bottom right hand corner of the device.
-
-
-
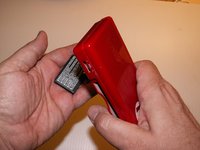
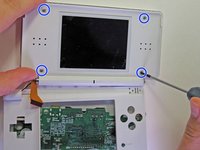
Remove the following seven screws that secure the lower case to the DS Lite:
-
Three silver tri-point screws (5mm long)
-
One black tri-point screw (4mm)
-
Two gold Phillips screws (4mm)
-
One silver Phillips screw (3mm)
-
Do not remove the silver PH screw (3mm) in the battery compartment yet. It holds the main PCB in place.
-
-
-
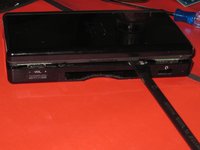
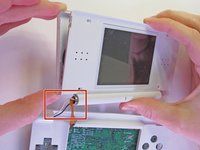
Flip the unit over so that it is facing right-side up.
-
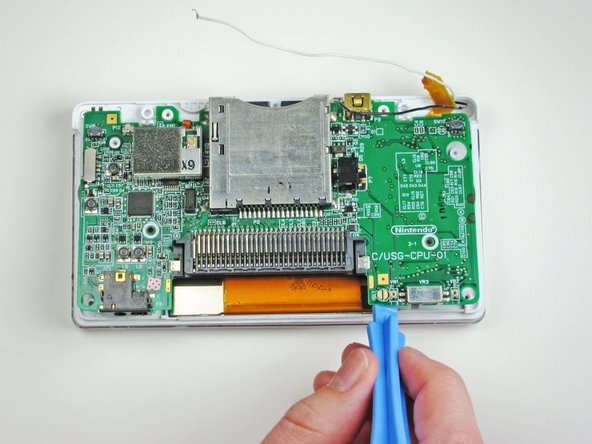
Use a spudger to pry open the gap between the bottom case and the front panel. Work all the way around the case until the panel is free.
-
Avoid touching the L and R shoulder buttons, because they easily detach and are difficult to reassemble. Keep the bottom case flat against your workbench to help hold the shoulder buttons in place.
-
-
-
-
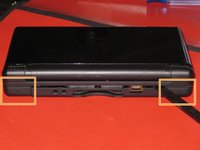
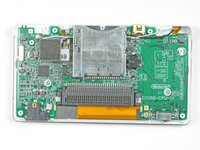
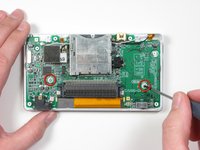
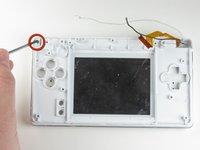
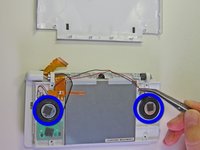
Locate the two screws that attach the logic board to the device.
-
Unscrew the two Phillips head screws.
-
-
-
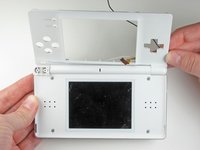
Remove the two Phillips-head screws that hold the hinge in place.
-
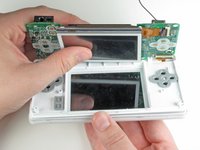
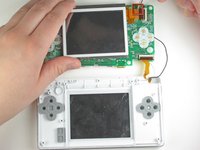
Open the system up (just like if you were about to use it normally).
-
-
-
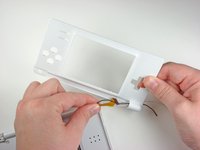
The speakers are soldered to the top screen flex assembly. You may desolder a broken speaker and solder a working speaker on, or you may replace the speakers together with the display assembly.
-


To reassemble your device, follow these instructions in reverse order.
To reassemble your device, follow these instructions in reverse order.
İptal et: Bu kılavuzu tamamlamadım.
Bir başkası bu kılavuzu tamamladı.
Ekip

Cal Poly, Team 16-30, Maness Winter 2010 Cal Poly, Team 16-30, Maness Winter 2010 üyesi
CPSU-MANESS-W10S16G30
4 Üyeler
28 adet Kılavuz yazıldı