Giriş
Use this guide to replace the three status LEDs on the hinge of your DSi.
Neye ihtiyacın var
-
-
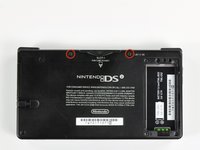
Unscrew the two Phillips screws securing the battery cover to the lower case.
-
Grasp the battery cover and lift it out of the lower case.
-
-
-
Using a spudger tool (or your fingernail), lift up the battery from the top.
-
Grasp the battery and remove it from the DSi.
-
-
-
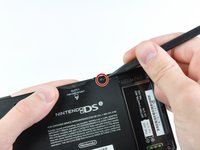
Two screws are hidden underneath two rubber feet highlighted in red.
-
Use the tip of a spudger to pry the rubber feet out of the lower case.
-
-
-
-
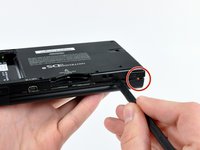
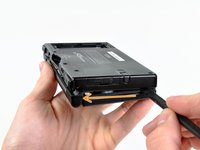
Insert the spudger in between the lower casing and lower panel near the top right corner of the DSi.
-
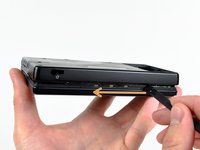
Carefully run the spudger along the edge of the outer casing, creating an opening between the body and the casing.
-
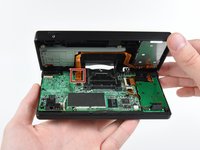
Continue running the spudger around the body of the DSi until the majority of the lower case has been separated.
-
-
-
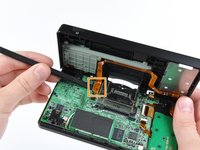
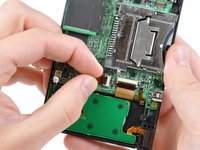
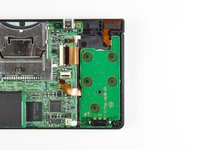
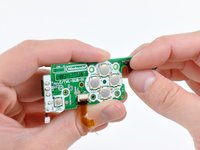
Use the tip of a spudger to pry the power board connector out of its socket on the motherboard.
-
-
Bu adımda kullanılan alet:Tweezers$4.99
-
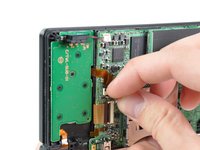
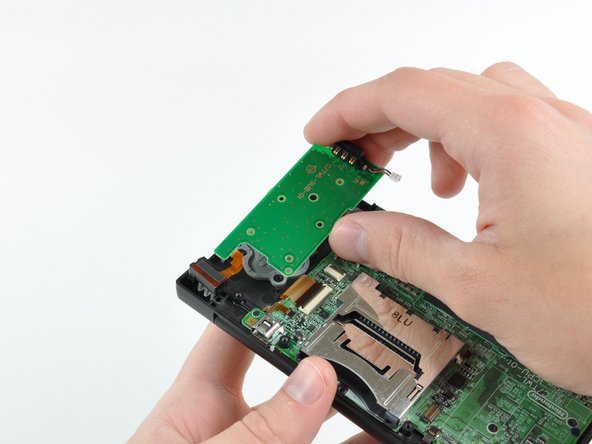
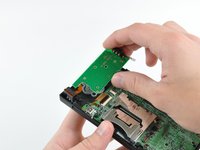
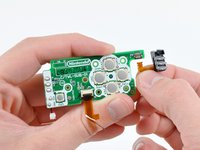
Use your fingernail or the edge of a plastic opening tool to flip up the retaining flap on power board ZIF connector.
-
After flipping up the locking tab on the socket, use your fingers or a pair of tweezers to gently pull the cable straight out of its socket.
-


To reassemble your device, follow these instructions in reverse order.
İptal et: Bu kılavuzu tamamlamadım.
2 farklı kişi bu kılavuzu tamamladı.
