Bu sürüm, hatalı düzenlemeler içerebilir. En son doğrulanmış bellek kopyası dönün.
Neye ihtiyacın var
-
Bu adım çevrilmemiş. Çevrilmesine yardım edin
-
Use a push pin to remove the four plastic screw covers on the front bezel.
-
-
Bu adım çevrilmemiş. Çevrilmesine yardım edin
-
Remove four Phillips screws securing the front bezel to the rear bezel.
-
-
-
Bu adım çevrilmemiş. Çevrilmesine yardım edin
-
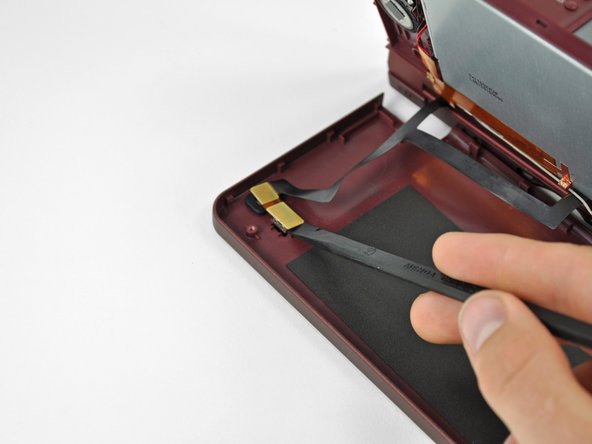
Insert a spudger into the gap between the front and rear bezel
-
Rotate the spudger away from the DSi XL, prying the two bezels apart.
-
-
Bu adım çevrilmemiş. Çevrilmesine yardım edin
-
In the same manner as described above, continue prying along the top edge of the front and rear bezels.
-
-
Bu adım çevrilmemiş. Çevrilmesine yardım edin
-
Use the flat end of a spudger to pry the rear camera off the rear bezel.
-
Remove the rear bezel.
-


İptal et: Bu kılavuzu tamamlamadım.
3 farklı kişi bu kılavuzu tamamladı.
