Ana içeriğe geç

Nintendo Family Computer (Famicom) Motherboard Replacement

Neye ihtiyacın var

  1. Nintendo Family Computer (Famicom) Motherboard Replacement, Motherboard: adım 1, 2 resimden 1. Nintendo Family Computer (Famicom) Motherboard Replacement, Motherboard: adım 1, 2 resimden 2.
    • Use a Phillips screwdriver to remove the six 13.5 mm screws that secure the lower case.

    • Remove the lower case.

  2. Nintendo Family Computer (Famicom) Motherboard Replacement: adım 2, 2 resimden 1. Nintendo Family Computer (Famicom) Motherboard Replacement: adım 2, 2 resimden 2.
    • Disconnect both of the controller motherboard connections.

    • Do not pull on the wires.

  3. Nintendo Family Computer (Famicom) Motherboard Replacement: adım 3, 1 resimden 1.
    • Lift the controller cables out of the chassis.

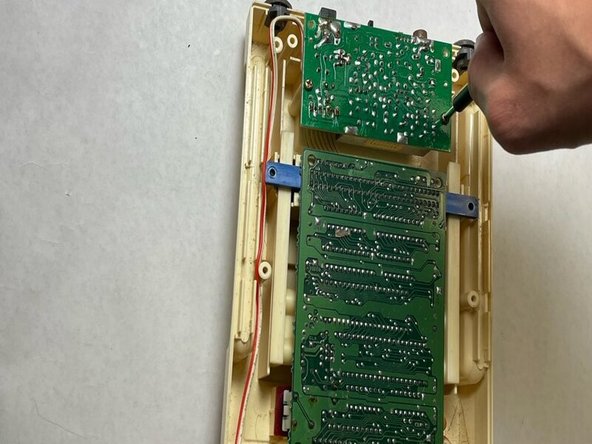
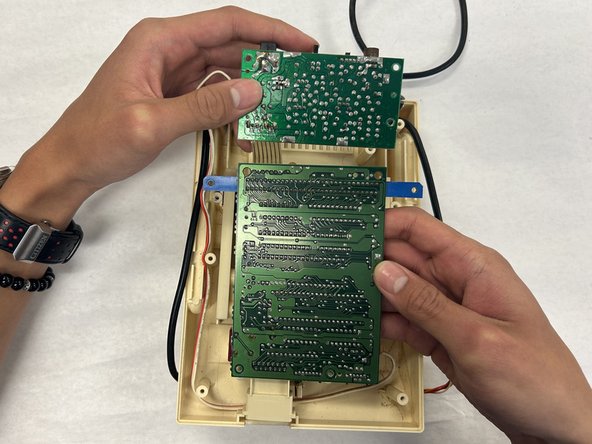
  4. Nintendo Family Computer (Famicom) Motherboard Replacement: adım 4, 3 resimden 1. Nintendo Family Computer (Famicom) Motherboard Replacement: adım 4, 3 resimden 2. Nintendo Family Computer (Famicom) Motherboard Replacement: adım 4, 3 resimden 3.
    • Remove the eight 13.5 mm Phillips screws that secure the motherboard.

    • Lift the motherboard up and out of the chassis.

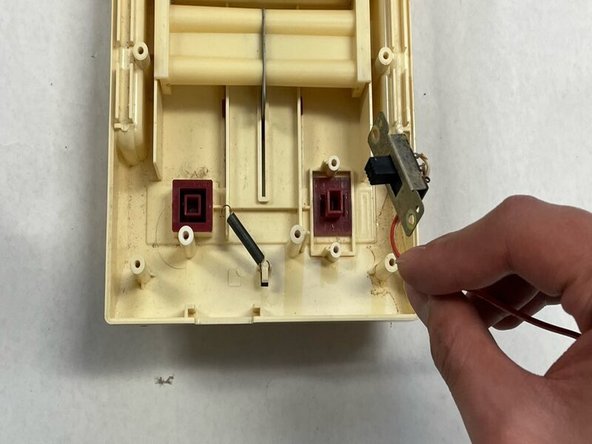
  5. Nintendo Family Computer (Famicom) Motherboard Replacement: adım 5, 2 resimden 1. Nintendo Family Computer (Famicom) Motherboard Replacement: adım 5, 2 resimden 2.
    • Remove the two 13.8 mm Phillips screws that secure the power switch.

    • The motherboard is connected to the power switch, and cannot be replaced without removing the switch. Forcibly removing the motherboard will only cause damage to the device

Sonuç

To reassemble your device, follow these instructions in reverse order.

Siddharth Murali

Üyelik tarihi: 04/02/24

121 İtibar

1 Kılavuz yazıldı

Ekip

IUPUI, Team 2-2, Harley Spring 2024 IUPUI, Team 2-2, Harley Spring 2024 üyesi

IUPUI-HARLEY-S24S2G2

4 Üyeler

3 adet Kılavuz yazıldı

0 Yorum

Yorum Ekle

İstatistikleri Görüntüle:

Son 24 Saat: 5

Son 7 gün: 18

Son 30 gün: 18

Her zaman: 56