Ana içeriğe geç

Nintendo Switch OLED Model Dock USB-C Assembly Replacement

Neye ihtiyacın var

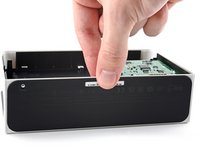
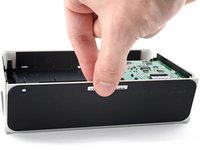
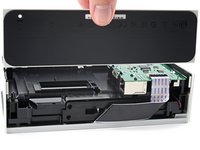
  1. Nintendo Switch OLED Model Dock USB-C Assembly Replacement, Remove the rear cover: adım 1, 3 resimden 1. Nintendo Switch OLED Model Dock USB-C Assembly Replacement, Remove the rear cover: adım 1, 3 resimden 2. Nintendo Switch OLED Model Dock USB-C Assembly Replacement, Remove the rear cover: adım 1, 3 resimden 3.
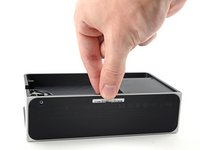
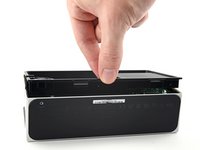
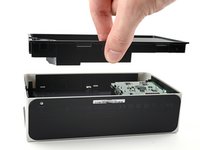
    • Use your fingers to pull the rear cover away from the frame and release its plastic clips.

    • Remove the rear cover.

  2. Nintendo Switch OLED Model Dock USB-C Assembly Replacement, Unfasten the baseplate: adım 2, 2 resimden 1. Nintendo Switch OLED Model Dock USB-C Assembly Replacement, Unfasten the baseplate: adım 2, 2 resimden 2.
    • Use a Y0 screwdriver to unfasten the 7.5 mm-long screw securing the baseplate to the frame.

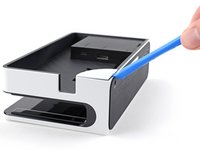
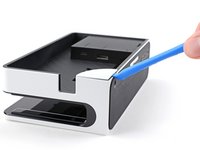
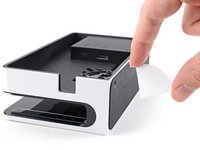
  3. Nintendo Switch OLED Model Dock USB-C Assembly Replacement, Remove the screw cover: adım 3, 3 resimden 1. Nintendo Switch OLED Model Dock USB-C Assembly Replacement, Remove the screw cover: adım 3, 3 resimden 2. Nintendo Switch OLED Model Dock USB-C Assembly Replacement, Remove the screw cover: adım 3, 3 resimden 3.
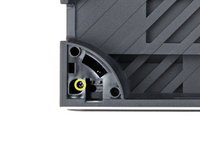
    • Insert an opening tool between the frame and the plastic screw cover at the bottom-left corner.

    • Pry up with the opening tool to separate the screw cover from the frame.

    • Remove the screw cover.

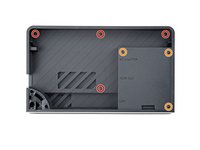
  4. Nintendo Switch OLED Model Dock USB-C Assembly Replacement, Unfasten the midframe: adım 4, 2 resimden 1. Nintendo Switch OLED Model Dock USB-C Assembly Replacement, Unfasten the midframe: adım 4, 2 resimden 2.
    • Use a Y0 screwdriver to remove the seven screws securing the midframe to the frame:

    • Four 3.9 mm screws

    • Three 7.5 mm screws

    • One 3.9 mm screw

  5. Nintendo Switch OLED Model Dock USB-C Assembly Replacement, Remove the midframe: adım 5, 3 resimden 1. Nintendo Switch OLED Model Dock USB-C Assembly Replacement, Remove the midframe: adım 5, 3 resimden 2. Nintendo Switch OLED Model Dock USB-C Assembly Replacement, Remove the midframe: adım 5, 3 resimden 3.
    • Use your fingers to remove the midframe from the frame.

  6. Nintendo Switch OLED Model Dock USB-C Assembly Replacement, Remove the baseplate: adım 6, 3 resimden 1. Nintendo Switch OLED Model Dock USB-C Assembly Replacement, Remove the baseplate: adım 6, 3 resimden 2. Nintendo Switch OLED Model Dock USB-C Assembly Replacement, Remove the baseplate: adım 6, 3 resimden 3.
    • Use your fingers to pull the baseplate away from the frame and release it from its plastic clips.

    • Remove the baseplate.

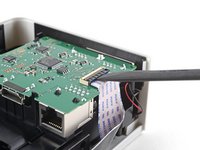
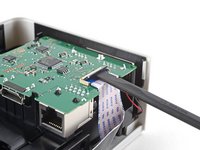
  7. Nintendo Switch OLED Model Dock USB-C Assembly Replacement, Disconnect the motherboard: adım 7, 2 resimden 1. Nintendo Switch OLED Model Dock USB-C Assembly Replacement, Disconnect the motherboard: adım 7, 2 resimden 2.
    • Use the flat end of a spudger to lift up the small locking flap on the motherboard cable's ZIF connector.

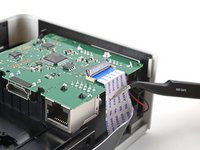
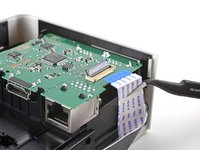
  8. Nintendo Switch OLED Model Dock USB-C Assembly Replacement: adım 8, 2 resimden 1. Nintendo Switch OLED Model Dock USB-C Assembly Replacement: adım 8, 2 resimden 2.
    • Use a pair of tweezers to slide the cable out of its connector.

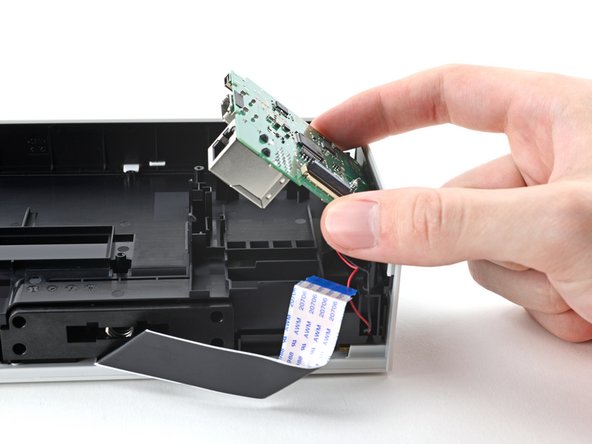
  9. Nintendo Switch OLED Model Dock USB-C Assembly Replacement, Remove the motherboard: adım 9, 3 resimden 1. Nintendo Switch OLED Model Dock USB-C Assembly Replacement, Remove the motherboard: adım 9, 3 resimden 2. Nintendo Switch OLED Model Dock USB-C Assembly Replacement, Remove the motherboard: adım 9, 3 resimden 3.
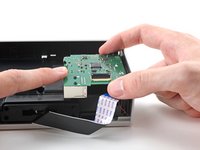
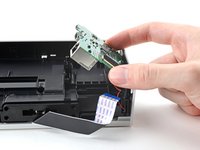
    • Use your finger to pull back on the plastic release tabs holding the motherboard in place.

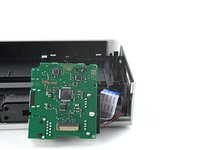
    • Pull the motherboard up and away from the frame to remove it.

    • Don't fully remove the motherboard yet, as it's still connected to the frame via a JST cable.

    • Rest the motherboard by the frame before moving on to the next step.

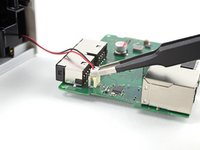
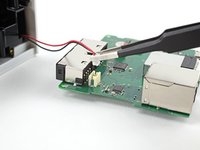
  10. Nintendo Switch OLED Model Dock USB-C Assembly Replacement, Disconnect the LED: adım 10, 2 resimden 1. Nintendo Switch OLED Model Dock USB-C Assembly Replacement, Disconnect the LED: adım 10, 2 resimden 2.
    • Use blunt tweezers, or your fingers, to pull the LED's JST connector out of its socket.

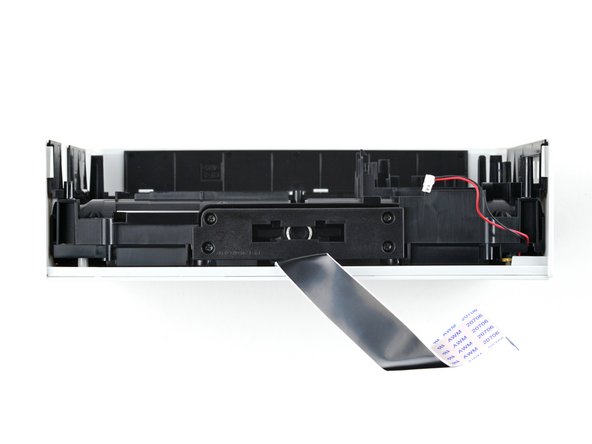
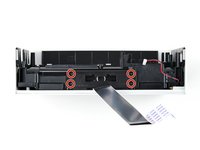
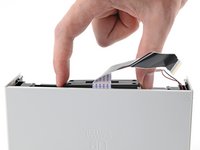
  11. Nintendo Switch OLED Model Dock USB-C Assembly Replacement, Unfasten the USB-C assembly: adım 11, 2 resimden 1. Nintendo Switch OLED Model Dock USB-C Assembly Replacement, Unfasten the USB-C assembly: adım 11, 2 resimden 2.
    • Use a Phillips screwdriver to remove the four 6.9 mm screws securing the USB-C assembly to the frame.

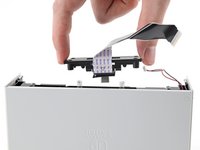
  12. Nintendo Switch OLED Model Dock USB-C Assembly Replacement, Remove the USB-C assembly: adım 12, 2 resimden 1. Nintendo Switch OLED Model Dock USB-C Assembly Replacement, Remove the USB-C assembly: adım 12, 2 resimden 2.
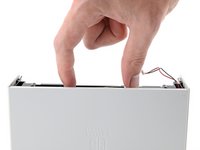
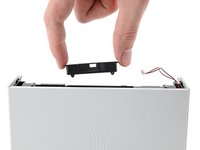
    • Remove the top-most portion of the assembly.

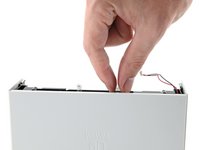
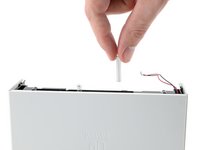
  13. Nintendo Switch OLED Model Dock USB-C Assembly Replacement: adım 13, 2 resimden 1. Nintendo Switch OLED Model Dock USB-C Assembly Replacement: adım 13, 2 resimden 2.
    • Depending on how you disassembled the dock, the springs may still be connected to the top-most portion of the assembly.

    • Remove the two springs.

  14. Nintendo Switch OLED Model Dock USB-C Assembly Replacement: adım 14, 2 resimden 1. Nintendo Switch OLED Model Dock USB-C Assembly Replacement: adım 14, 2 resimden 2.
    • Remove the bottom-most portion of the assembly.

Sonuç

To reassemble your device, follow these instructions in reverse order.

Compare your new replacement part to the original part—you may need to transfer remaining components or remove adhesive backings from the new part before you install it.

Repair didn’t go as planned? Try some basic troubleshooting, or ask our Nintendo Switch OLED Answers community for help.

Alex Diaz-Kokaisl

Üyelik tarihi: 01/16/22

124.066 İtibar

581 adet Kılavuz yazıldı

Ekip

iFixit iFixit üyesi

Staff

135 Üyeler

17.188 adet Kılavuz yazıldı

0 Yorum

Yorum Ekle

İstatistikleri Görüntüle:

Son 24 Saat: 8

Son 7 gün: 48

Son 30 gün: 194

Her zaman: 5,356