Ana içeriğe geç
Onarım Topluluğuna Katılın - Hesap Oluşturun

Nook Color Motherboard Replacement

Neye ihtiyacın var

    1. Nook Color Motherboard Replacement, Back Cover: adım 1, 2 resimden 1. Nook Color Motherboard Replacement, Back Cover: adım 1, 2 resimden 2.
      • Remove the two 3.8 mm screws located in the back right corner of the device using the T5 Torx screwdriver.

      FixBot'a Sor

      Yorum Ekle

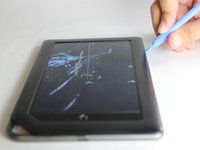
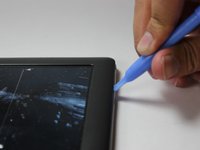
    2. Nook Color Motherboard Replacement: adım 2, 2 resimden 1. Nook Color Motherboard Replacement: adım 2, 2 resimden 2.
      • Pry off the back cover with the plastic opening tool. Go around the device with the tool to ensure complete detachment.

      FixBot'a Sor

      Yorum Ekle

    1. Nook Color Motherboard Replacement, Front Cover: adım 3, 1 resimden 1.
      • Remove the ten 4.0 mm screws from the device's perimeter using the T5 Torx screwdriver.

      FixBot'a Sor

      Yorum Ekle

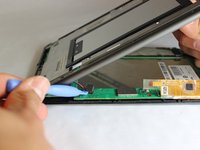
    2. Nook Color Motherboard Replacement: adım 4, 2 resimden 1. Nook Color Motherboard Replacement: adım 4, 2 resimden 2.
      • Pry off the front panel using the plastic opening tool.

      FixBot'a Sor

      Yorum Ekle

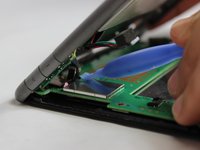
    3. Nook Color Motherboard Replacement: adım 5, 2 resimden 1. Nook Color Motherboard Replacement: adım 5, 2 resimden 2.
      • Lift up on the connectors to disconnect them using the plastic opening tool.

      FixBot'a Sor

      Yorum Ekle

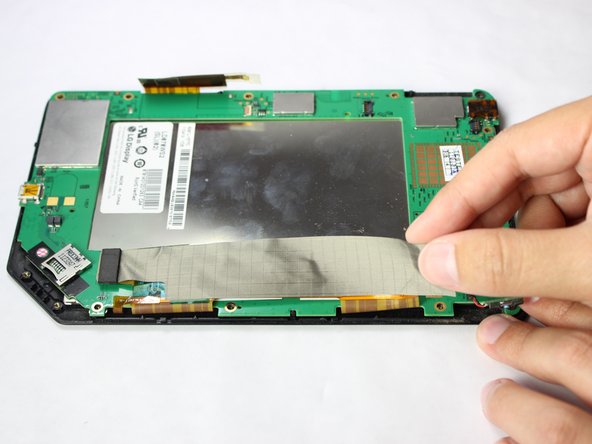
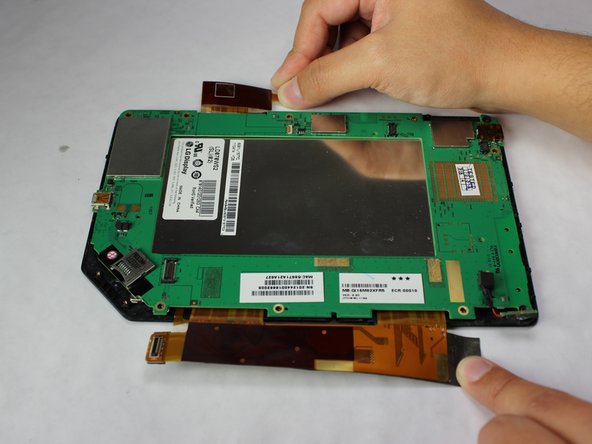
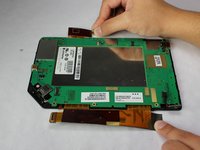
    1. Nook Color Motherboard Replacement, Motherboard: adım 6, 3 resimden 1. Nook Color Motherboard Replacement, Motherboard: adım 6, 3 resimden 2. Nook Color Motherboard Replacement, Motherboard: adım 6, 3 resimden 3.
      • Gently lift and peel the orange and grey ribbon connectors to disconnect the screen and motherboard.

      FixBot'a Sor

      Yorum Ekle

    2. Nook Color Motherboard Replacement: adım 7, 1 resimden 1.
      • Remove the easy-to-miss T5 Torx 3.8 mm screw located in the tabbed corner of the device.

      FixBot'a Sor

      Yorum Ekle

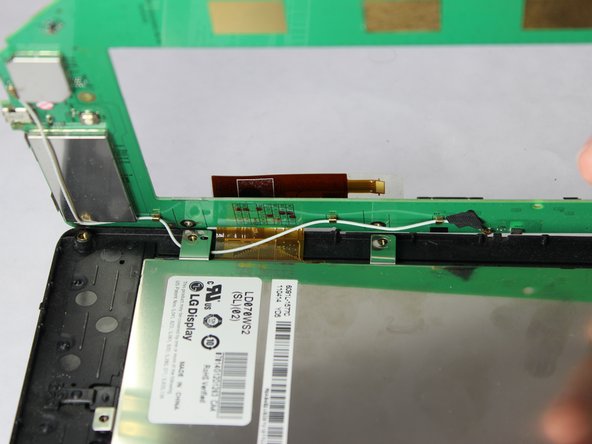
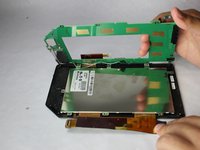
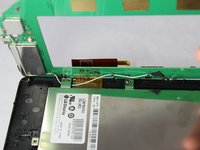
    3. Nook Color Motherboard Replacement: adım 8, 2 resimden 1. Nook Color Motherboard Replacement: adım 8, 2 resimden 2.
      • Lift the motherboard gently from the side with the larger connector ribbon.

      • Slide the white cable gently from underneath its holding place to free the motherboard completely.

      • Remove the motherboard carefully from the device.

      FixBot'a Sor

      Yorum Ekle

Sonuç

To reassemble your device, follow these instructions in reverse order.

İptal et: Bu kılavuzu tamamlamadım.

2 farklı kişi bu kılavuzu tamamladı.

Matthew Perdomo

Üyelik tarihi: 01/20/15

509 İtibar

3 adet Kılavuz yazıldı

Ekip

USF Tampa, Team 11-5, Blackwell Winter 2015 USF Tampa, Team 11-5, Blackwell Winter 2015 üyesi

USFT-BLACKWELL-W15S11G5

3 Üyeler

14 adet Kılavuz yazıldı

0Kılavuz Yorumları

Yorum Ekle

İstatistikleri Görüntüle:

Son 24 Saat: 1

Son 7 gün: 5

Son 30 gün: 27

Her zaman: 1,440