Ana içeriğe geç

NuVision 10.1 Atom Motherboard Replacement

Neye ihtiyacın var

  1. NuVision 10.1 Atom Motherboard Replacement, Camera: adım 1, 3 resimden 1. NuVision 10.1 Atom Motherboard Replacement, Camera: adım 1, 3 resimden 2. NuVision 10.1 Atom Motherboard Replacement, Camera: adım 1, 3 resimden 3.
    • Turn the device screen side down.

    • Carefully remove the back piece with the iFixit opening tool.

  2. NuVision 10.1 Atom Motherboard Replacement: adım 2, 1 resimden 1.
    • Remove the yellow tape covering the motherboard gently with your fingers.

  3. NuVision 10.1 Atom Motherboard Replacement: adım 3, 3 resimden 1. NuVision 10.1 Atom Motherboard Replacement: adım 3, 3 resimden 2. NuVision 10.1 Atom Motherboard Replacement: adım 3, 3 resimden 3.
    • Pull the camera plug upward and away from the motherboard with your fingers.

    • Gently pull the camera from the device. The camera is held by tension.

  4. NuVision 10.1 Atom Motherboard Replacement, Speaker: adım 4, 1 resimden 1.
    • Carefully remove silver tape with your fingers.

  5. NuVision 10.1 Atom Motherboard Replacement: adım 5, 2 resimden 1. NuVision 10.1 Atom Motherboard Replacement: adım 5, 2 resimden 2.
    • Remove speakers gently using your fingers, they pop out easily.

    • Disconnect cords attached to the speaker from white pod.

  6. NuVision 10.1 Atom Motherboard Replacement, Motherboard: adım 6, 1 resimden 1.
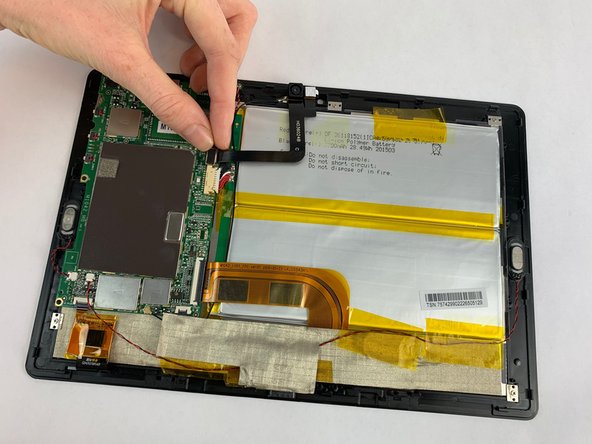
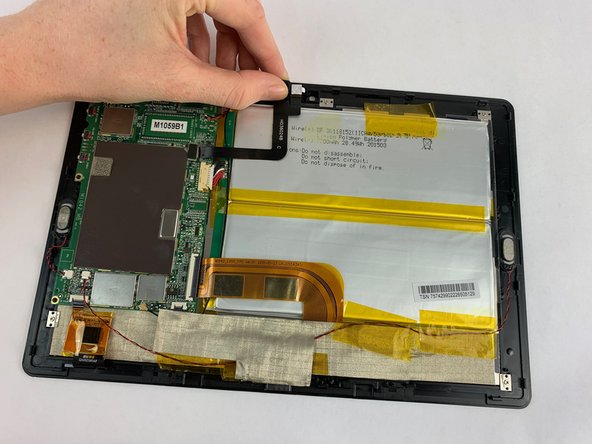
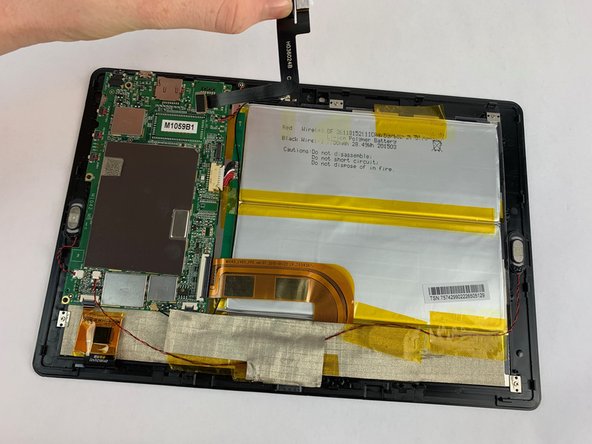
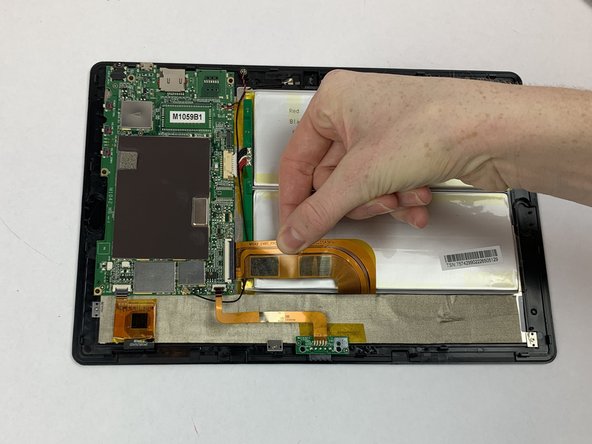
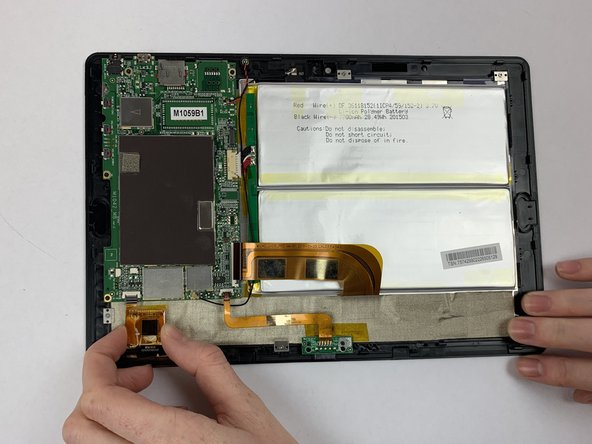
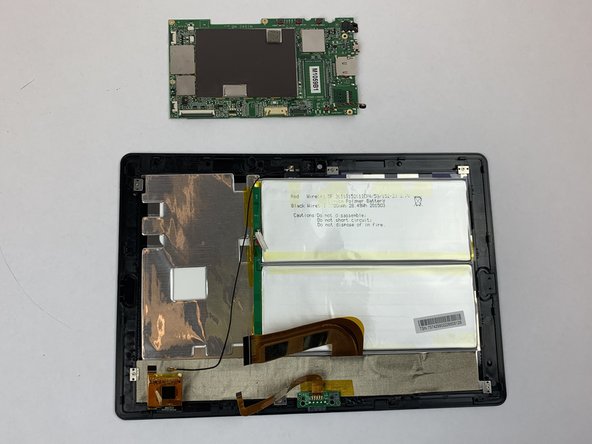
    • Disconnect the press-fit black and red curly wire from where it connects on the motherboard.

  7. NuVision 10.1 Atom Motherboard Replacement: adım 7, 3 resimden 1. NuVision 10.1 Atom Motherboard Replacement: adım 7, 3 resimden 2. NuVision 10.1 Atom Motherboard Replacement: adım 7, 3 resimden 3.
    • Gently remove the battery's three ZIF connectors from the motherboard. Use your fingers.

    • Be careful not to puncture the battery.

  8. NuVision 10.1 Atom Motherboard Replacement: adım 8, 2 resimden 1. NuVision 10.1 Atom Motherboard Replacement: adım 8, 2 resimden 2.
    • Disconnect the battery's bundled cable connector from the motherboard with fingers.

  9. NuVision 10.1 Atom Motherboard Replacement: adım 9, 3 resimden 1. NuVision 10.1 Atom Motherboard Replacement: adım 9, 3 resimden 2. NuVision 10.1 Atom Motherboard Replacement: adım 9, 3 resimden 3.
    • Remove the four black 3.32mm screws on the corners of the motherboard using the Phillips #000 screwdriver. The motherboard should come out easily.

Sonuç

To reassemble your device, follow these instructions in reverse order.

Laila Schulz

Üyelik tarihi: 02/14/19

219 İtibar

1 Kılavuz yazıldı

Ekip

USF Tampa, Team S1-G5, Leahy Spring 2019 USF Tampa, Team S1-G5, Leahy Spring 2019 üyesi

USFT-LEAHY-S19S1G5

5 Üyeler

6 adet Kılavuz yazıldı

0 Yorum

Yorum Ekle

İstatistikleri Görüntüle:

Son 24 Saat: 0

Son 7 gün: 1

Son 30 gün: 3

Her zaman: 440